All the steps and tips to help you successfully paint your kitchen cabinets for a whole new kitchen.
Disclosure: My Big Fat Happy Life is a participant in the Amazon Services LLC Associates Program, an affiliate advertising program designed to provide a means for sites to earn advertising fees by advertising and linking to amazon.com
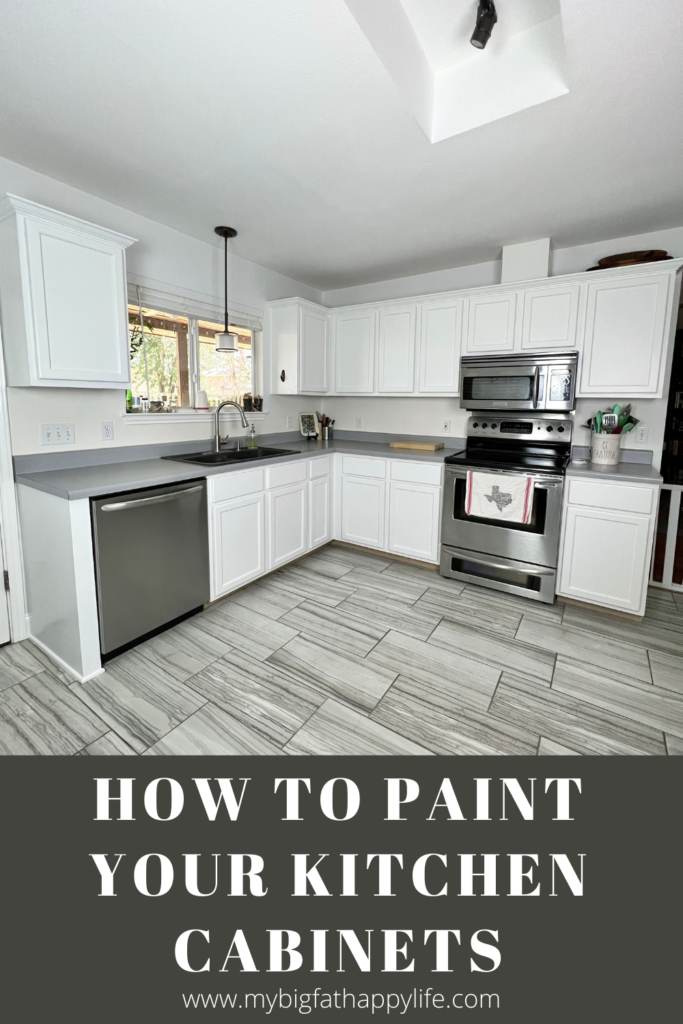
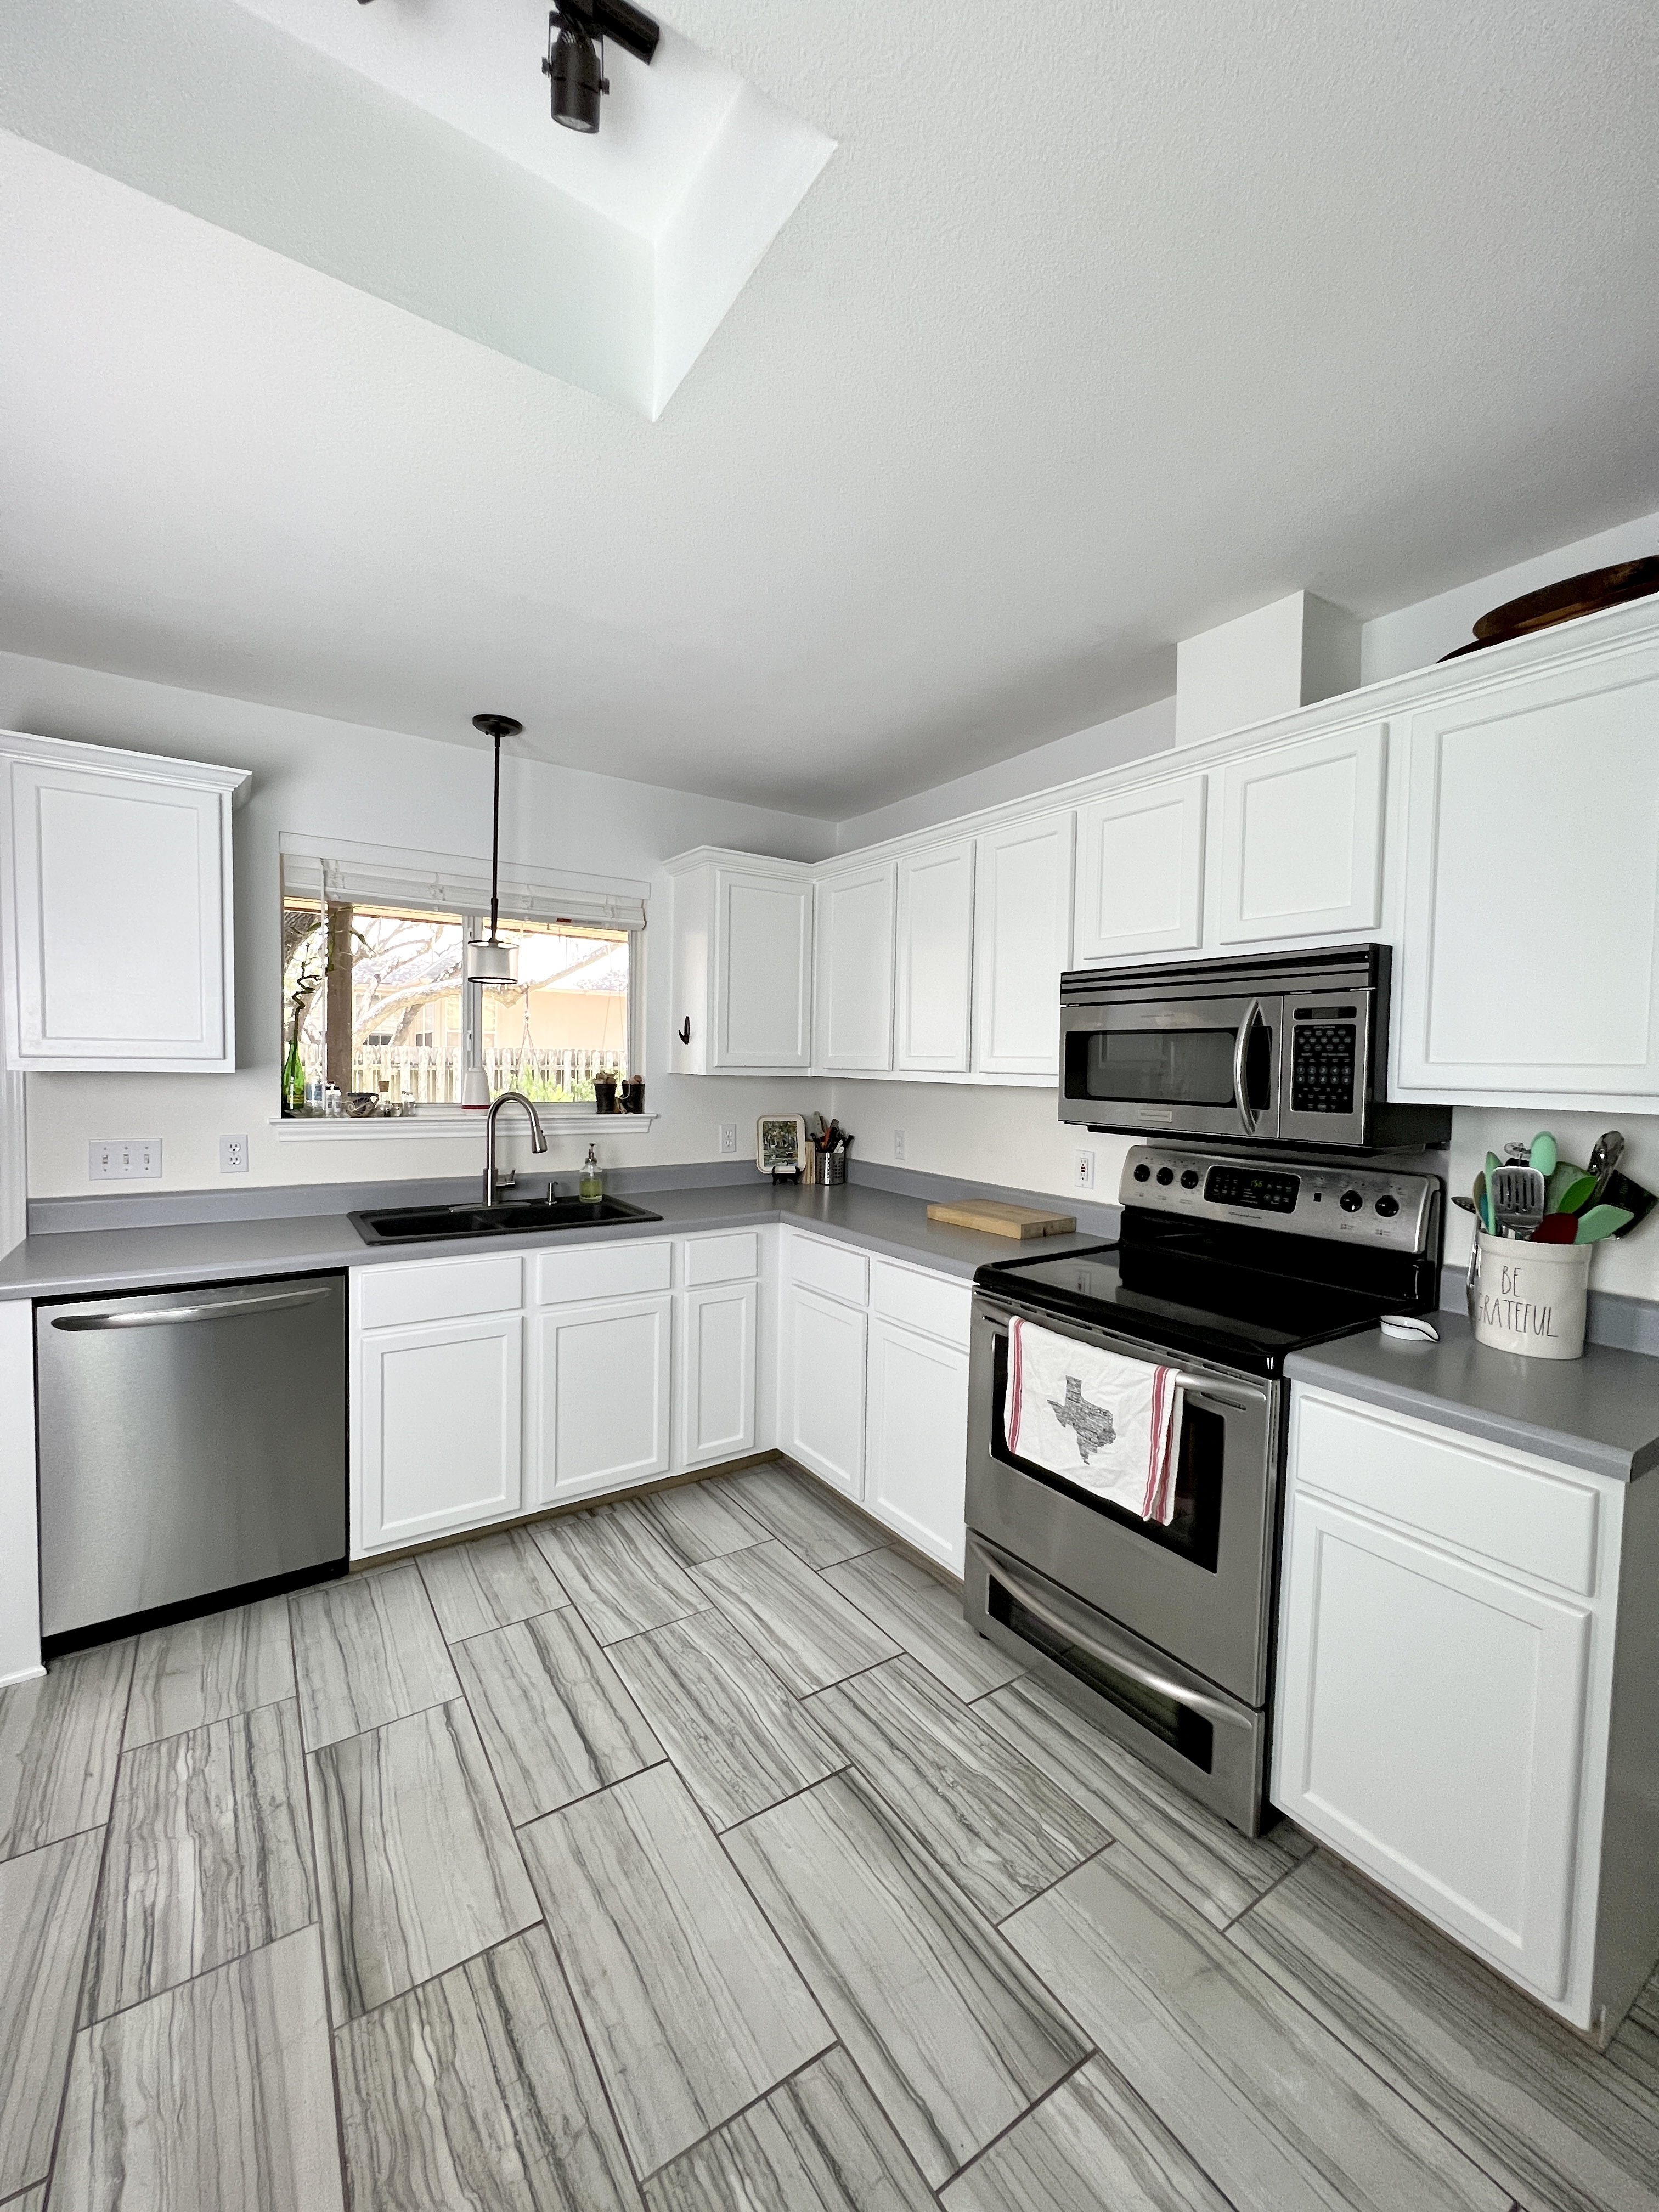
When we moved into our house, I had planned to immediately paint our kitchen cabinets. However, then I thought I would prefer to replace the cabinets, so we unpacked the kitchen. It had been five years since we moved into our house and the old kitchen cabinets still sat. Finally, in February, I decided I had had enough and I was going to paint the cabinets. Now, I do not know why I waited so long to paint them because I feel like I got a whole new kitchen for the cost of a can of paint and my time.
This is not the first time I’ve painted kitchen cabinets, in fact, I painted our first house’s when we completely renovated that house. Painting your kitchen cabinets is not hard, but it does require time and patience.
Since I only have so much time in a day, only so much space to lay out the cabinet doors, and we are living in our house so I want to be able to still use my kitchen and cook in it, I decided to split my kitchen into three parts for painting.
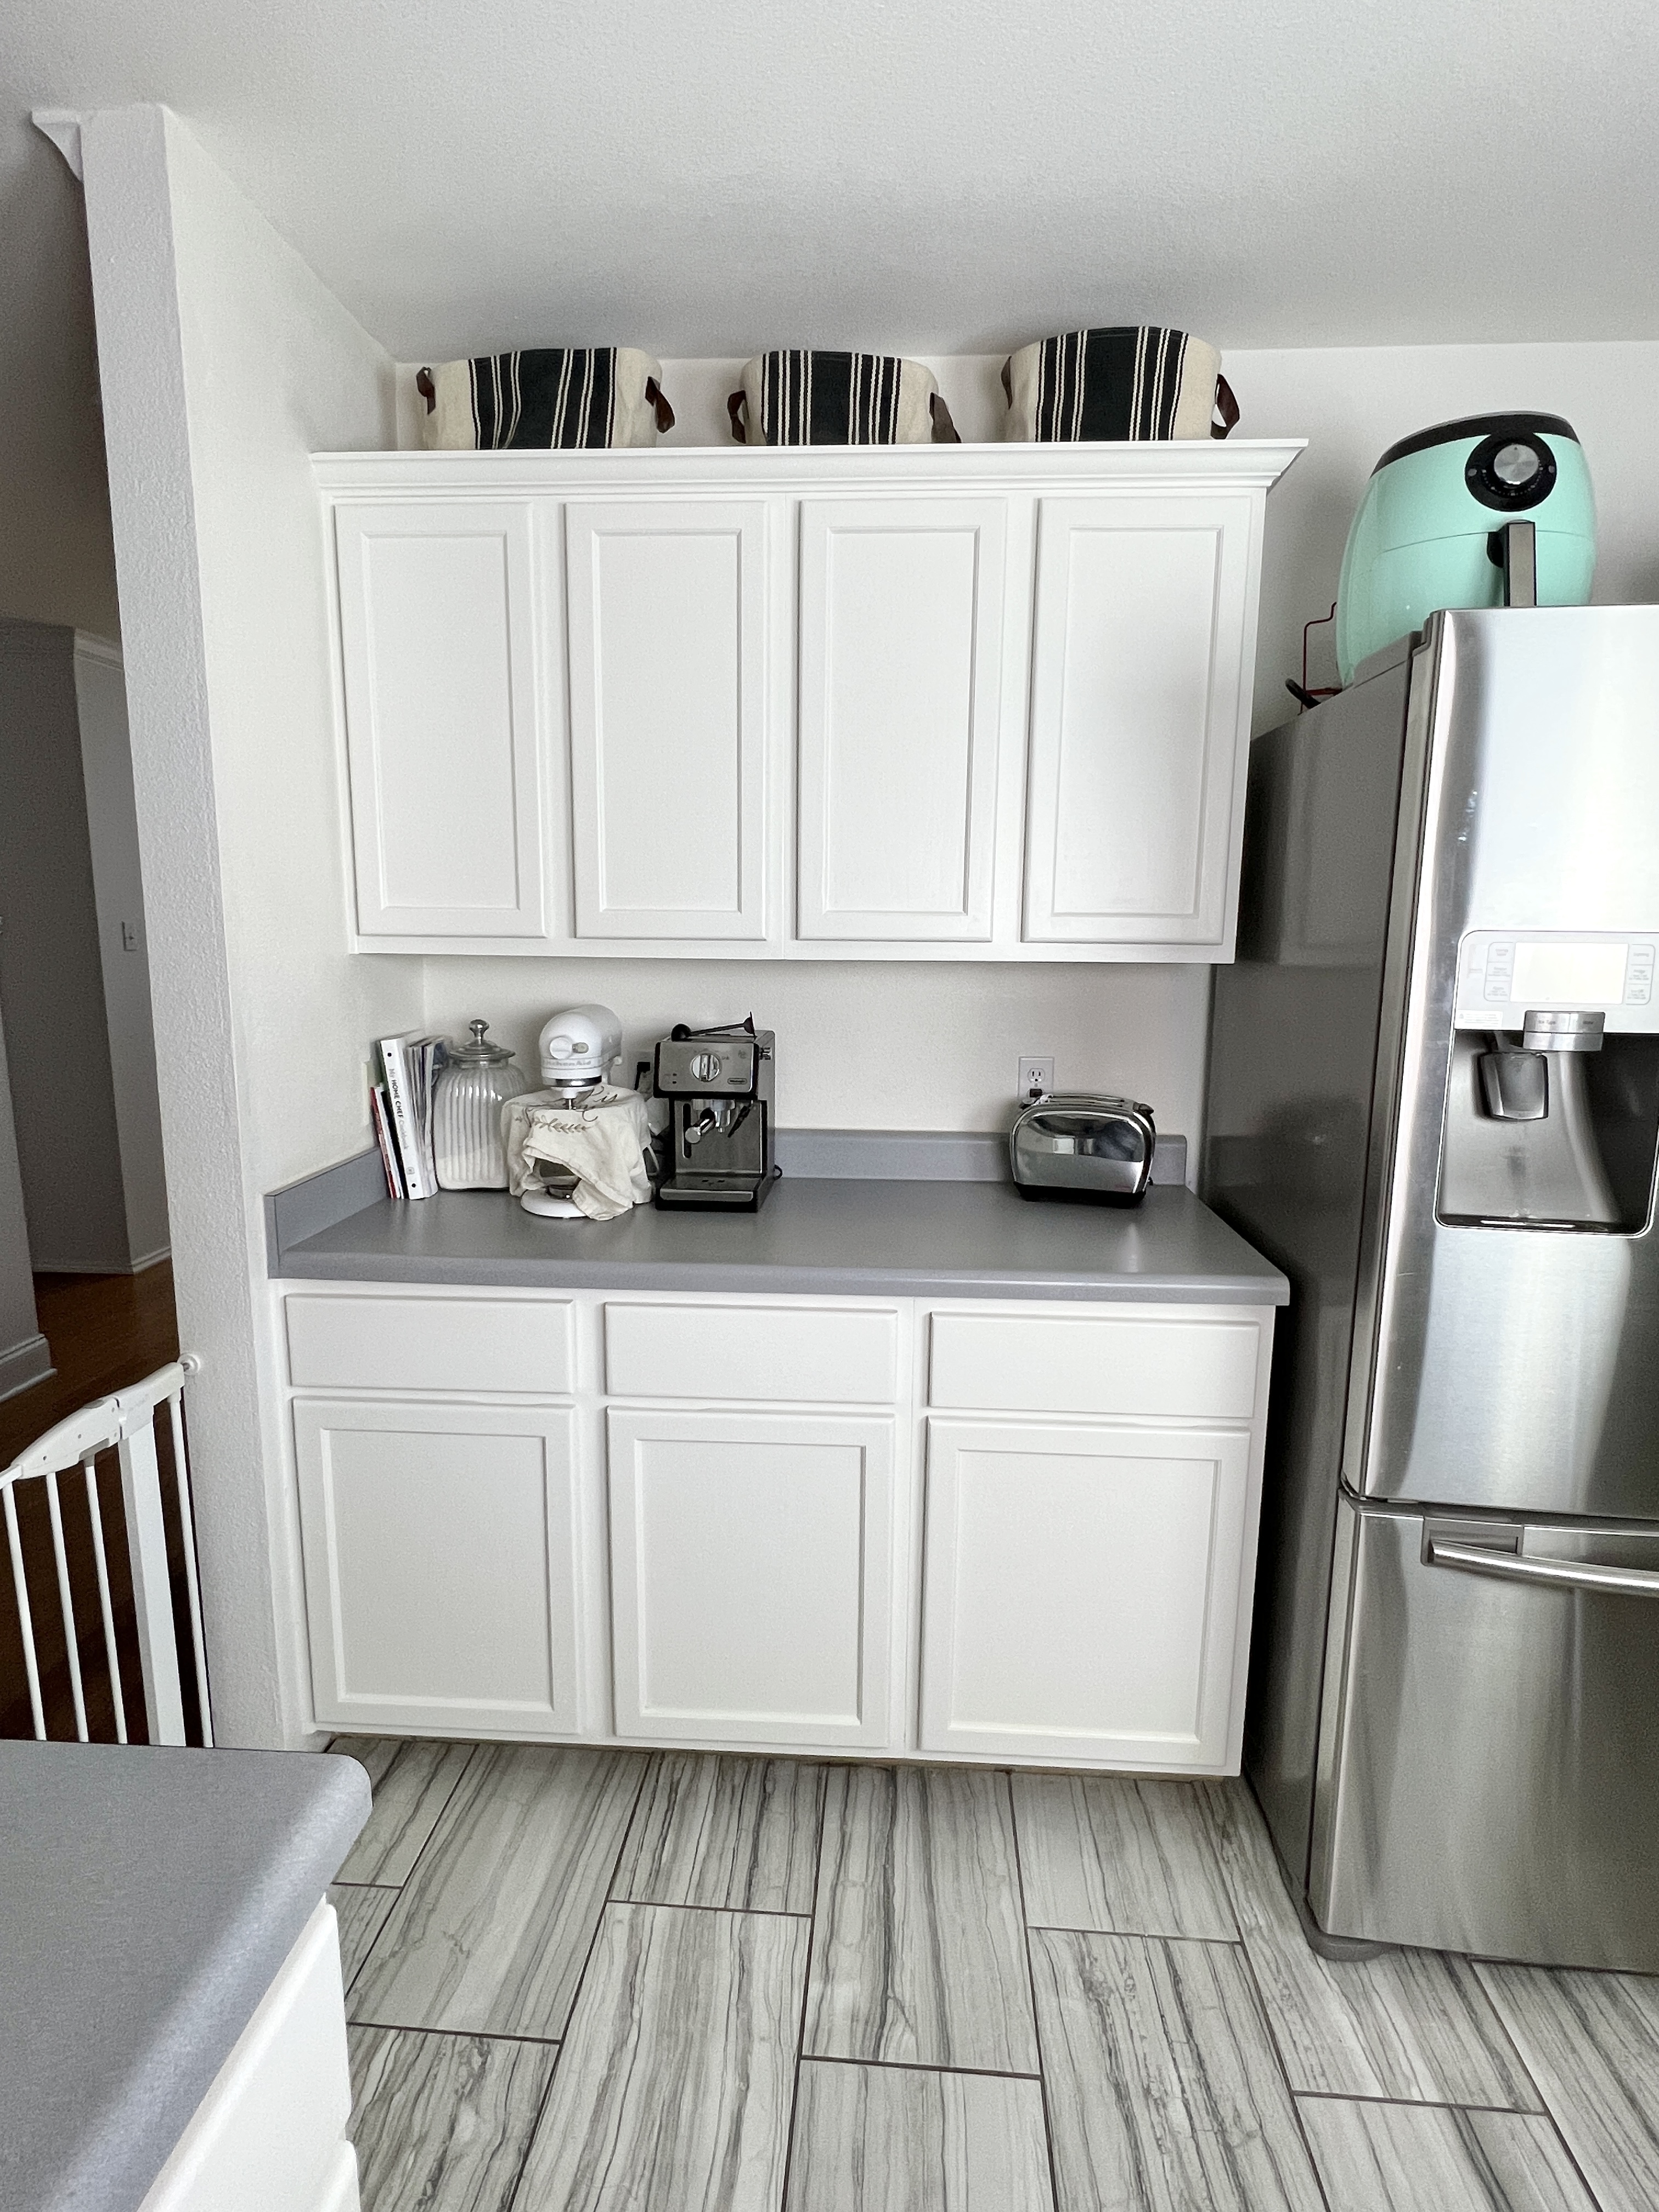
Prep to Paint
I absolutely hate the prep work before you can paint, but it is critical for getting the best results. The first thing you need to do is empty your cabinets. I know, I know but trust me you do not want to splatter paint on all your dishes. This is a great time to go through the items you have in your kitchen and purge what you do not use anymore. I decluttered a bunch of stuff which is giving me so much more room in my cupboards. Also, when you put your items back in the cabinets you can organize everything – win, win!
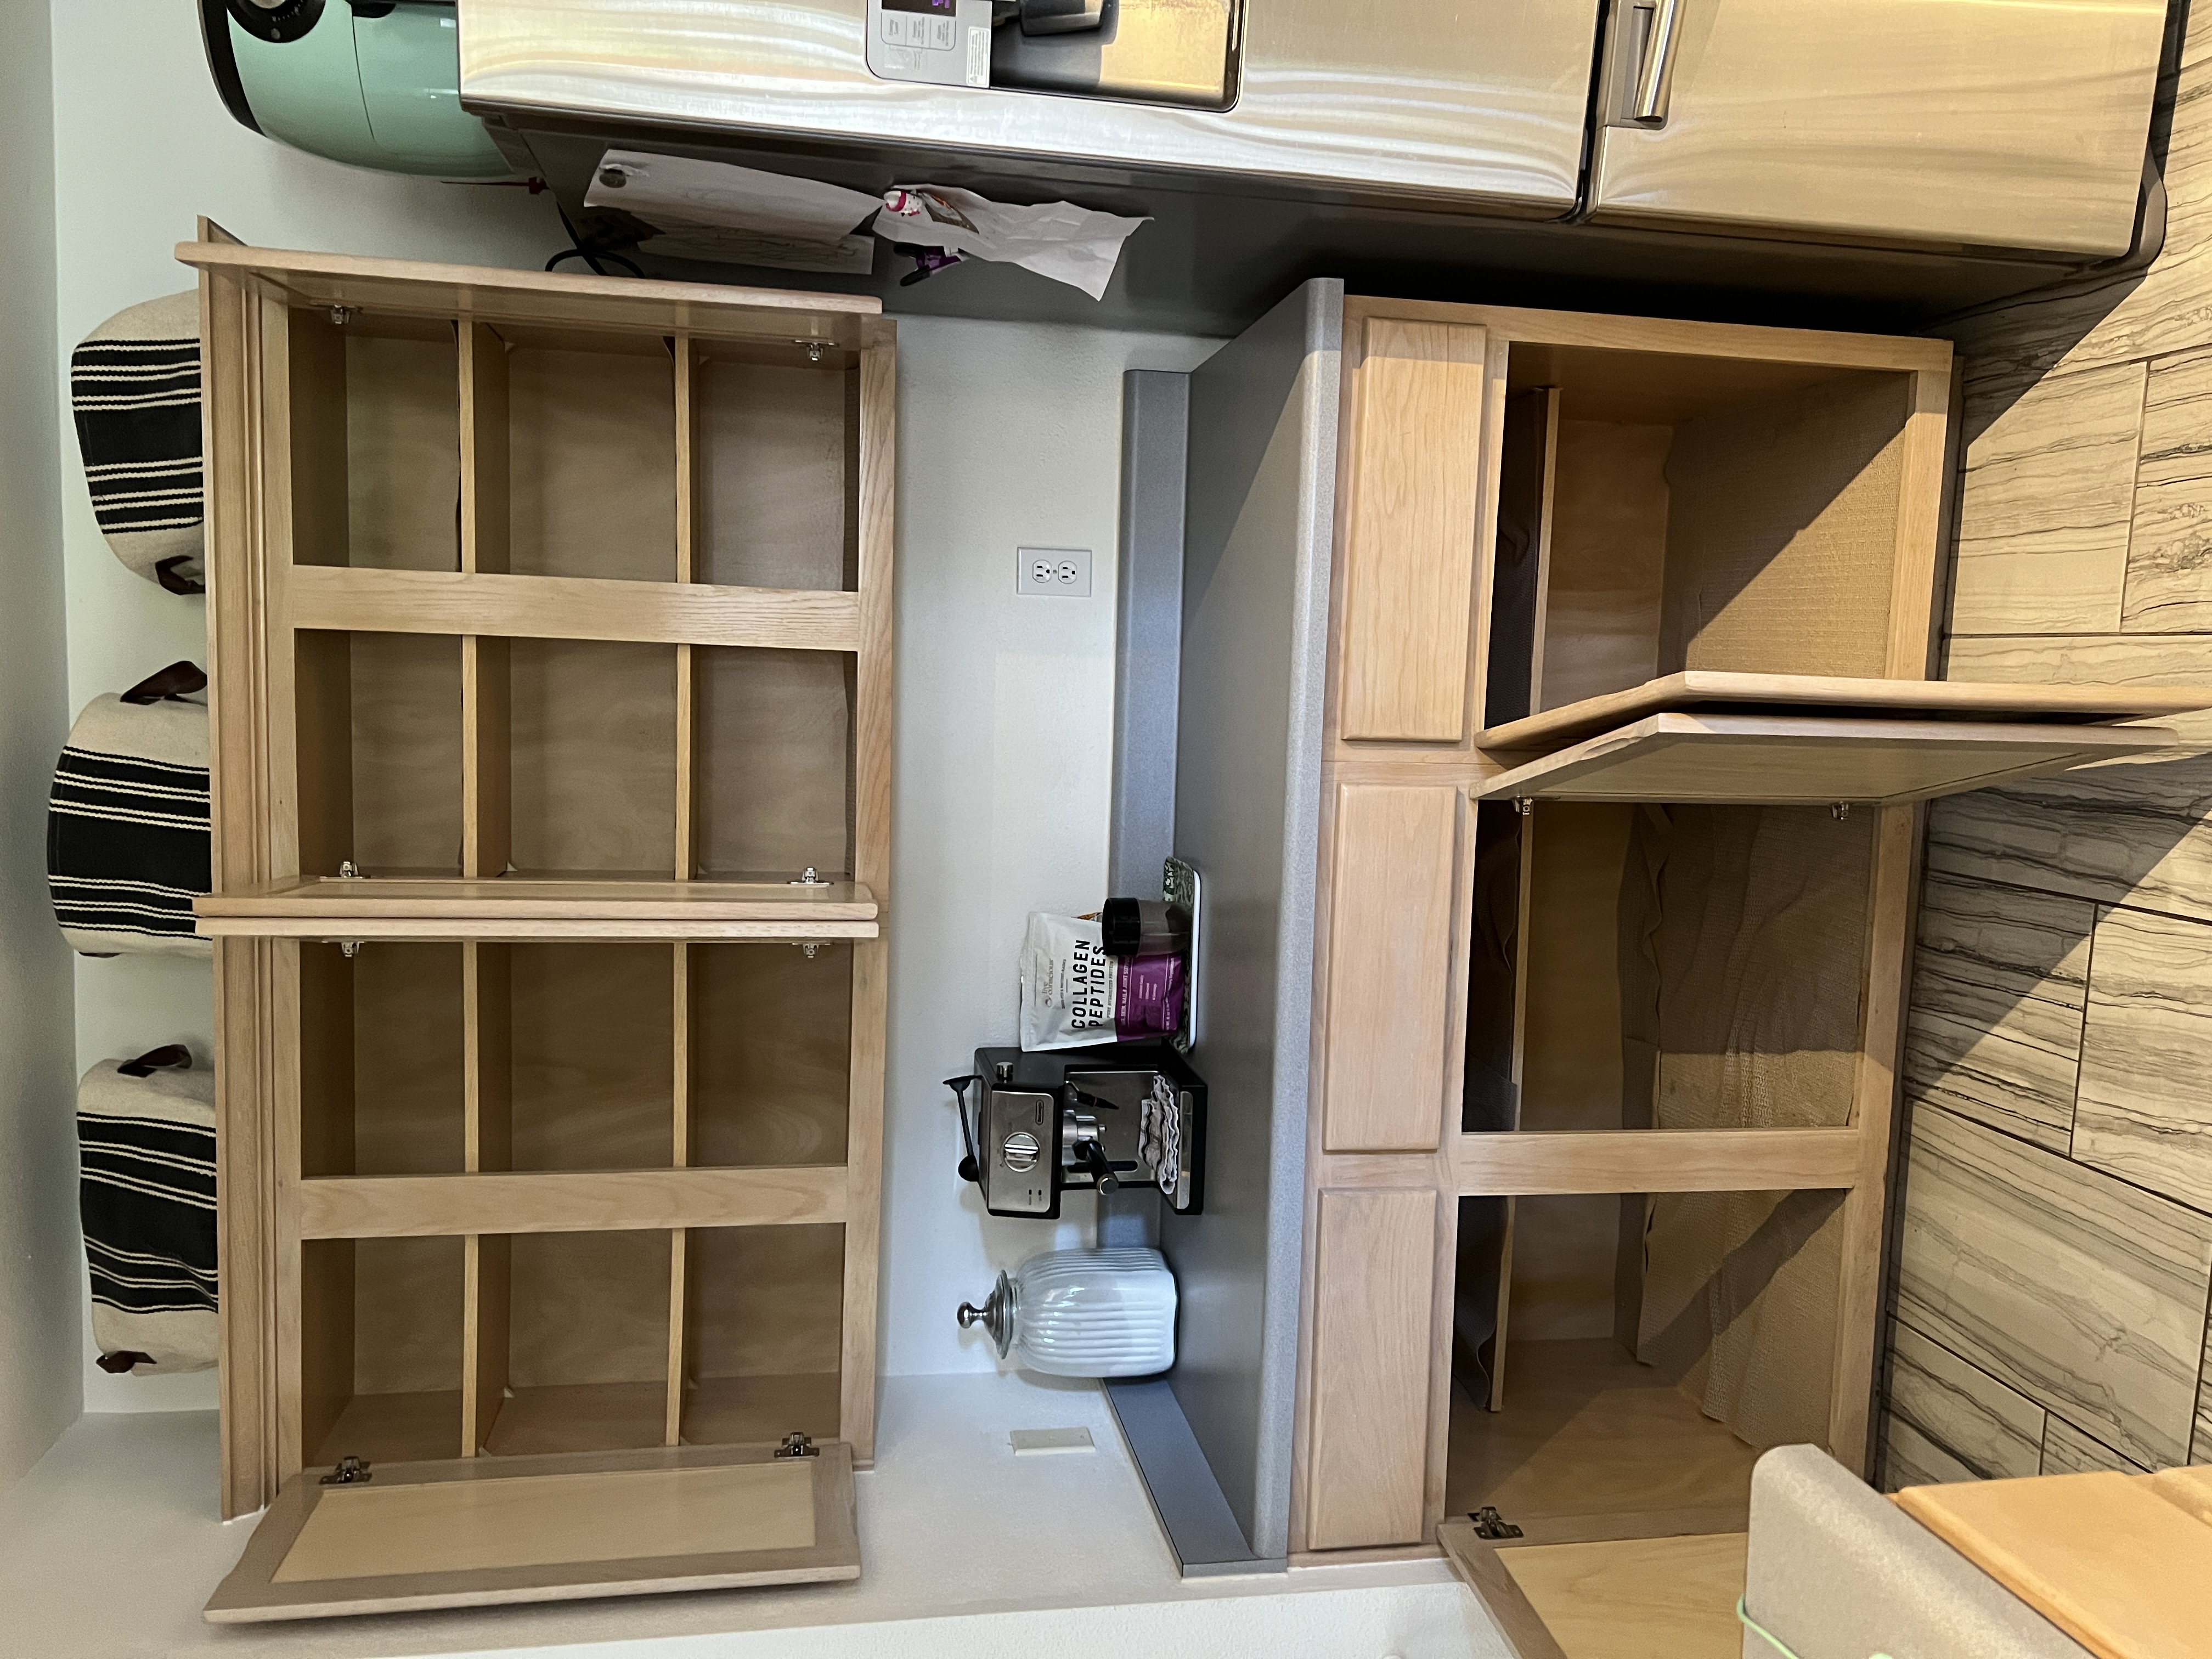
Remove cabinet doors and hinges. Remove all the doors and hinges from your cabinets. If you have cabinet knobs or pulls you will also want to remove them. In addition, it is easier to paint with your shelves removed too.
You will want to paint the cabinet doors laying flat. I made a platform in my garage using boxes covered in a drop cloth (I use old sheets) so that the doors were at waist height for easy painting.
Tip: Place all the screws from the hinges in a Ziploc bag, so that you do not lose them.
Wash cabinets and doors with TSP. Following the instructions on the back of the TSP container, wash all your cabinets and doors. This removes all the dirt from your cabinets so that you have a clean surface.
Tip: Wear gloves when using TSP.
Tape off. Using painter’s tape, tape off where your cabinet meets the wall, any appliances, etc.
Prime. The next step is to prime your cabinets using oil-based primer. I use a two-inch angled paintbrush and a four-inch high-density foam roller.
Tip: Clean up for oil-based primers and paints requires mineral spirits (you can not use water).
Caulk. Now is the time to go through and caulk any gaps that you have between crown or trim pieces and your cabinets.
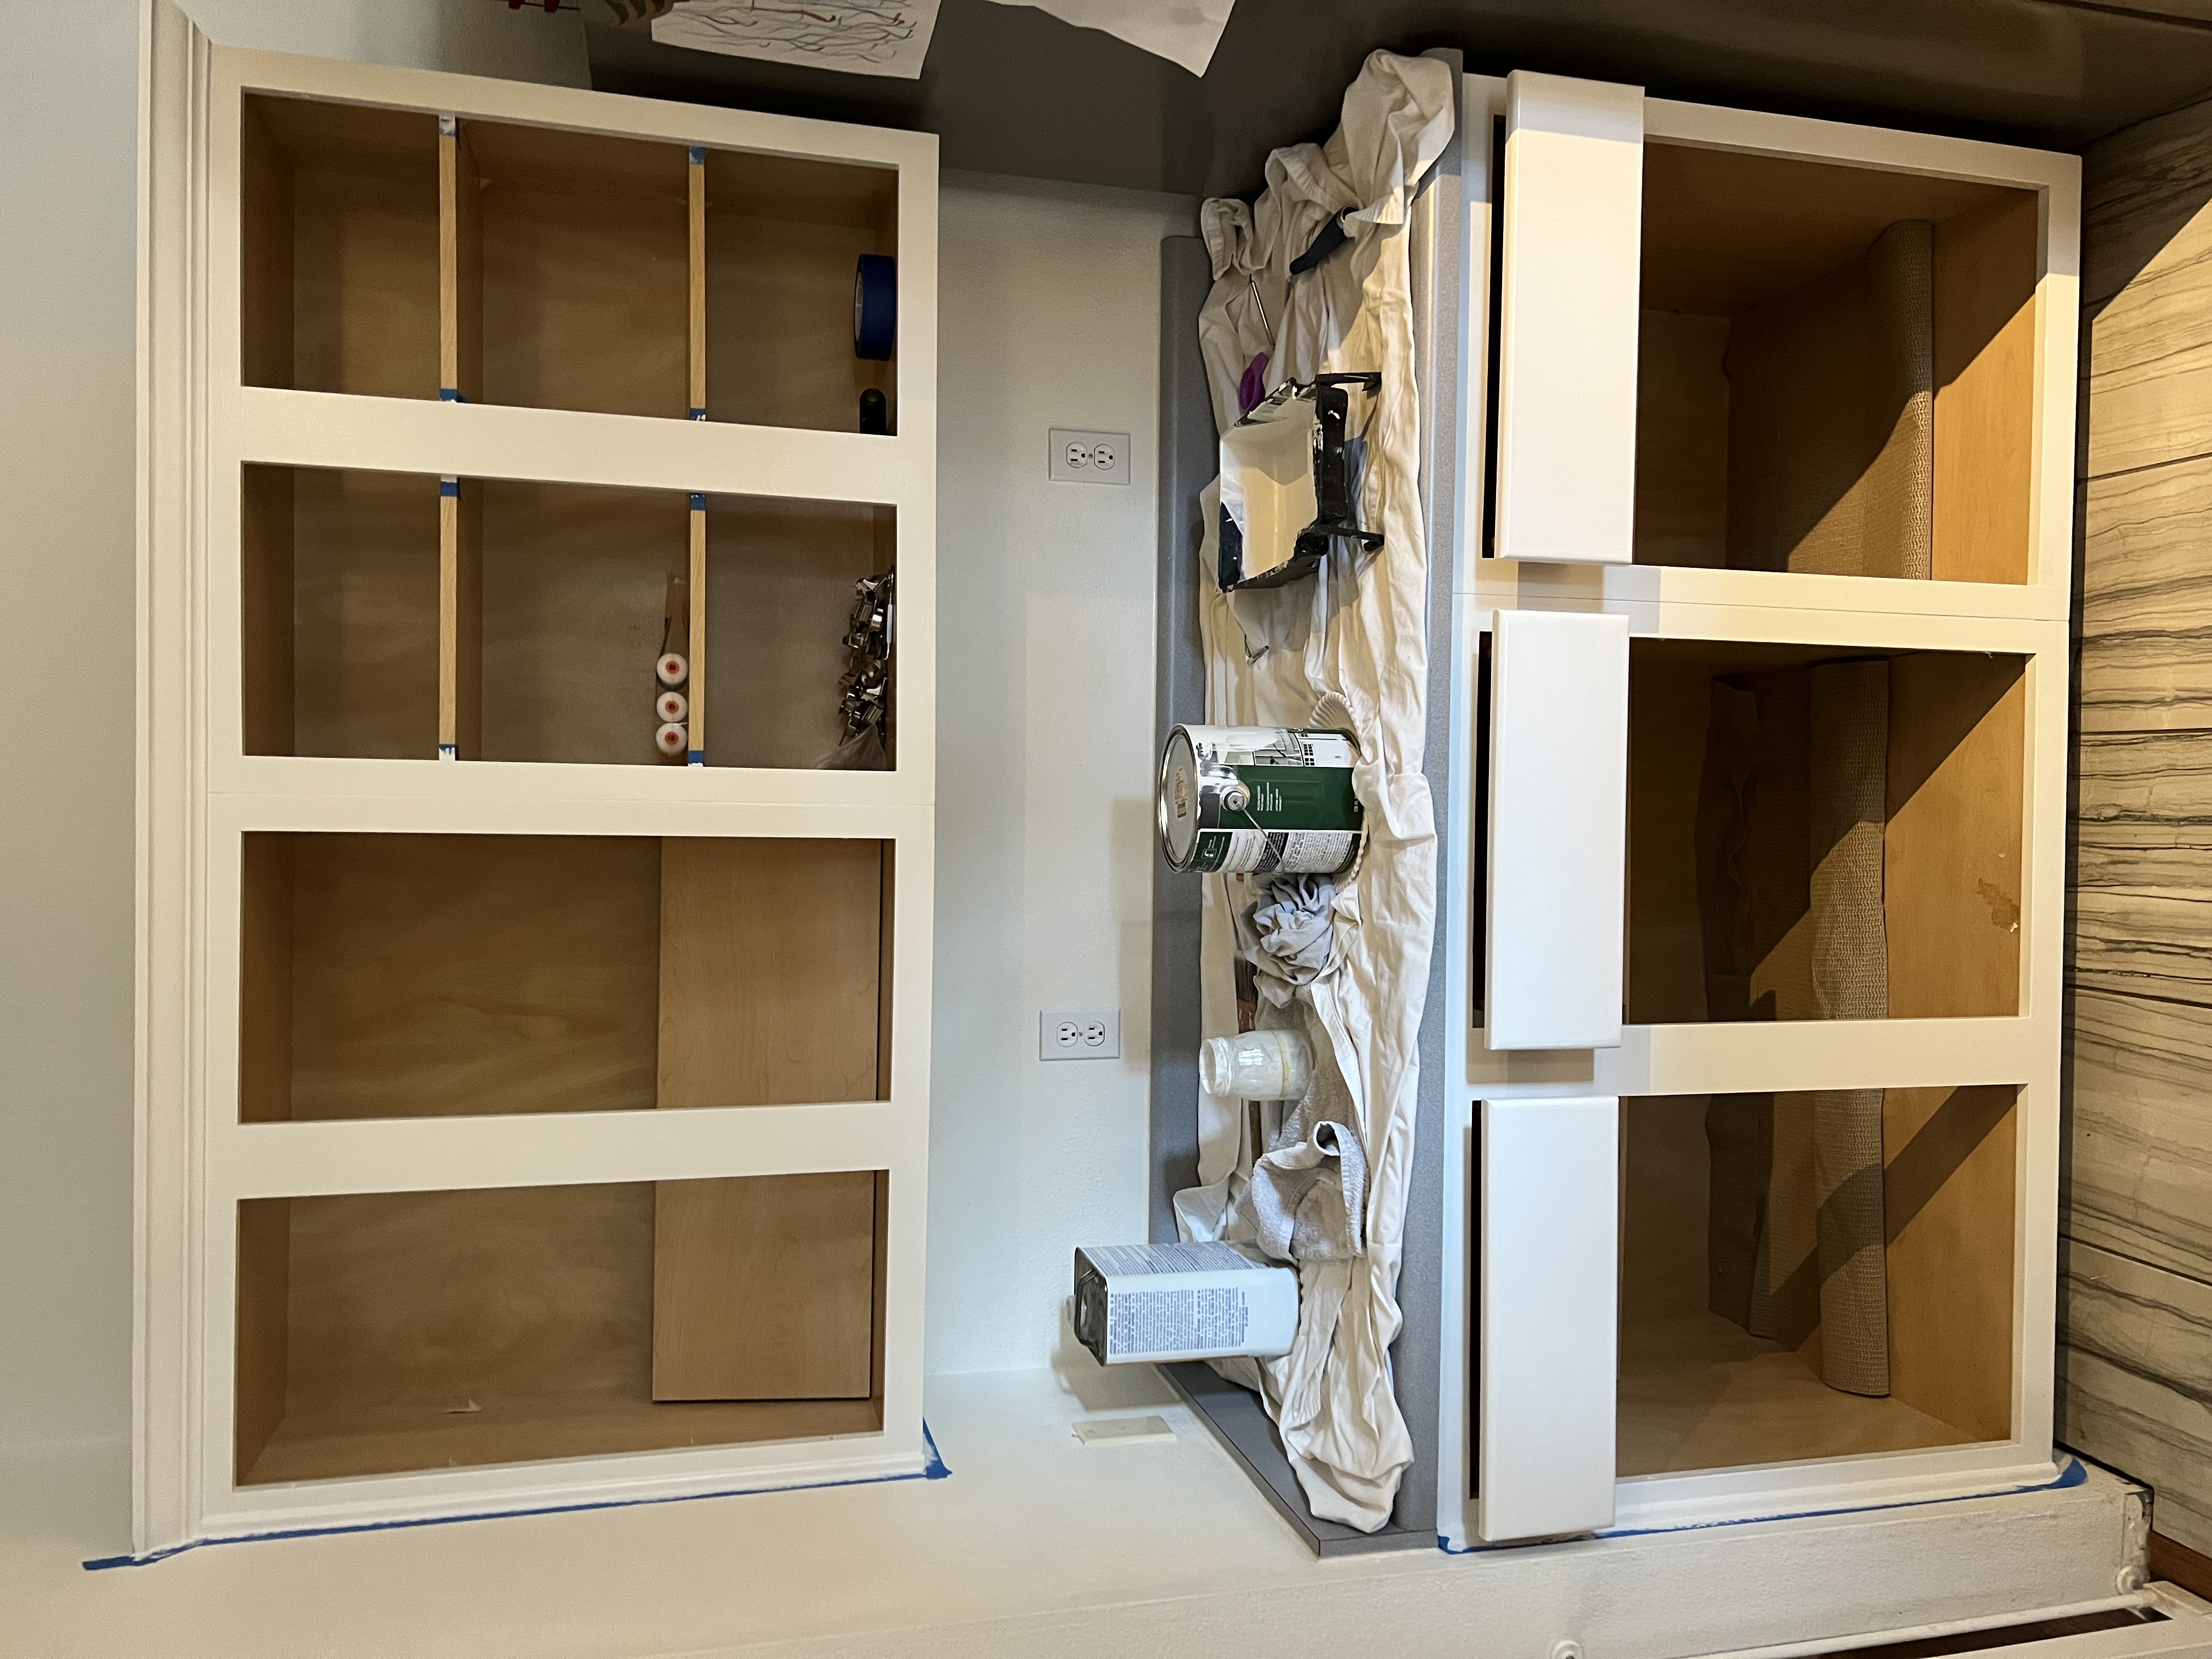
Time to Paint
Now it is time to paint! You will want to use oil-based paint on your cabinets. Why? Oil-based paint will hold up better to the constant use of your cabinets.
You will want to paint a minimum of two coats of paint on the cabinets and the doors waiting at least a day in between each coat.
I suggest thin, even coats of paint so that you do not get drips or runs. I also suggest using your paintbrush in tight spaces first and then using your roller.
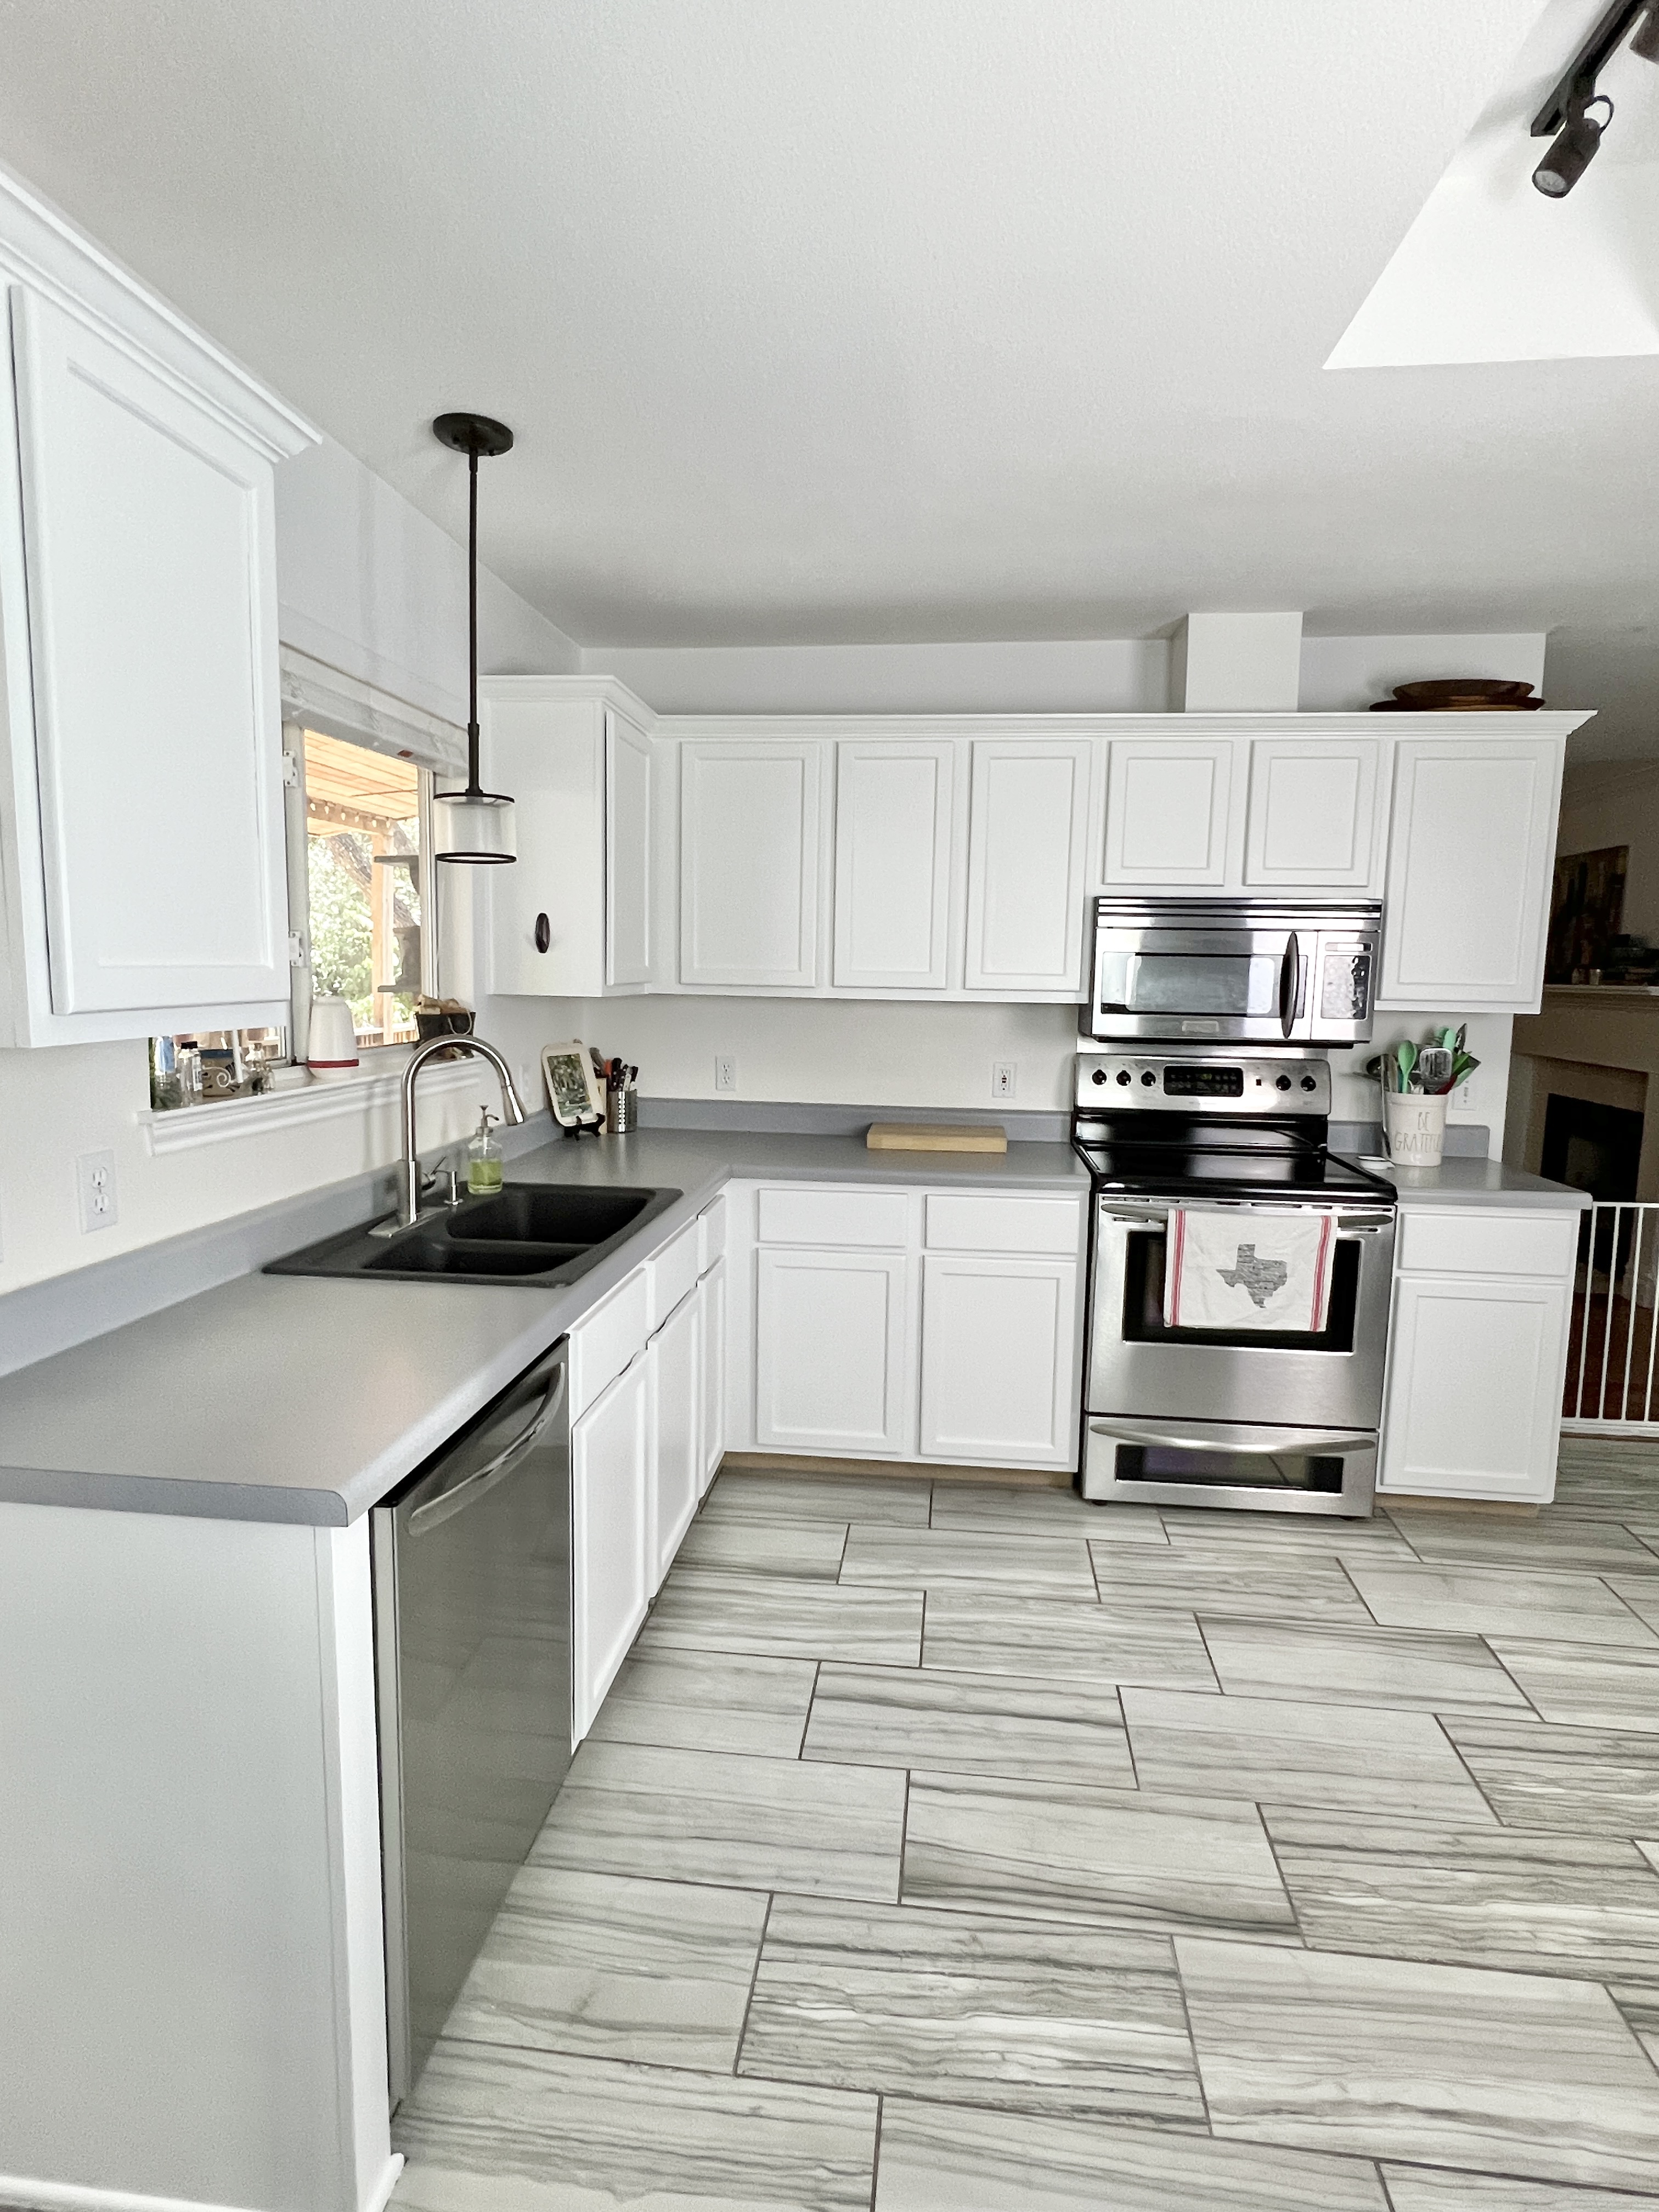
You will need to wait a minimum of a week to allow your cabinets to cure before hanging your doors and shutting your drawers.
Tip: Place new bumpers on your cabinet doors and drawers.
Do you have any questions about painting your cabinets?
