My Big Fat Happy Life is a participant in the Amazon Services LLC Associates Program, an affiliate advertising program designed to provide a means for sites to earn advertising fees by advertising and linking to amazon.com
I have been wanting to add a sign to my mantel for awhile that was fall themed, especially when I see all the cute signs in the stores. Since I have a bunch of pallet wood in the garage, I thought that this would be a great project to use a piece on.
I had a ton of words going through my head to paint on the sign but in the end I settled on a simple thankful. This time of year I want to remind myself and my family to be thankful of the big things and the little things.
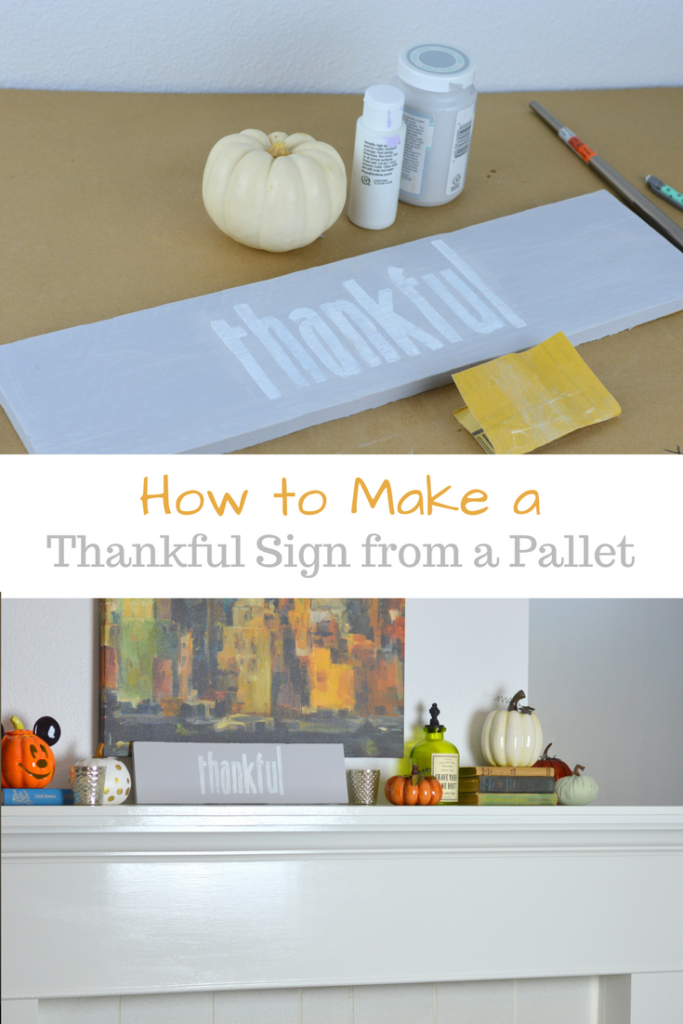
How to Make a Thankful Sign
I sent my husband outside with the pallet and a saw to cut a two foot piece of wood. I had him cut between the nail holes, however you may prefer the look of the nail holes.
You could sand the wood board at this point, however I did not.
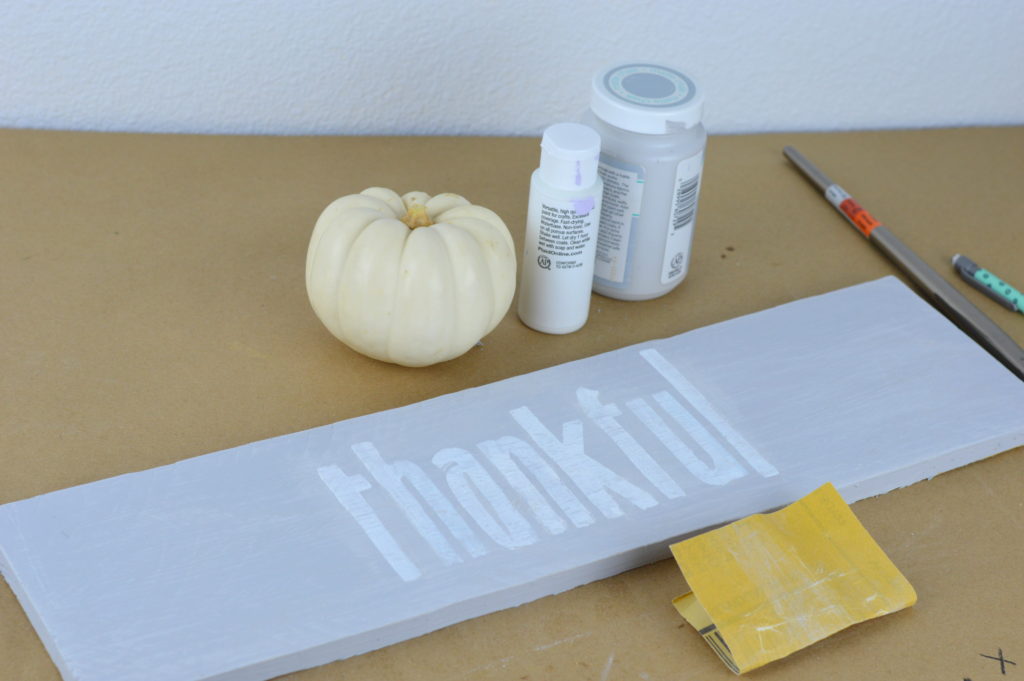
You can stain or paint the board. I used grey chalk paint that leaves a matte finish.
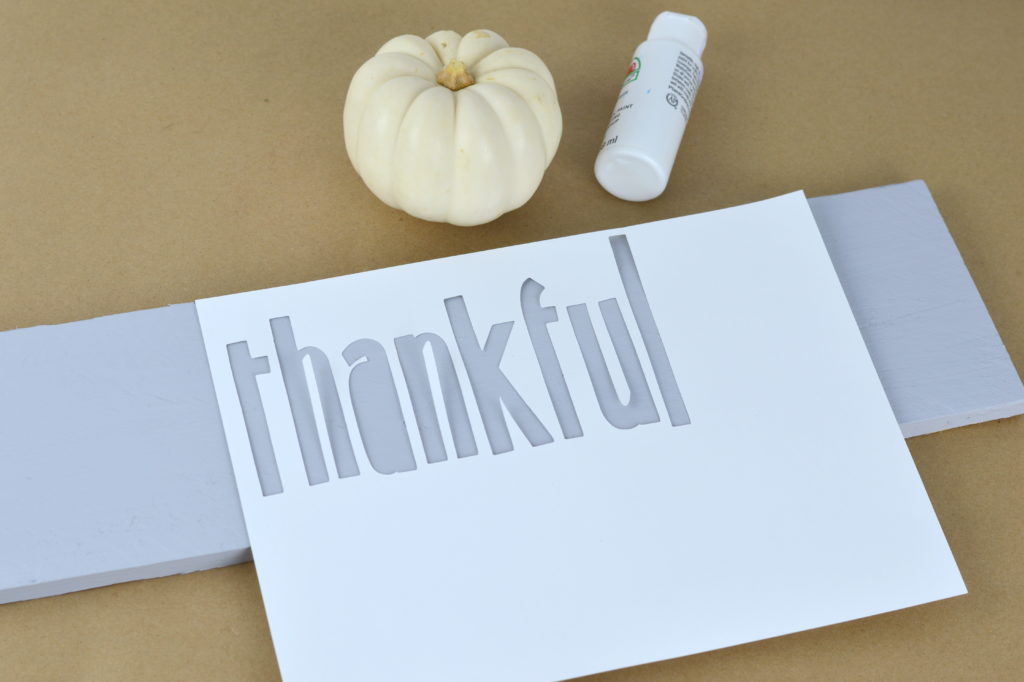
Then I cut my stencil out using my Cricut and a piece of cardstock. If you do not have a die cutting machine, you can pick up stencils at your local craft store.
Once the board was dry, I sprayed adhesive onto the back of the stencil. Make sure you get the edges of each letter well. Then I attached the stencil to the board.
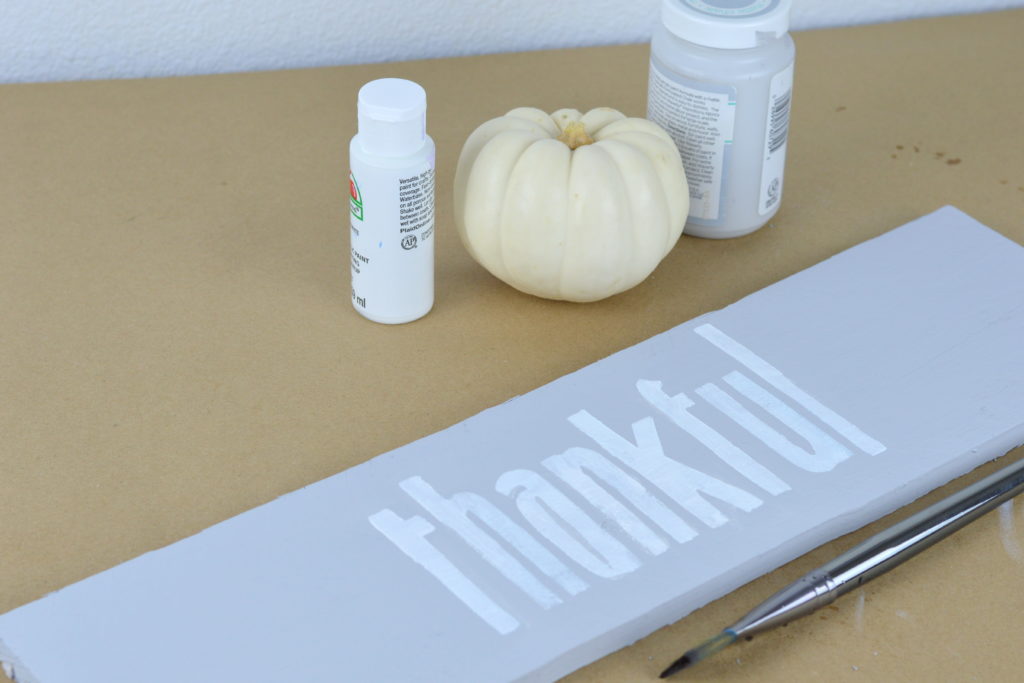
Using white acrylic paint and a dry brush, paint the inside of each letter. I applied very little paint to my brush going for a dry approach. I also brushed away from the edges of the letters to get a straight smooth letter.
Remove the stencil and allow your sign to dry. Optional: sand over your sign with a small grit sandpaper. I was going for a distress look. Then spray your sign with a clear coat.
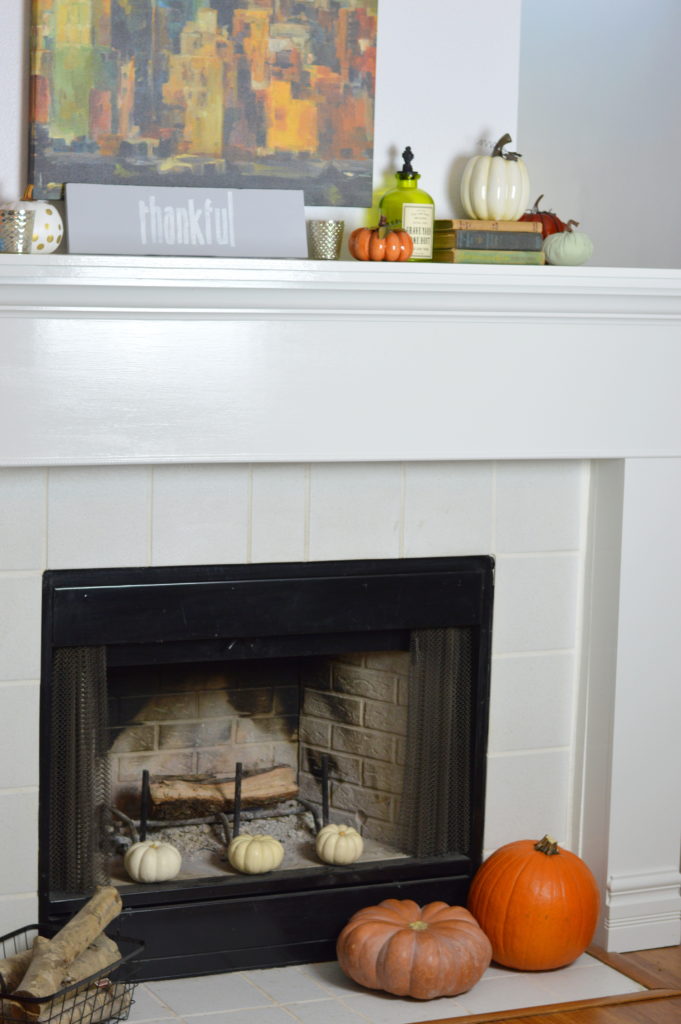
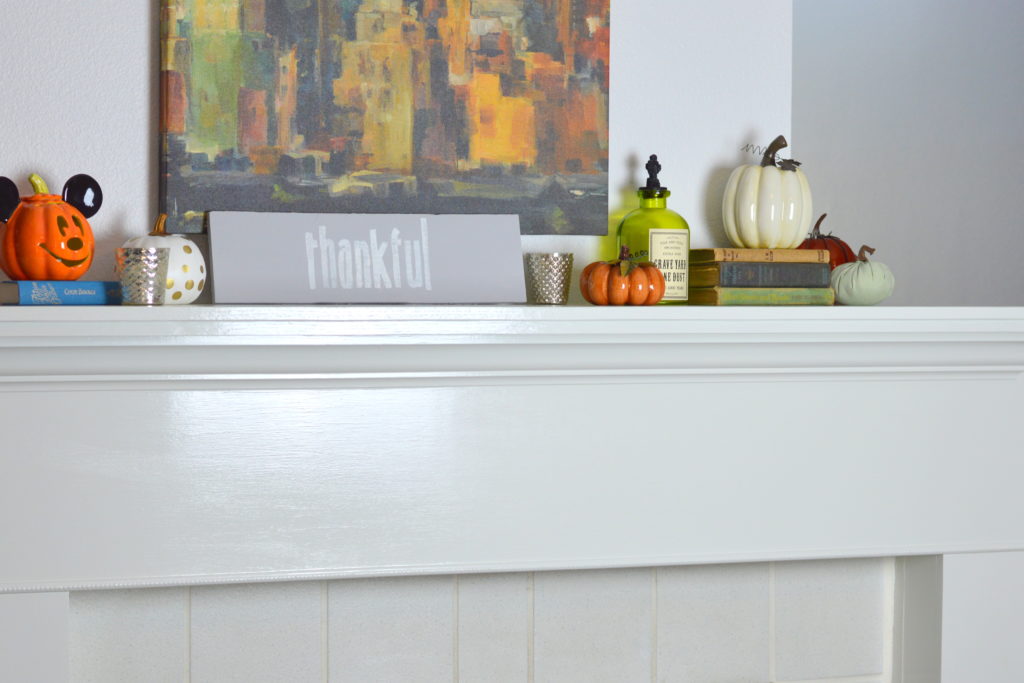
I placed my sign resting on my mantel, but you could also hang yours using Command Strips.
I am in love with my new thankful sign! It is the perfect addition to my fireplace mantel!
