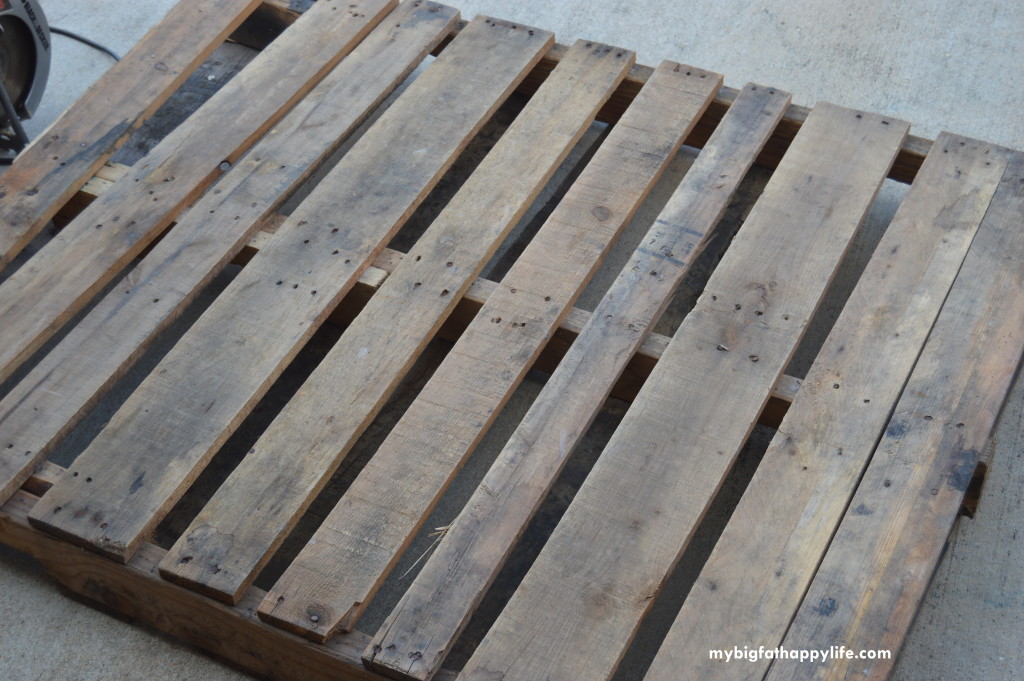
One day when I was coming home I spotted one of my neighbors was throwing away a couple pallets. If you read my redo of a trash to treasure chalkboard freezer you will know how much my husband hates picking up trash for me. So, I begged and begged him before I finally got my pallet. However, there it sat in my garage for several months before I was able to nail my husband down to turn it into a photo backdrop for blog photos for me.
I am so in love with it and it was so easy to make!
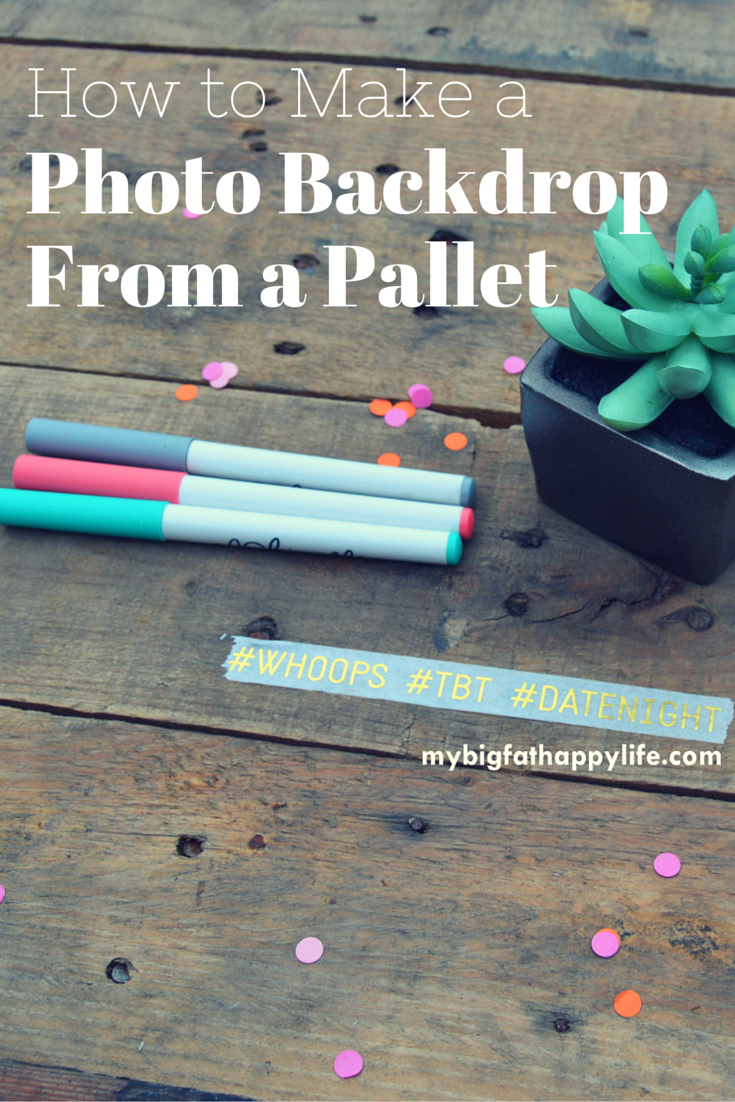
I made my photo backdrop 24 inches by 30 inches. There were enough pieces leftover that I could make another backdrop and paint or stain it for a different look.
Supplies Needed
1 pallet
nails or screws
reciprocating saw with metal blade
table saw or circular saw
How To
Instead of risking ruining the boards by pulling them off the pallet, my husband cut the nails from the frame. Once all the boards were removed I determined the size of the backdrop that I wanted.
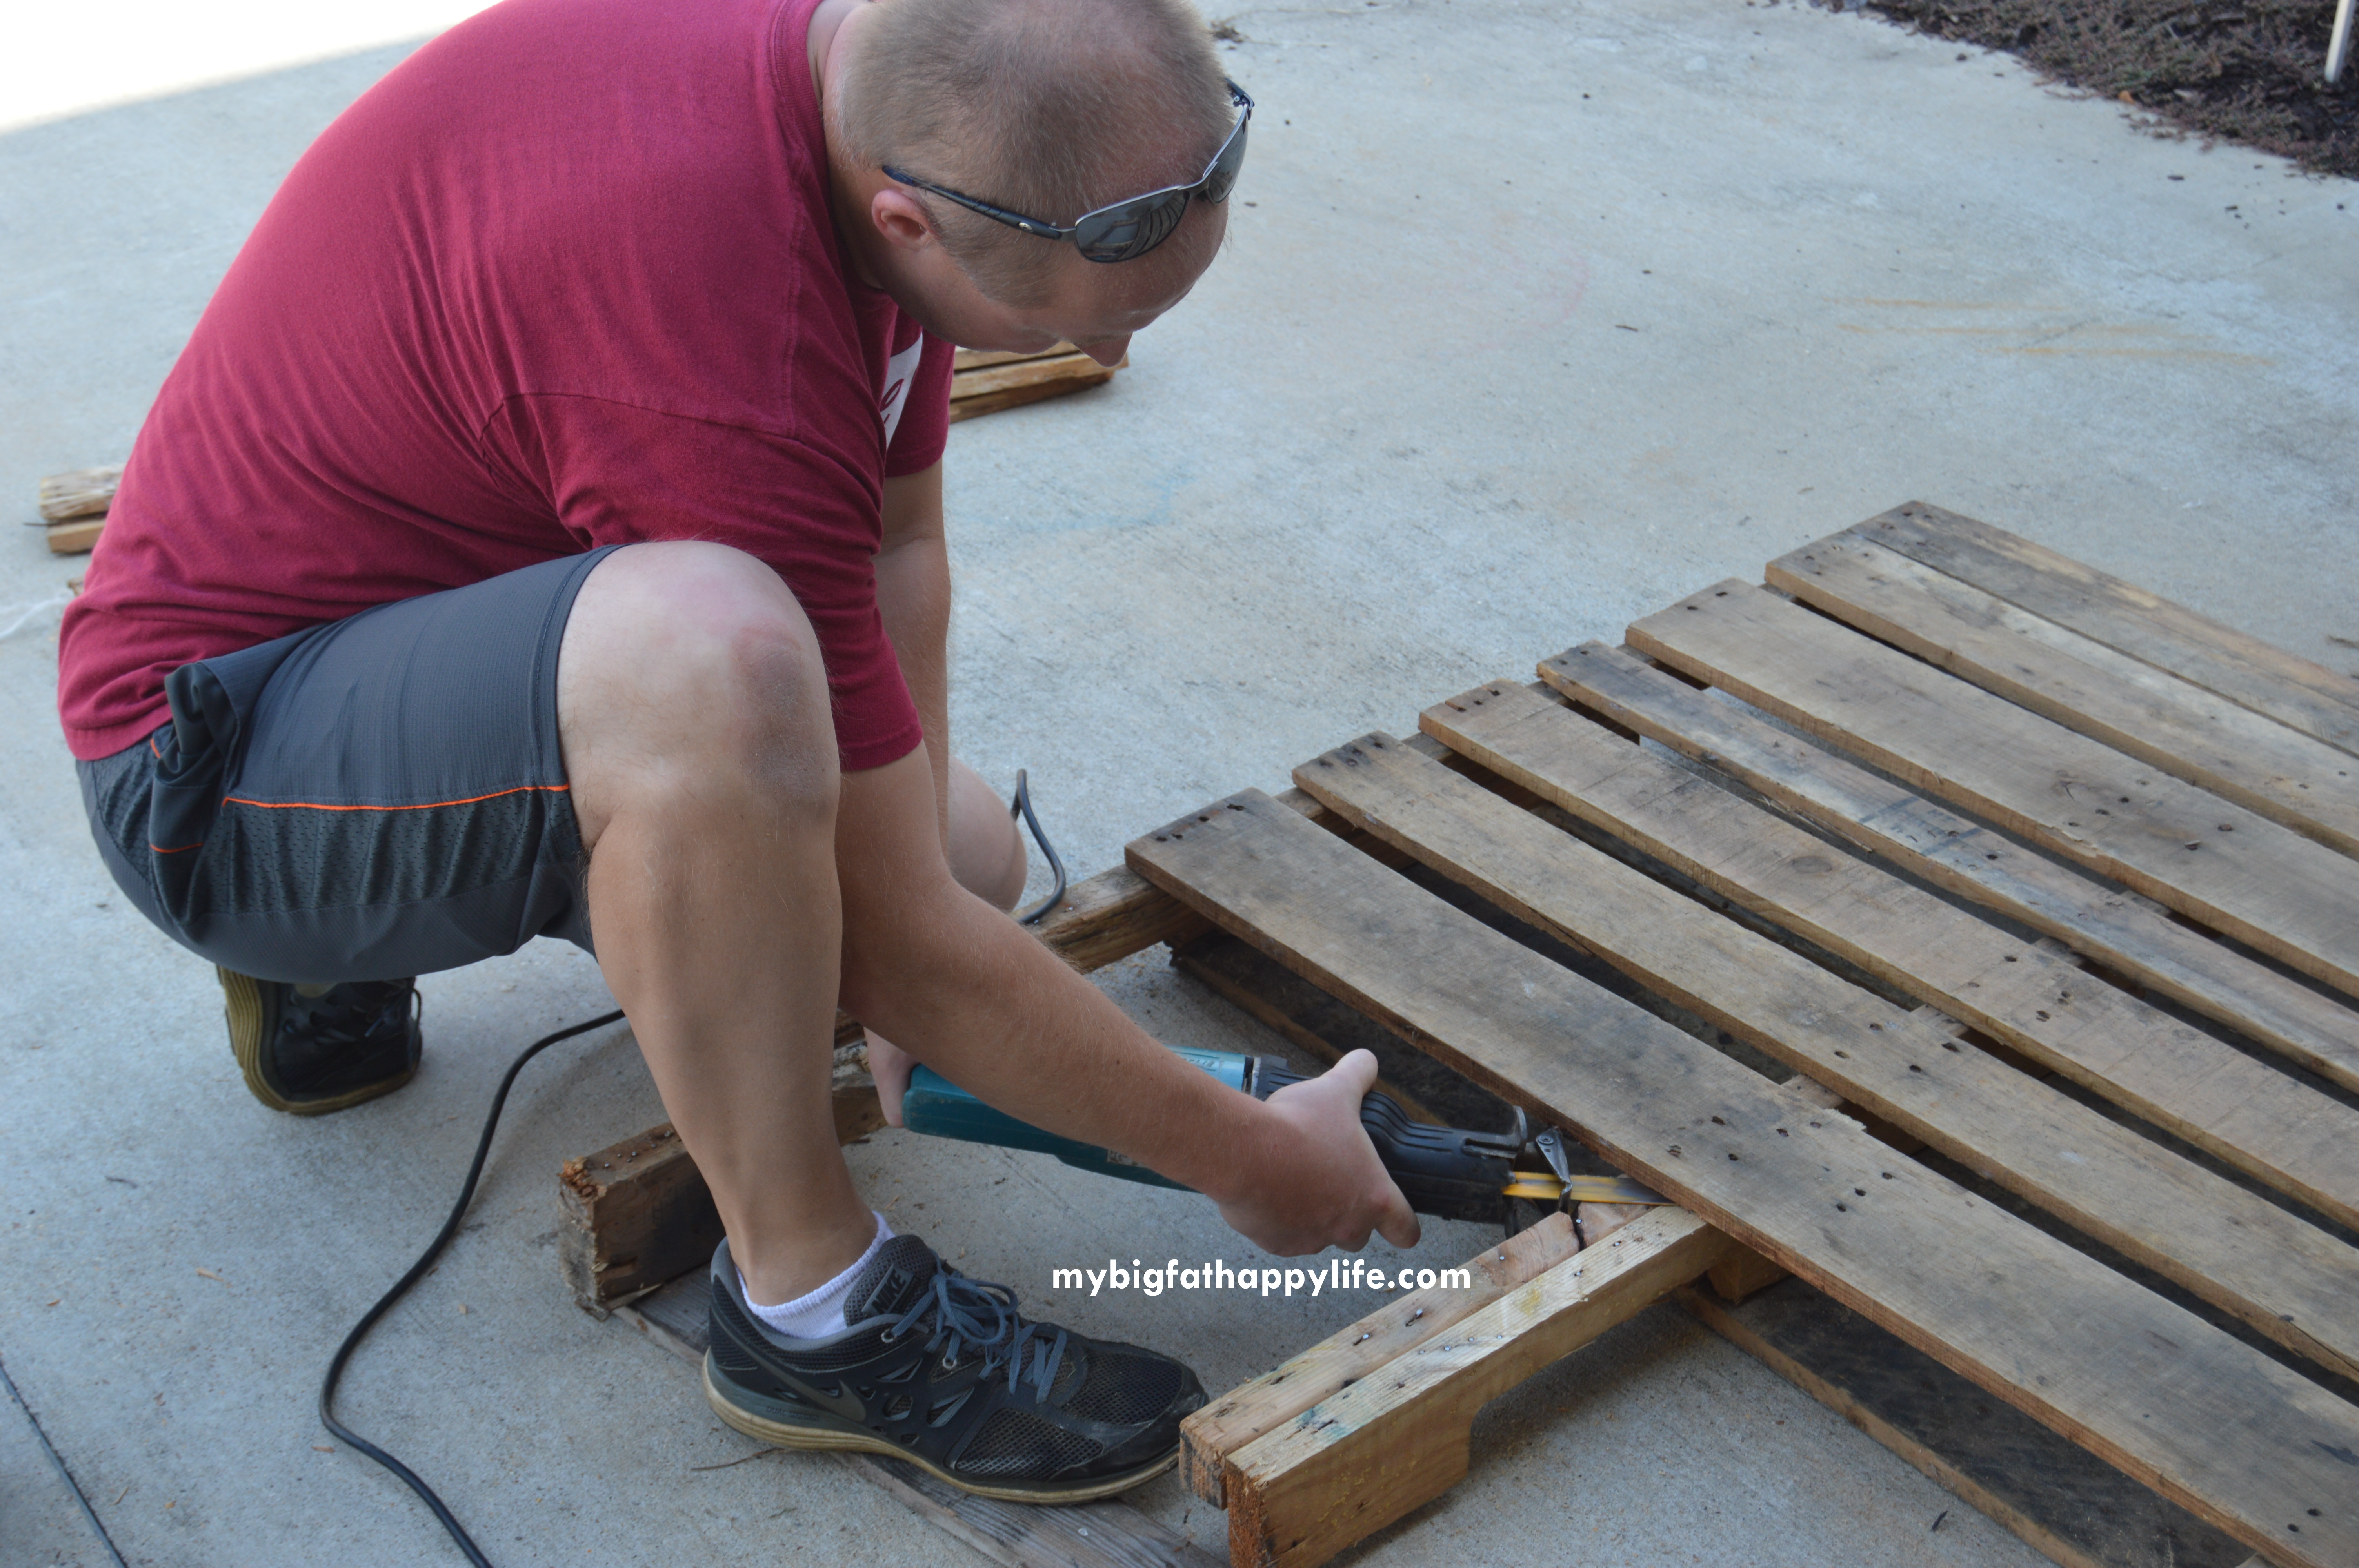
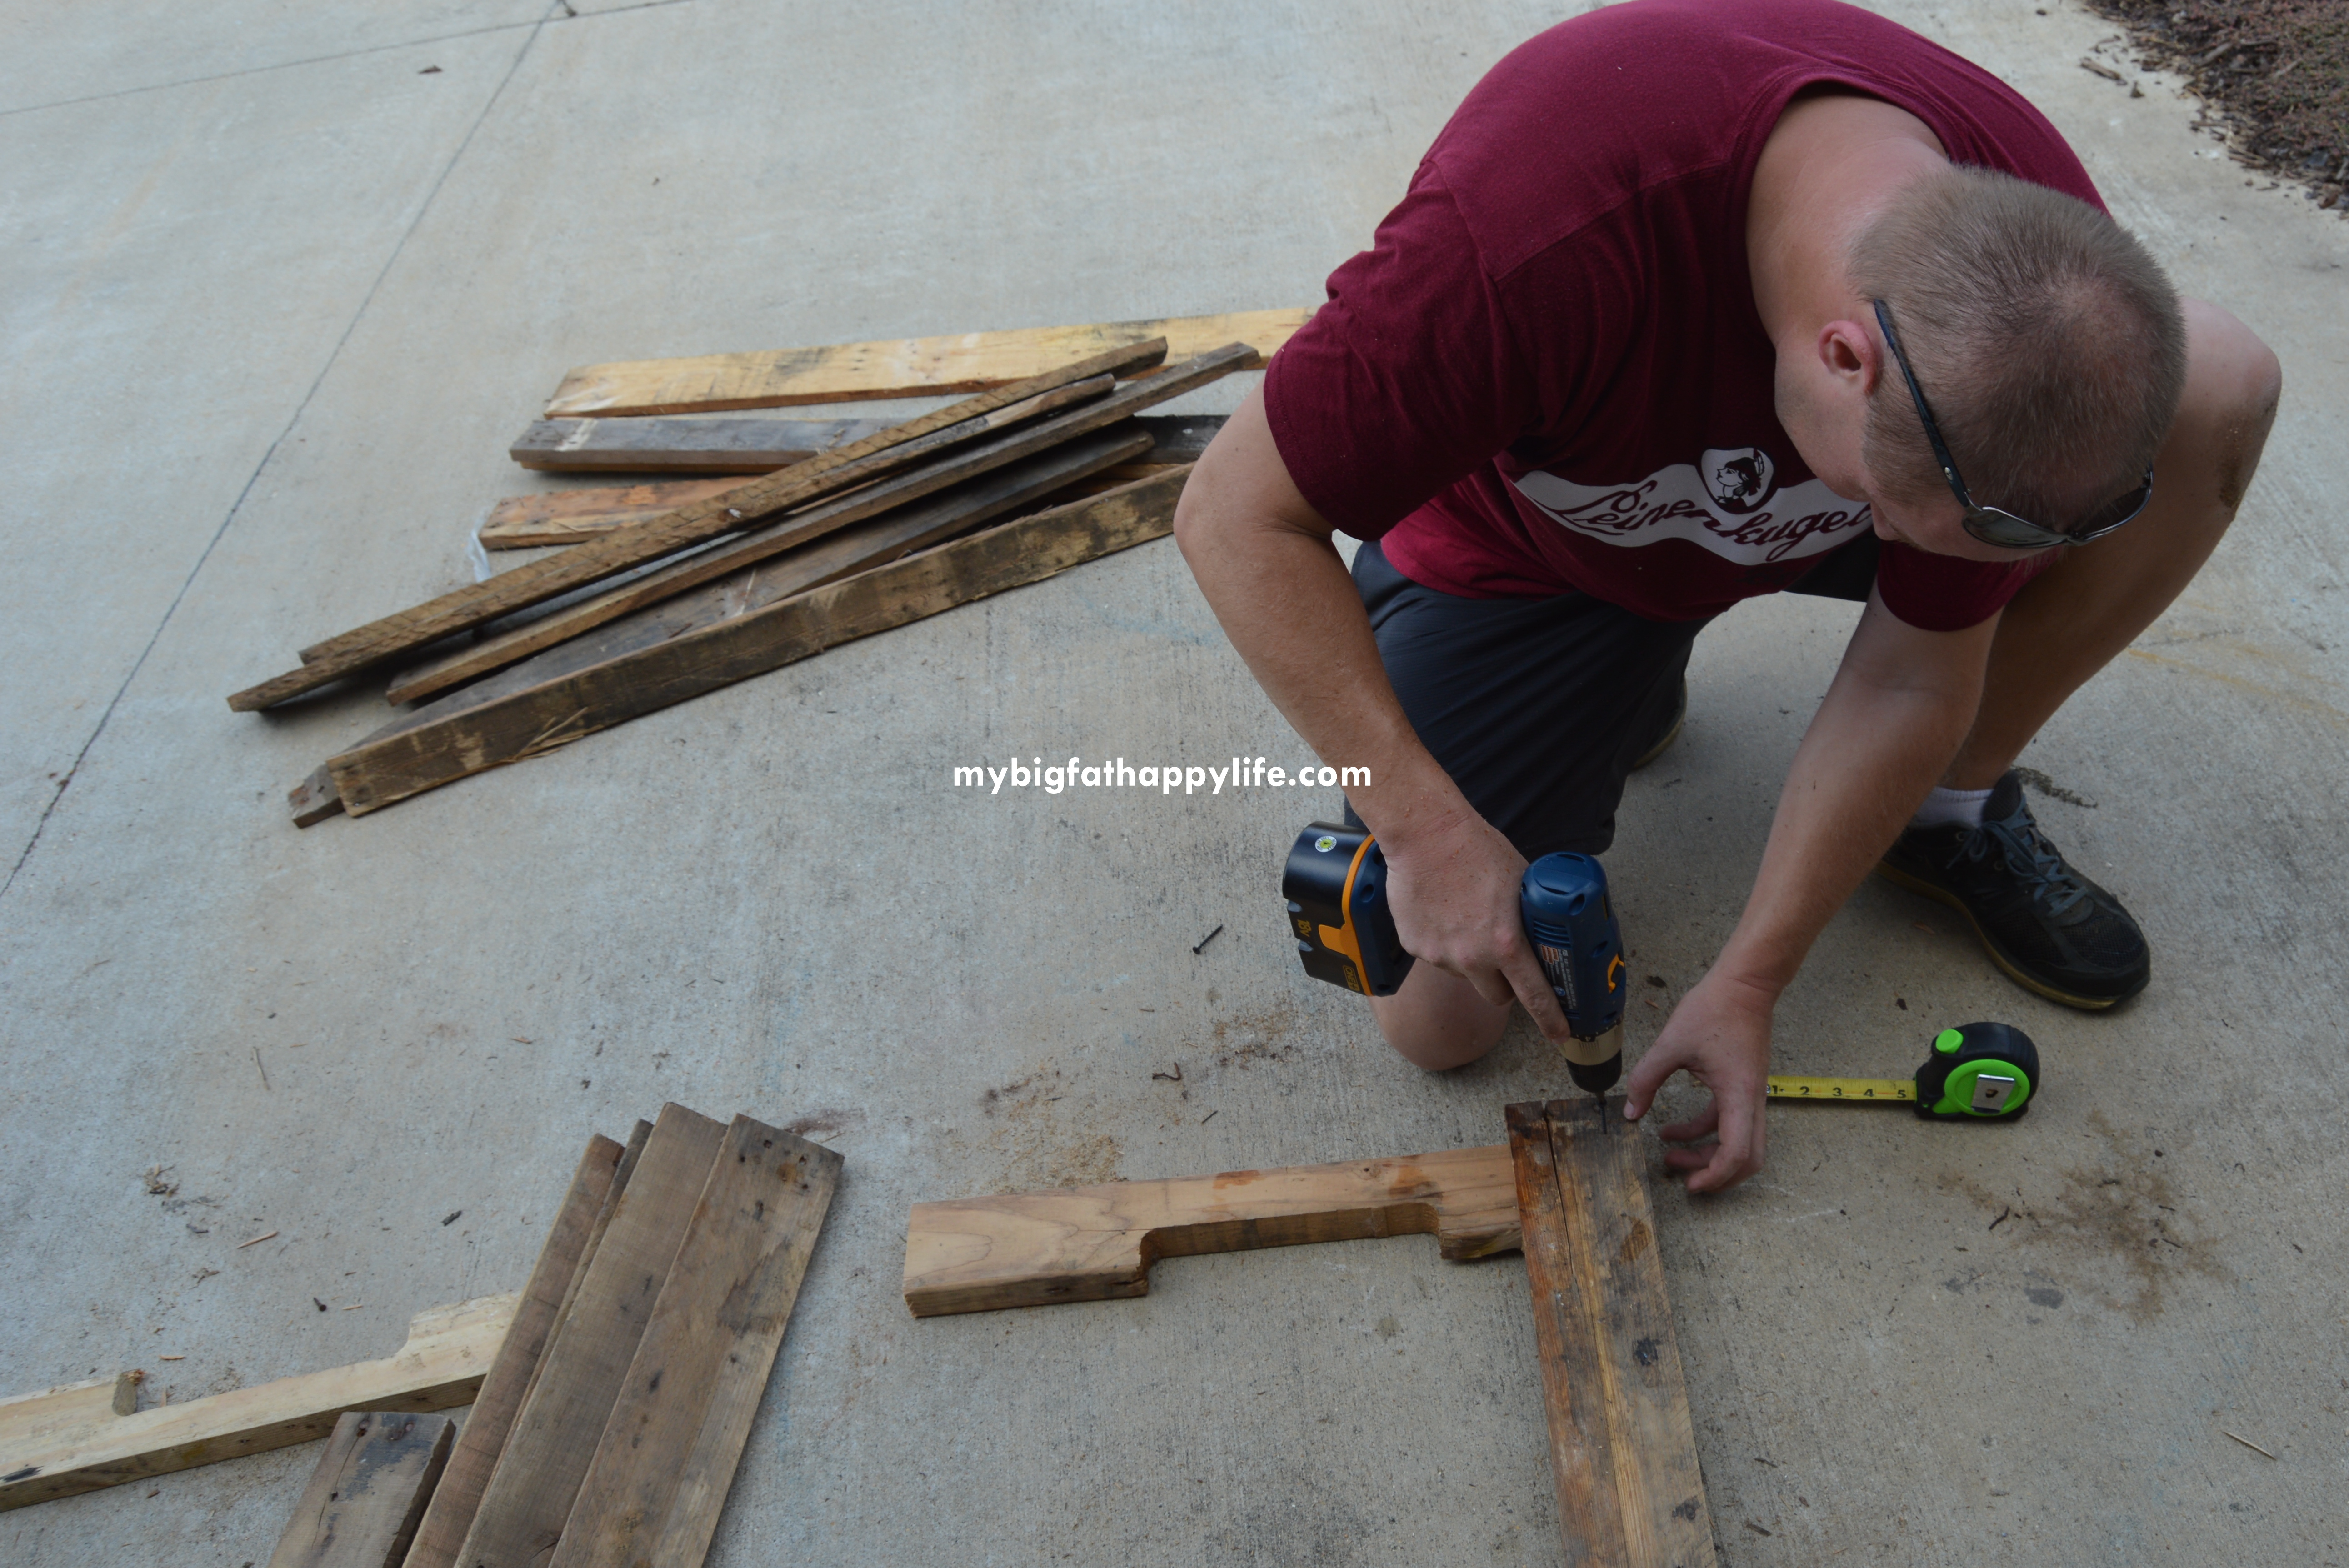
We reused the frame pieces from the pallet as the legs for the new photo backdrop by measuring the frame of the pallet the length that we wanted the legs and cut them. We also determined the width of the photo backdrop and cut the pallet boards the correct size.

Then it was time to reassemble, using nails or screws to reattach the boards to the legs/frame.
Enjoy taking beautiful photos on your new pallet photo backdrop!
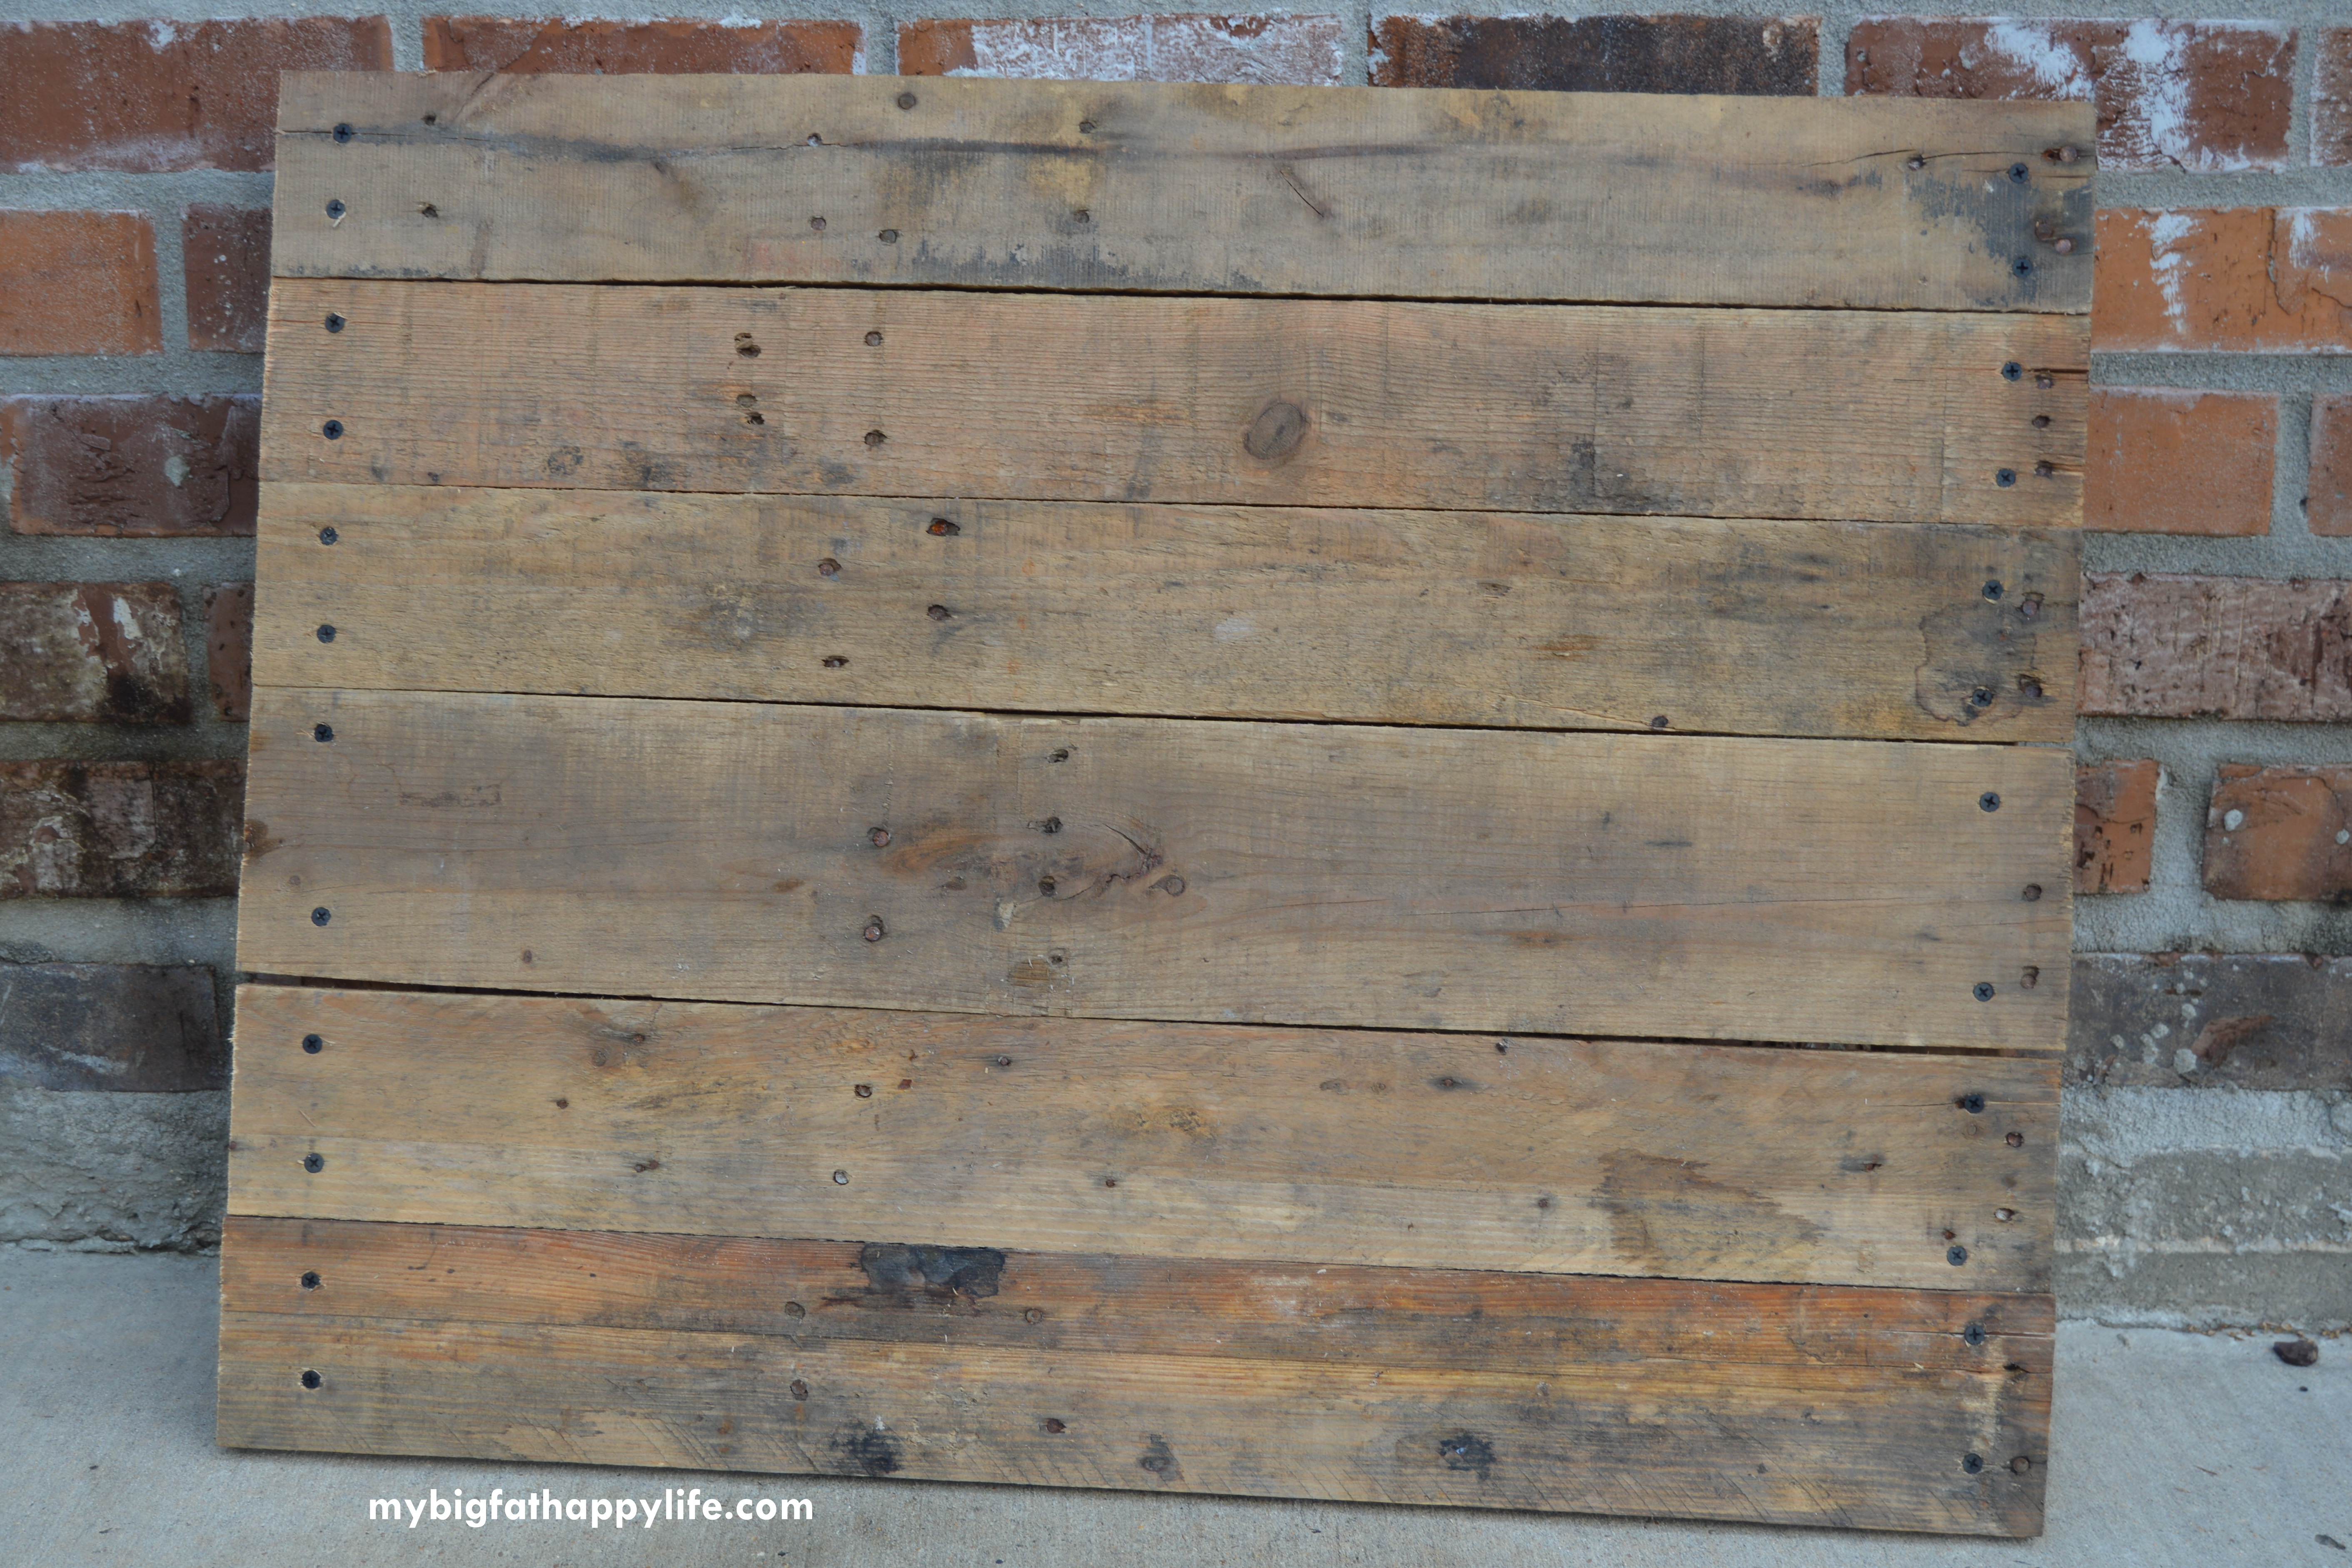
Finished Backdrop
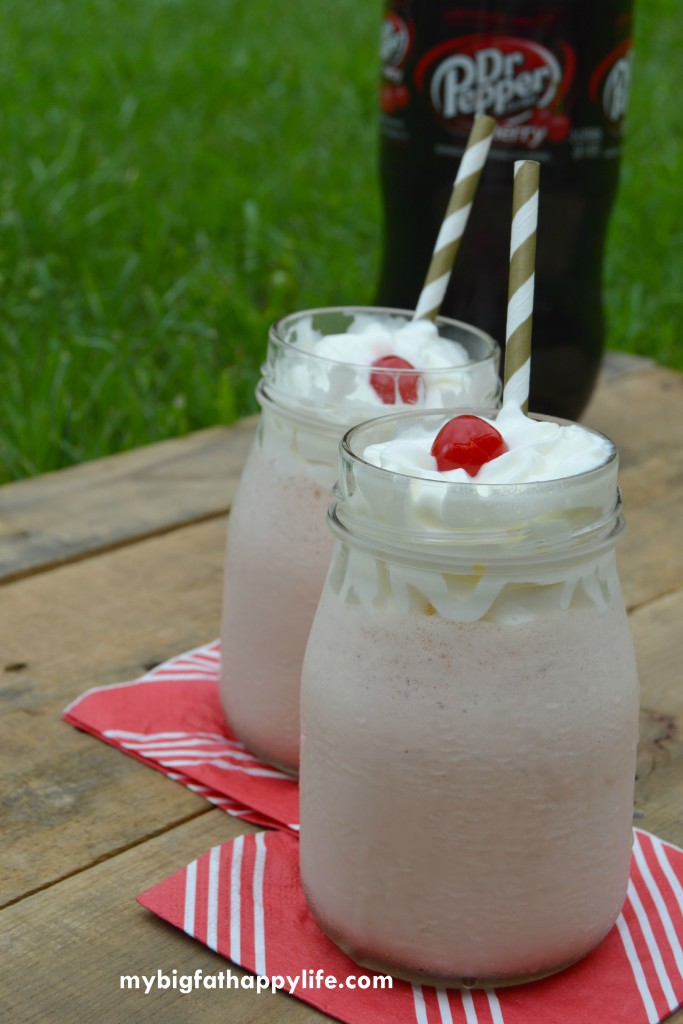
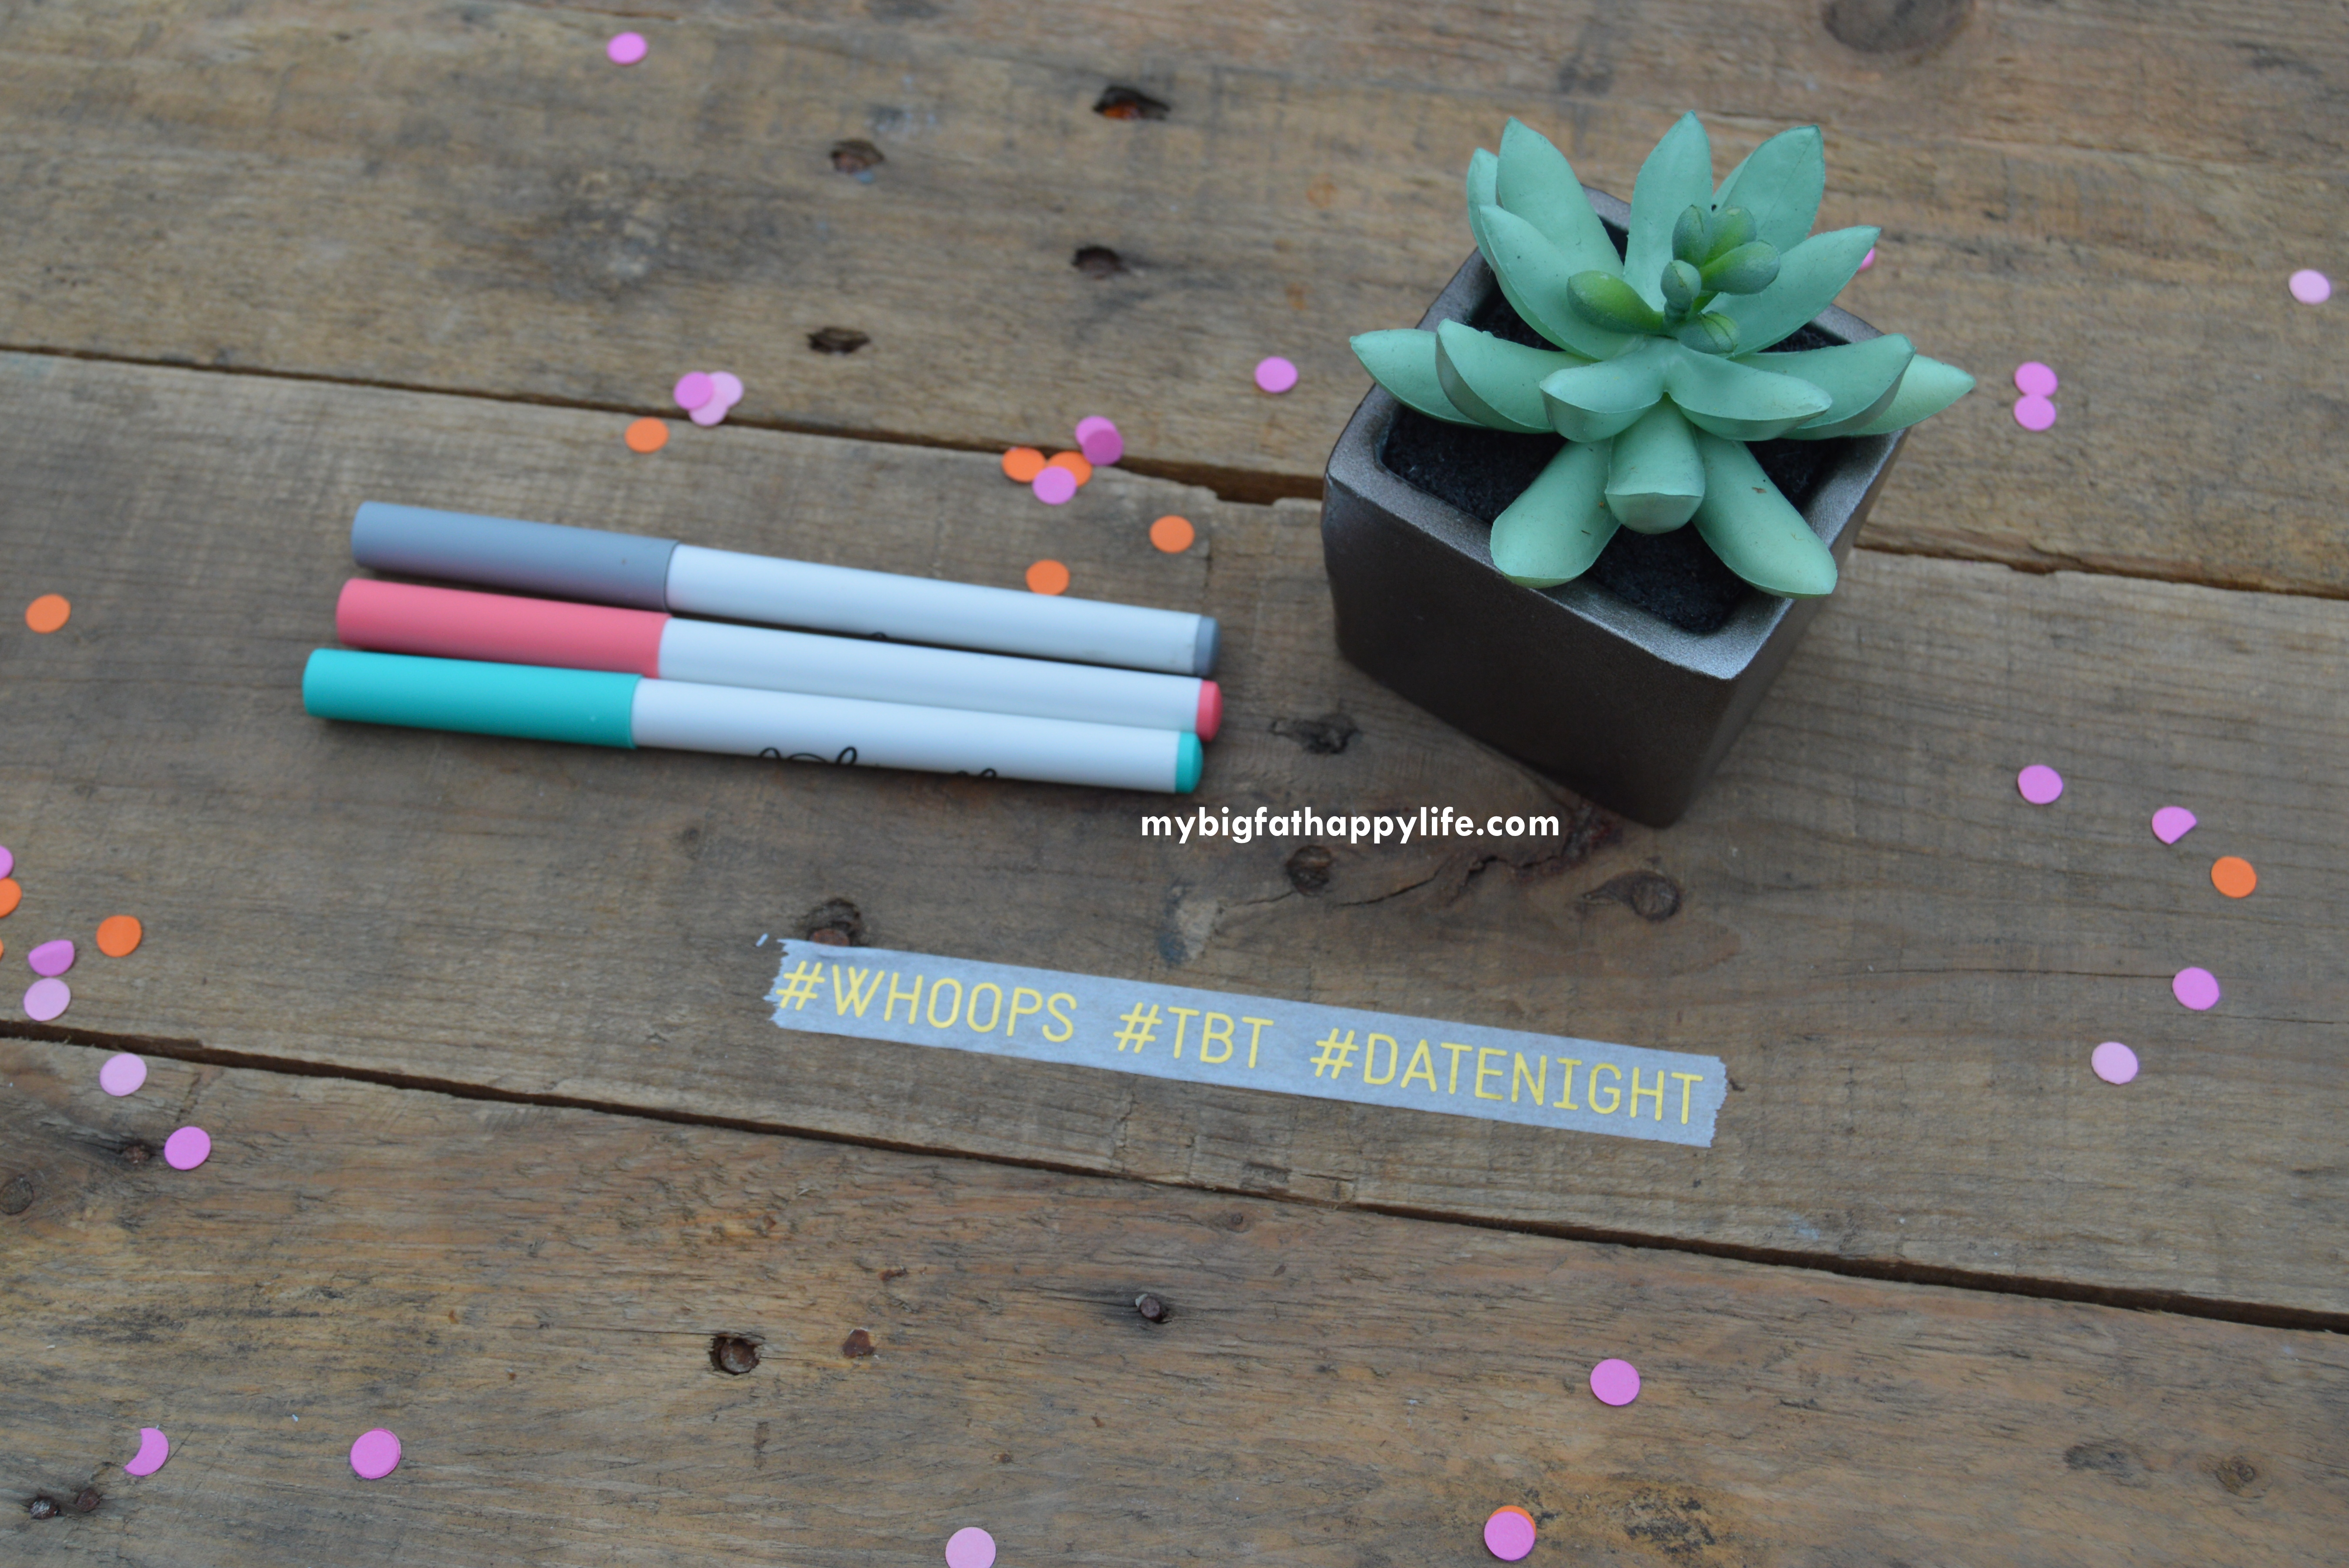
I love the texture and colors of the backdrop! I foresee many photo shoots with this board. Below are some photos I’ve taken using the new board.


It makes a fantastic backdrop! You make it look so easy. I can see why it would be one of your favourites! Just really rustic and simple.
Thank you Cristina!
Wow that’s really smart I’ve got to try that some time.
Thank you!
That’s amazing, I want one too! Now the hard part is to persuade my husband to do it for me!
It really was easy to do!
I love the look of the rustic wood!
Me too!
Love how easy you’ve made this! I have pinned so many photo back drop tutorials, but have yet to give any a shot. I think I may have to do this one. Plus, my photo backdrops are all the same. I love how versatile you could get with this. Make a bunch up and paint some!
Yes! I need my husband to assemble another, so that I can have one painted!
This is such a genius idea! I am so glad you shared this. I love it!
Thank you Marie!
That is beautiful!! What a great way to reuse something and make it work for your home!! Thank you for sharing with us at the #HomeMattersParty !
Thank you!
Your pallet backdrop looks great in your photos! I’ve always been a little nervous to use pallets because you have to pry them apart. I didn’t know you could cut the nails off. That’s a great idea. Did you use a reciprocating saw?
Yes, a reciprocating saw with a metal blade. So easy!
Really live this ! And definitely something k would live to use a lot !! Glad you linked up @ Welcome Home Wednesdays Laci @ Sequins in the South.
Thank you Laci!
What a great idea! I love the way you repurposed the pallet. I need to do some research on backgrounds so this is a great starting point. Thanks! #sundaysdownunder
Thank you Angela!
LOVE it…there is a place near my house that always has PILES of pallets that are free to take. I’m going to pick some up and do this..thanks.
Thank you Kim! I hope you enjoy yours as much I am loving mine.
What a resourceful way to create an inexpensive backdrop! Thanks for sharing!
Thank you Jessica!
This is adorable and so handy! I love the pallet backdrop in photos. Thanks so much for sharing in the Welcome Home Wednesday link party! We really hope to see you again next week!
Thank you Brittany!
What a great idea! I love seeing stuff reused and repurposed!
Thank you for sharing with us at #MommyMeetupMondays!
Thank you Brandyn!
This is such a great way to use an old pallet! Thanks for linking up with Creative Spark—this was last week’s most-clicked project and will be featured at this week’s party. Hope you’ll stop by tomorrow and link up with us again! Congrats!
Thank you so much Emily!
Good Morning Paris!! Just popping in to let you know your post has been picked as a feature at the Welcome Home Wednesday Link Party! Stop by this morning to see your feature and link up! Don’t forget to grab your “Featured” button!
Thank you so much Lisa!
This is great! I’ve just started doing my own photography and love picking up new tips. Thanks so much for sharing your ideas with Share The Wealth Sunday!
xoxo
Lisa
Thank you Lisa!
Hi, Paris ~ Love this tutorial! I love the look of wood backdrops, but I’ve never tried to make one. Now I know exactly what to do. Thank you! Pinning this and sharing! Thanks for partying with us at the Merry Monday Link party! Hope to see you again on Sunday!
Thank you so much Tiffany!
Oh my! This looks absolutely gorgeous! I love the look of it, I currently use a white backdrop but I would love to have something different sometimes. Definitely gonna try making this, or something like it. Thanks for the idea!
Thank you Monique! I hope you enjoy your new backdrop!
Oh, I absolutely love this and wish I had thought of it first! I am obsessed with taking pictures so I will have to try this. Thanks for sharing at #MommyMeetUpMondays
Thank you Jules!
Love this idea! I was just talking to a fellow blogger the other day about how to make new backgrounds. This one is a winner!
Thank you Kirsten! I hope it helps!