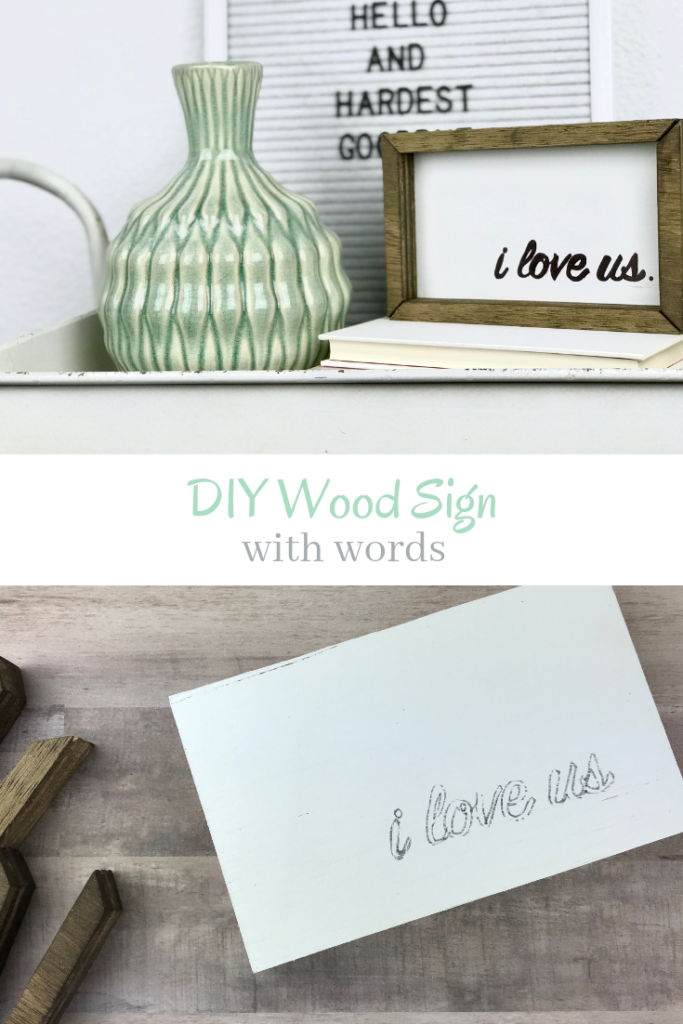
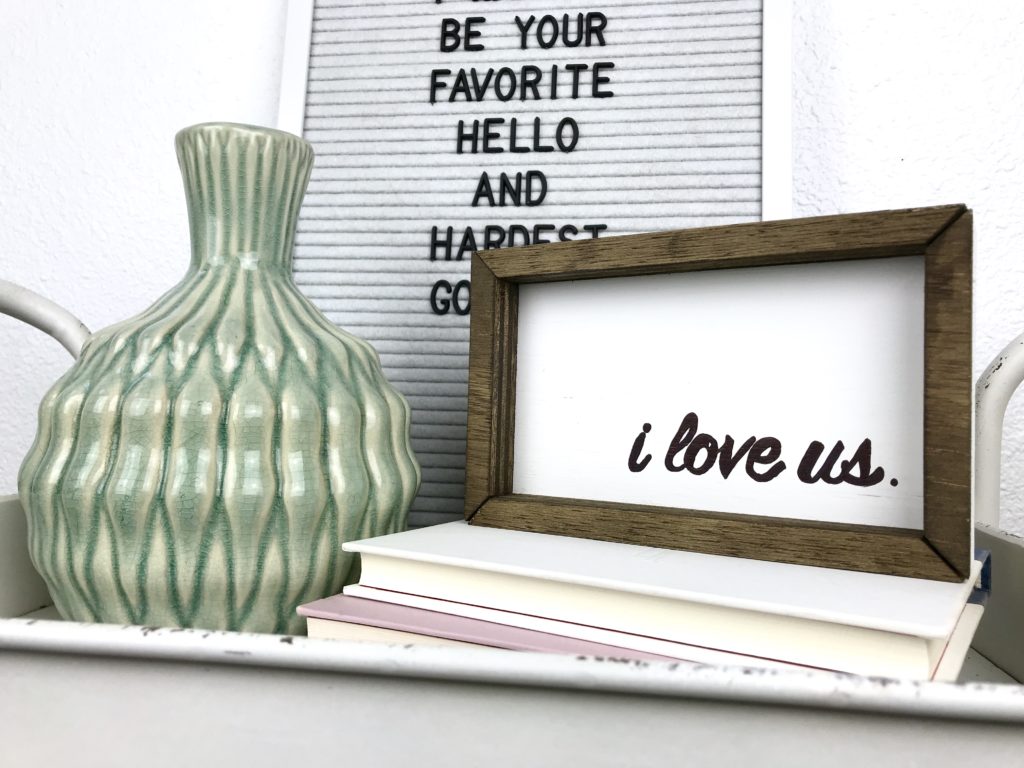
Making a DIY wood sign is easier to than you might think! Here’s a great tutorial for how you can make your own wood “i love us” sign for your home.
Disclosure: My Big Fat Happy Life is a participant in the Amazon Services LLC Associates Program, an affiliate advertising program designed to provide a means for sites to earn advertising fees by advertising and linking to amazon.com
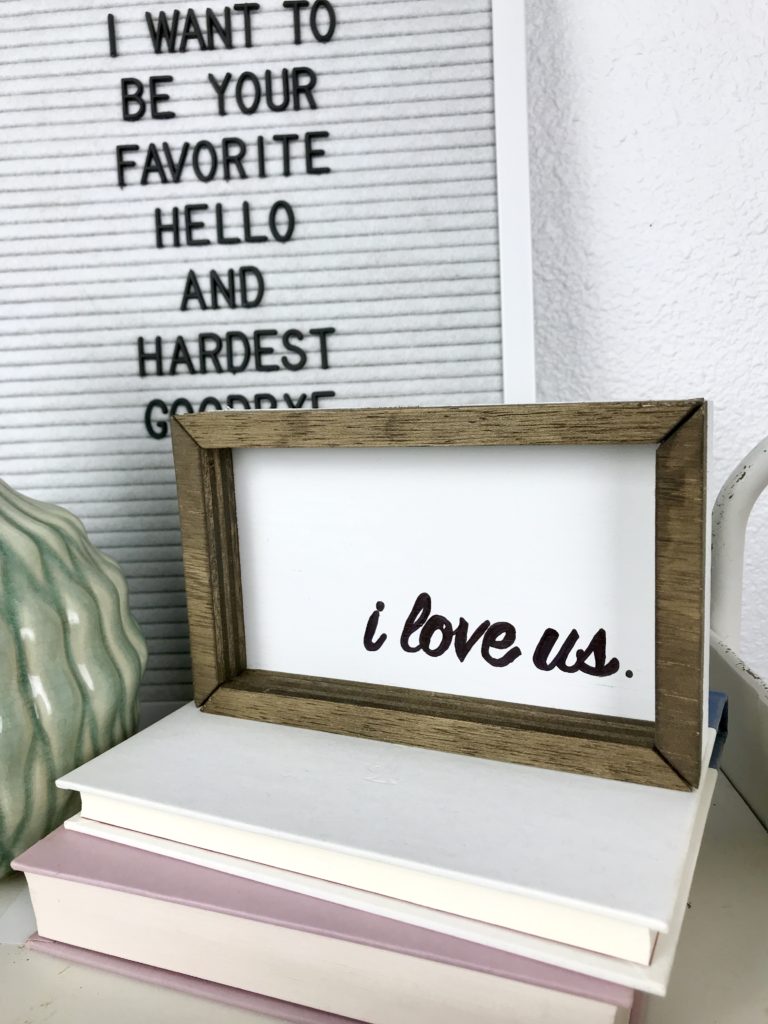
During my last visit to Magnolia Market in Waco a couple months ago, I saw a sign that said: “i love us”. I absolutely loved the sign, however, it was a tad bit expensive. I was still thinking about the sign last week and decided to try making a smaller version for myself. It was so easy to do! I am definitely going to make more signs.
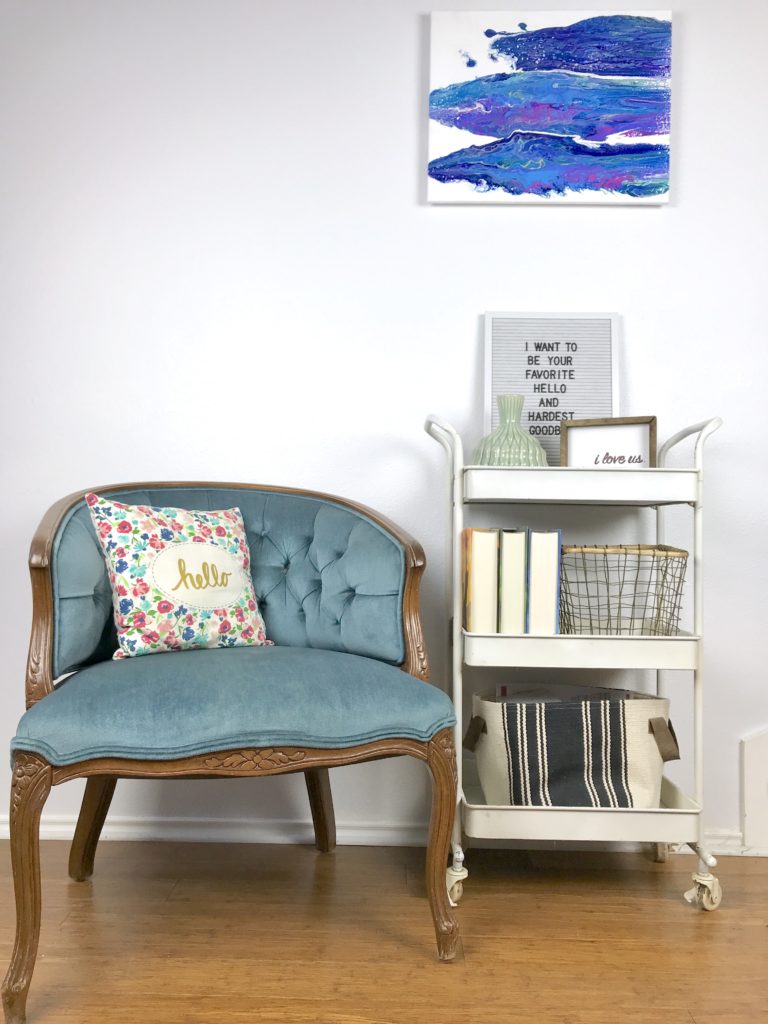
I made this sign small because I knew that I wanted it sitting on the table/cart in my entrance way, however, the sign can be made any size. You will just need to adjust the measurements.
DIY Wood Sign
Materials:
- 1/2″ thick plywood panel cut at 5″ x 7″
- 1×2″
- 1 1/4″ brad nails or finish nails
- Paint and primer for the sign background
- Paint Marker
- Paintbrush
- Wood Stain (I used Minwax Jacobean)
Tools:
- Miter Saw
- Brad Nailer or Hammer
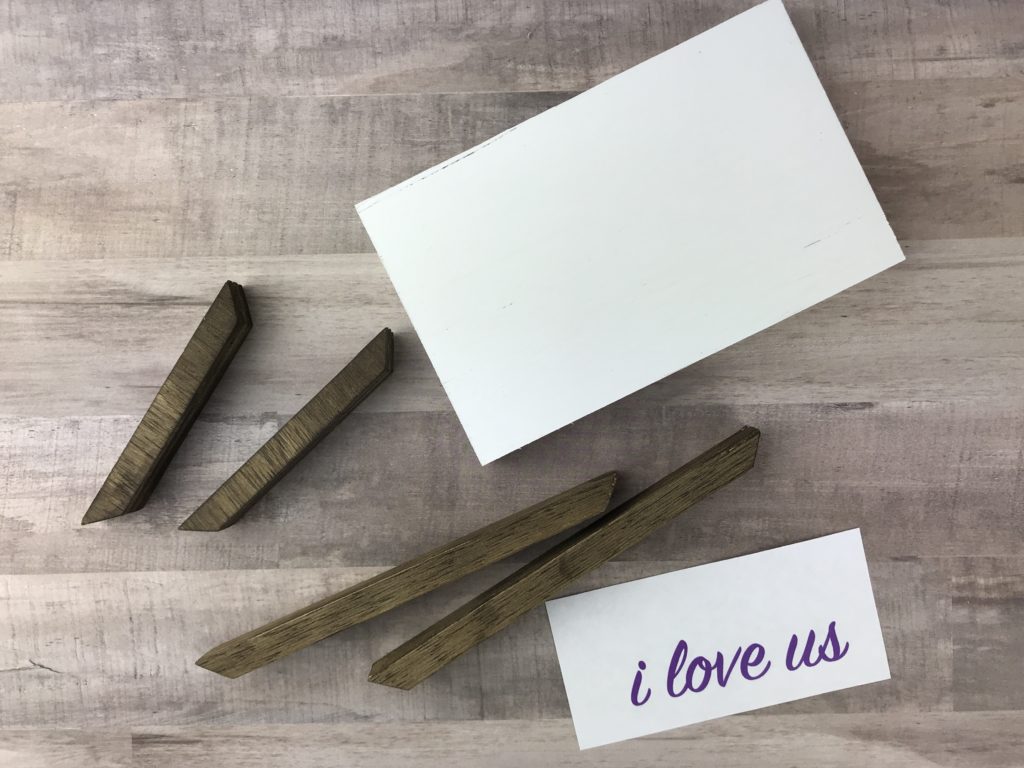
1. Using a miter saw, cut your 1x2s to the following sizes: two pieces at 5″ and two pieces at 7″ with the ends cut at a 45˚ angle.
OR if you are making a custom size sign do two at the exact length of the width and two at the exact length of the height with the ends cut at a 45˚ angle.
2. Stain all sides (except the back), of your 1×2 frame pieces. I use the old t-shirt method for applying stain. It’s really easy, just wipe the stain on using a small part of an old t-shirt and then wipe off the excess.
3. Next, use a paintbrush to prime and paint the front side of your plywood piece.
4. Print out the quote or phrase that you would like on your wood sign. For mine, I choose “i love us.” I printed the phrase out on my printer using SignPainter font in size 98 pt. Then, cut the excess white paper off around your design.
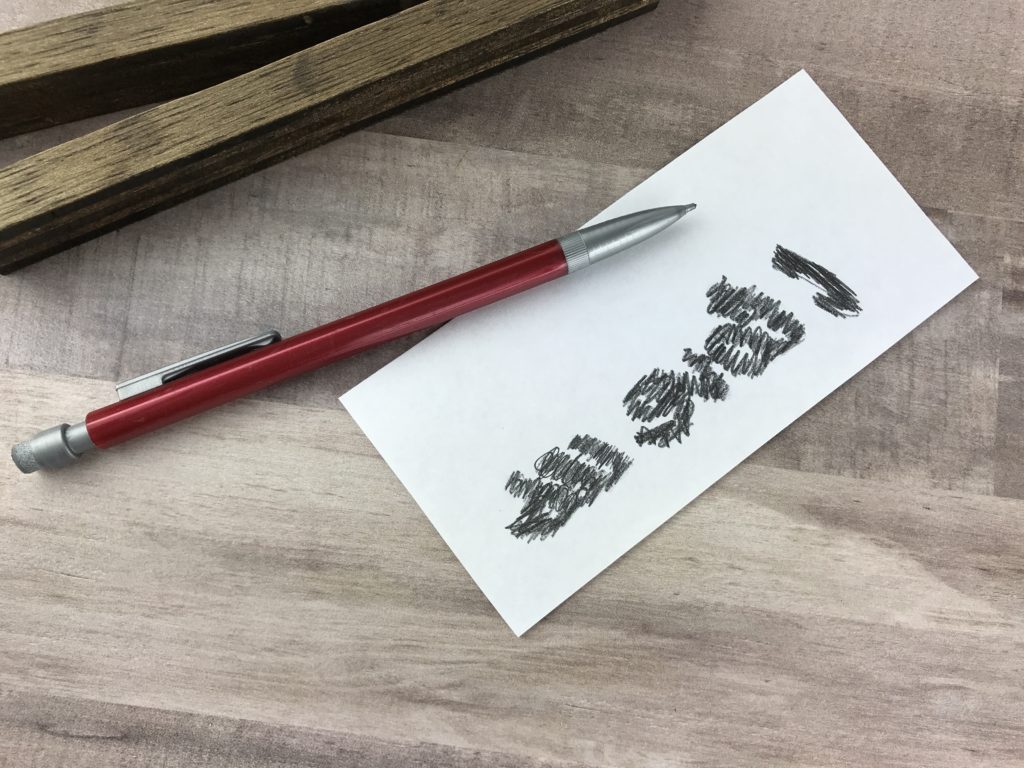
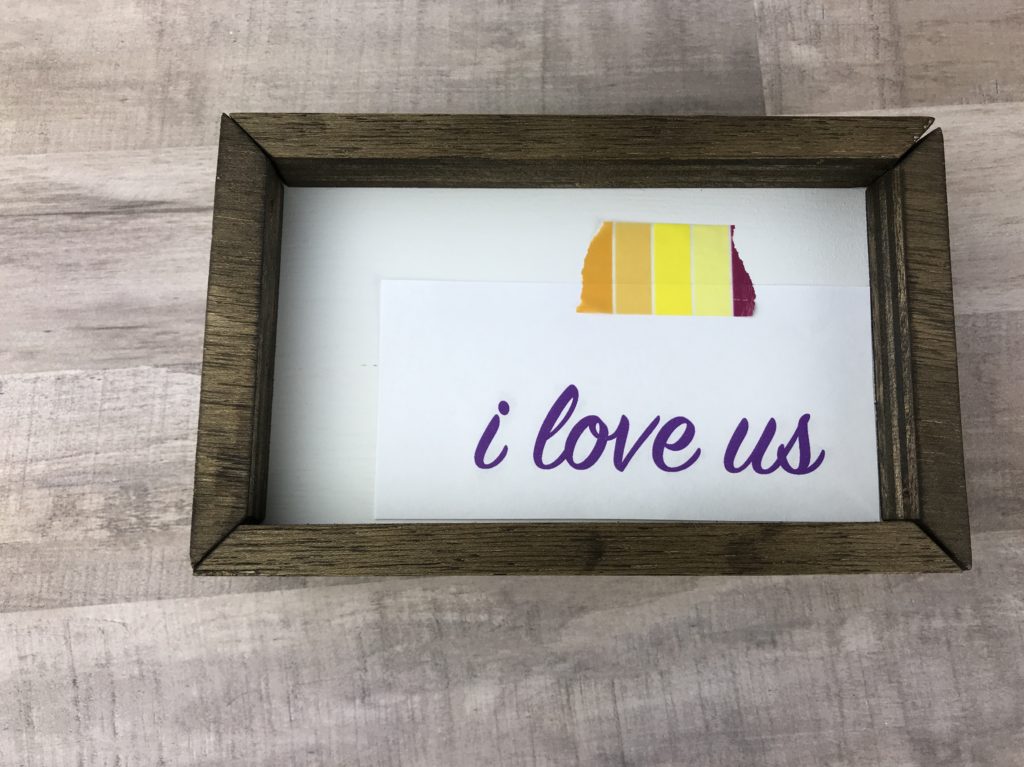
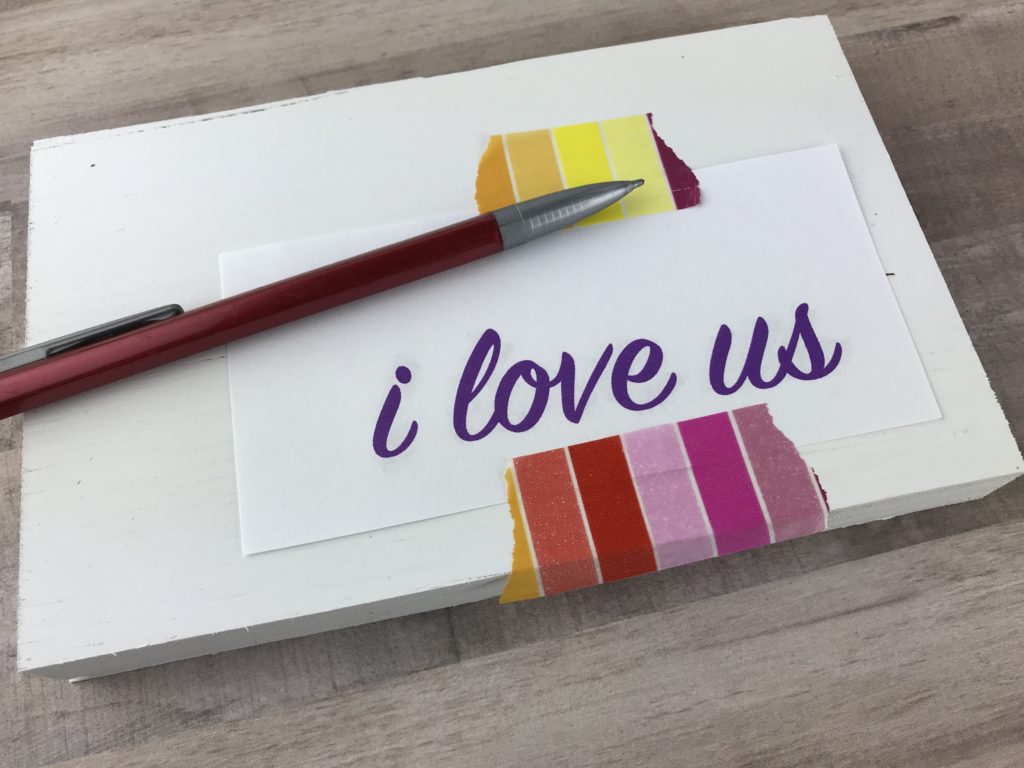
5. Next, in order to transfer the letters to your sign, color (on the reverse side of the paper) the words of your phrase using a pencil. Then, flip your phrase back over and secure it into place on top of your sign using washi tape or painters tape. I placed my frame pieces into place on top of my sign to help me place the phrase, but then I set them aside to make it easier to paint the phrase on.
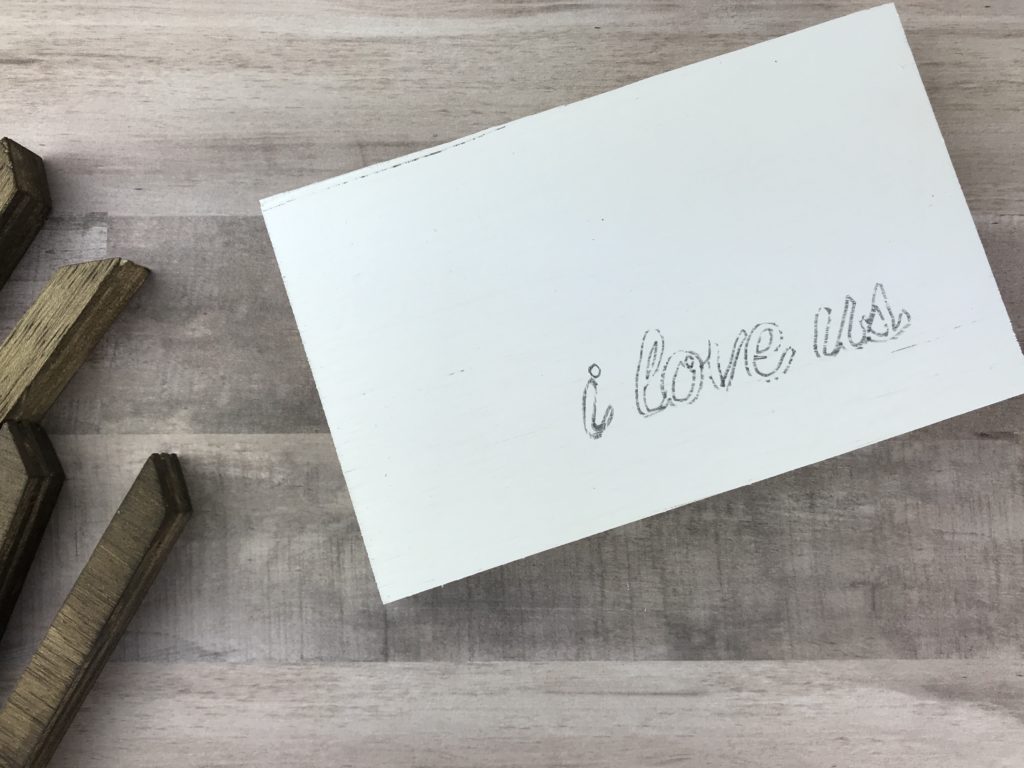
6. Next, start tracing over the phrase with your pencil, pressing down the pencil as you trace. Remove your paper and your phrase has been transferred onto your wood!
7. Complete your phrase by tracing over the pencil outline with a paint marker. I used a black Sharpie medium and fine point marker.
8. To attach the frame to the sign, line up one piece of the frame at a time on top of the plywood sign. Lining up the edge attach from the back of the plywood through the frame piece using a brad nailer. Repeat for all the remaining pieces.
9. Enjoy your completed wood sign!
Let me know if you make this sign or what phrase you would like on a sign in the comments.
