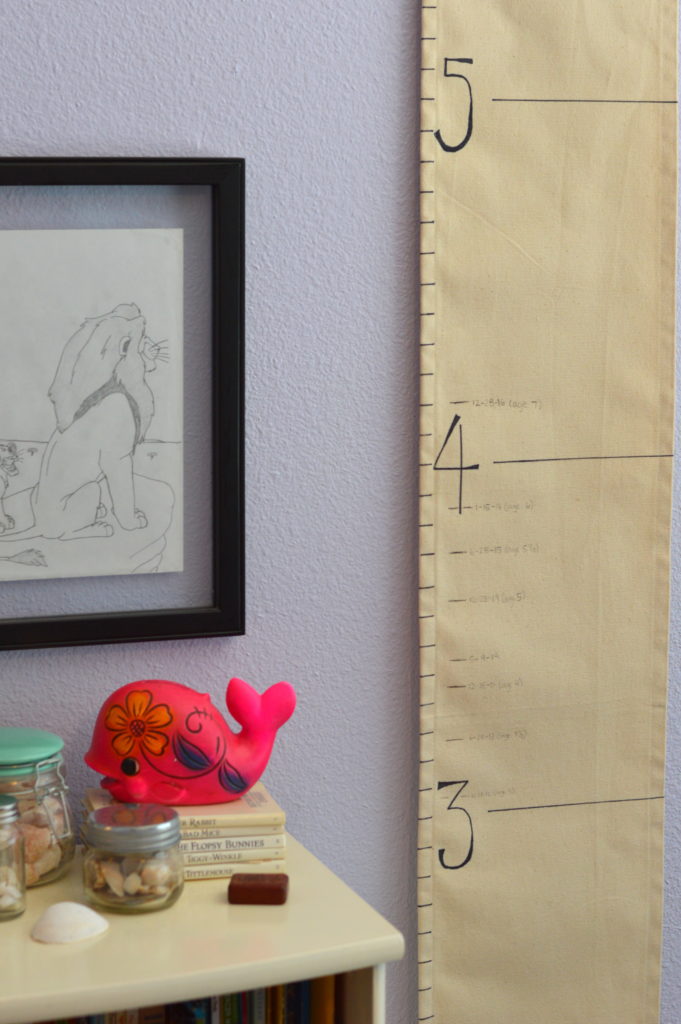
S was almost 3 when we moved into our old house and I started marking her heights on the inside of her closet. Unfortunately, even though I thought we were going to live in that house a long time after 4 short years, it was time to move on.
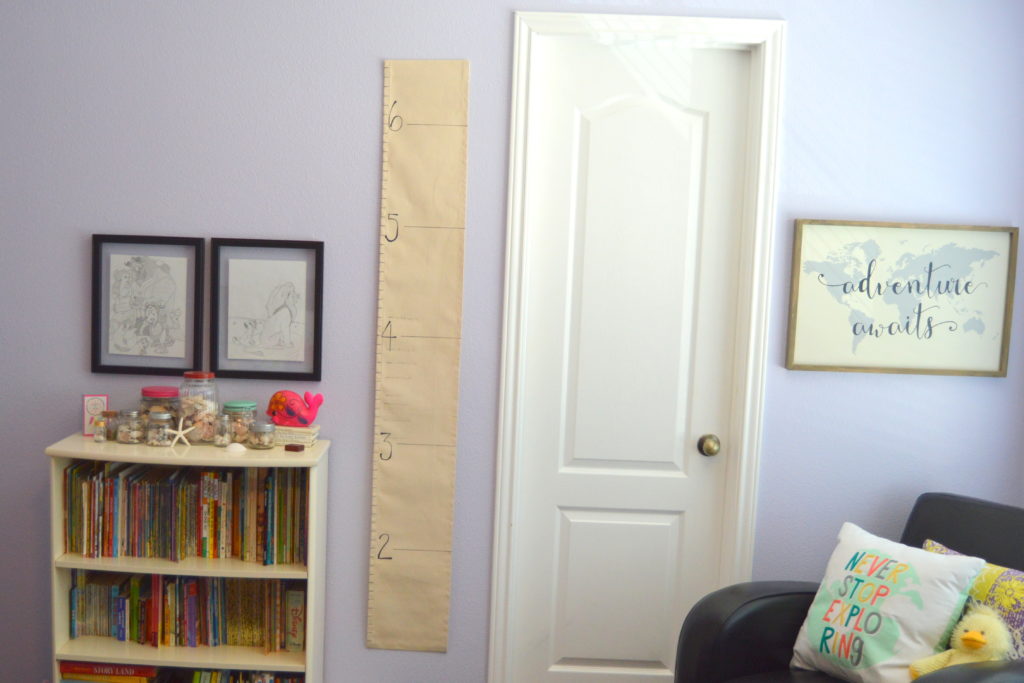
So, how did I preserve her measurements? I asked my mom to make me a growth chart that I could transfer the heights too.
Below is a tutorial from my mom on how to make your own growth chart.
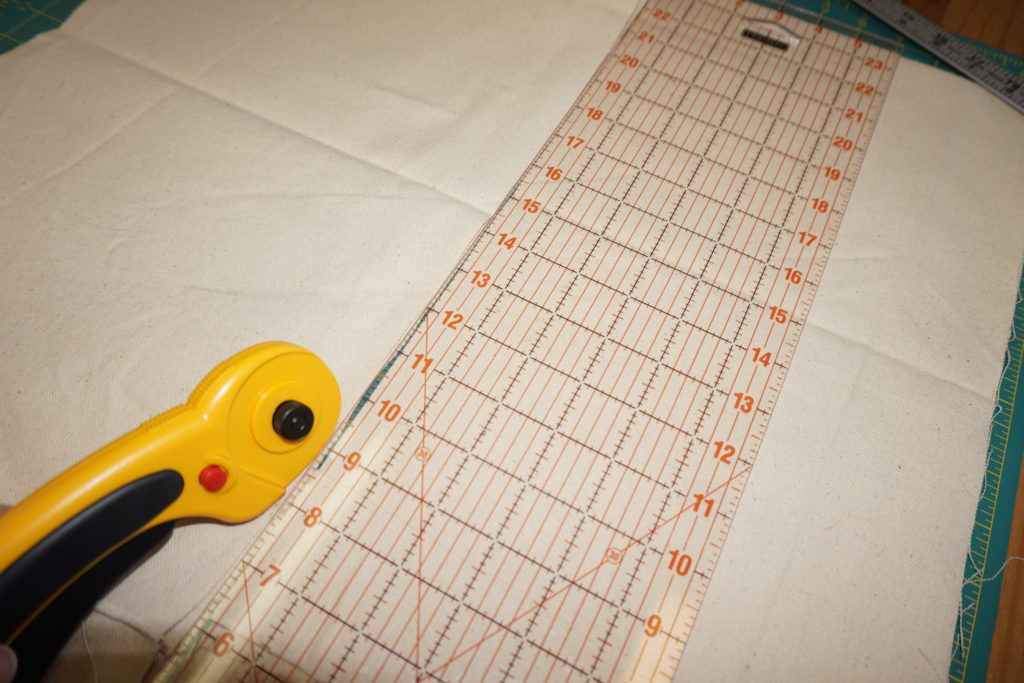
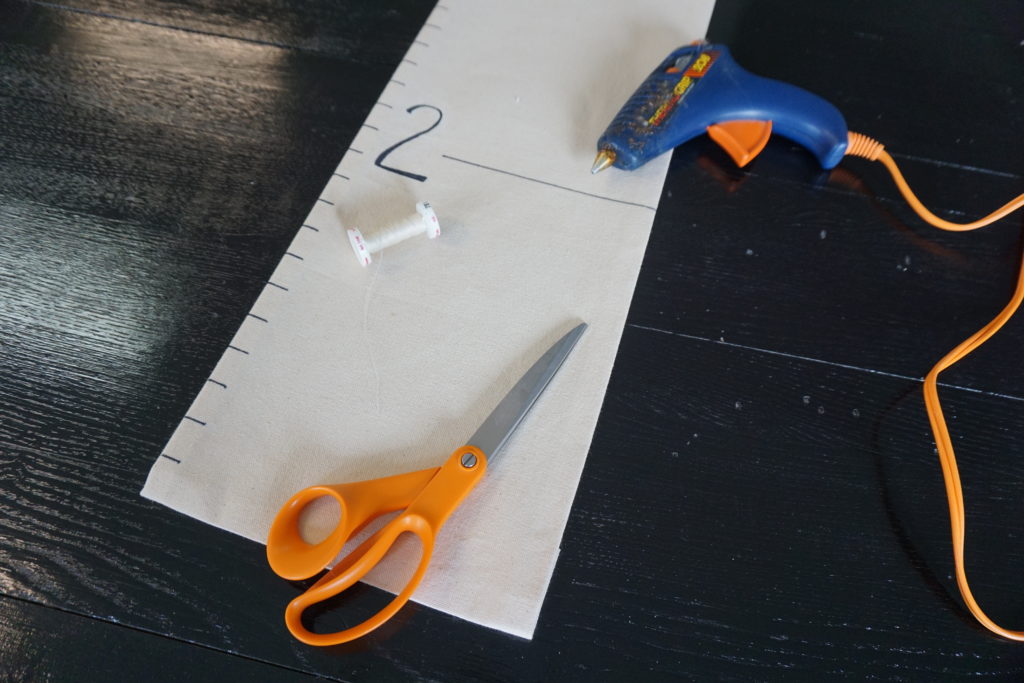
Making this type of a growth chart works best with a stiff, heavy fabric. I selected a very heavy, cream colored canvas that was left over from a previous project. Use a rotary cutter (scissors will certainly work also) to cut a strip 11 inches wide and 5’10” long.
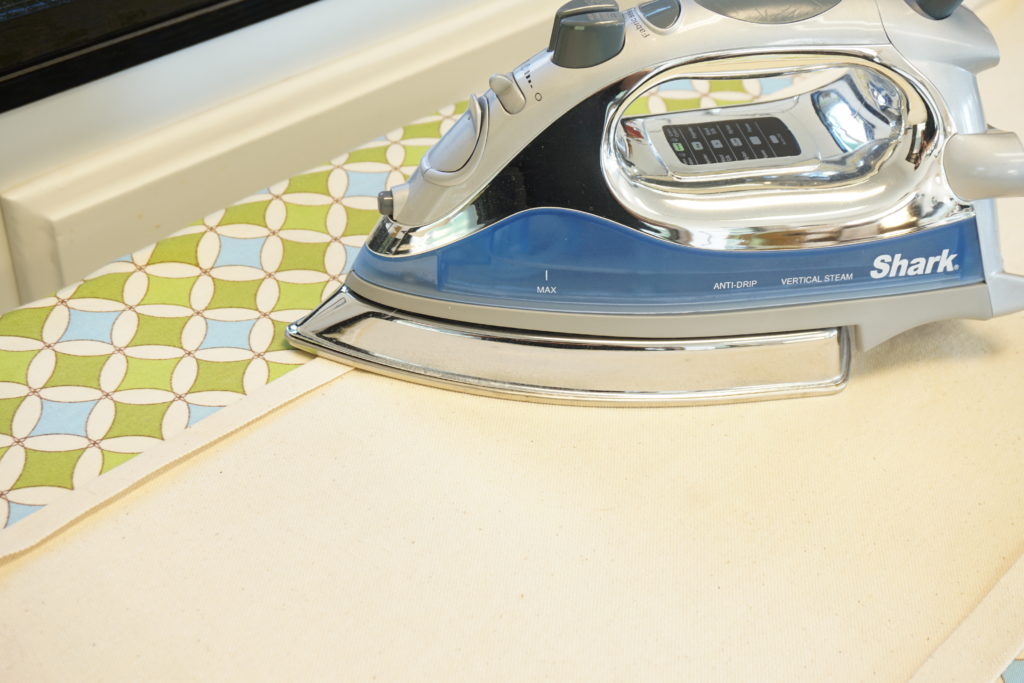
After pressing the canvas really well, press under the side edges 1/2 inch and folded over again 1/2 inch to make a finished edge. Iron the top edge over 1 1/2 inches and the bottom edge 2 inches.
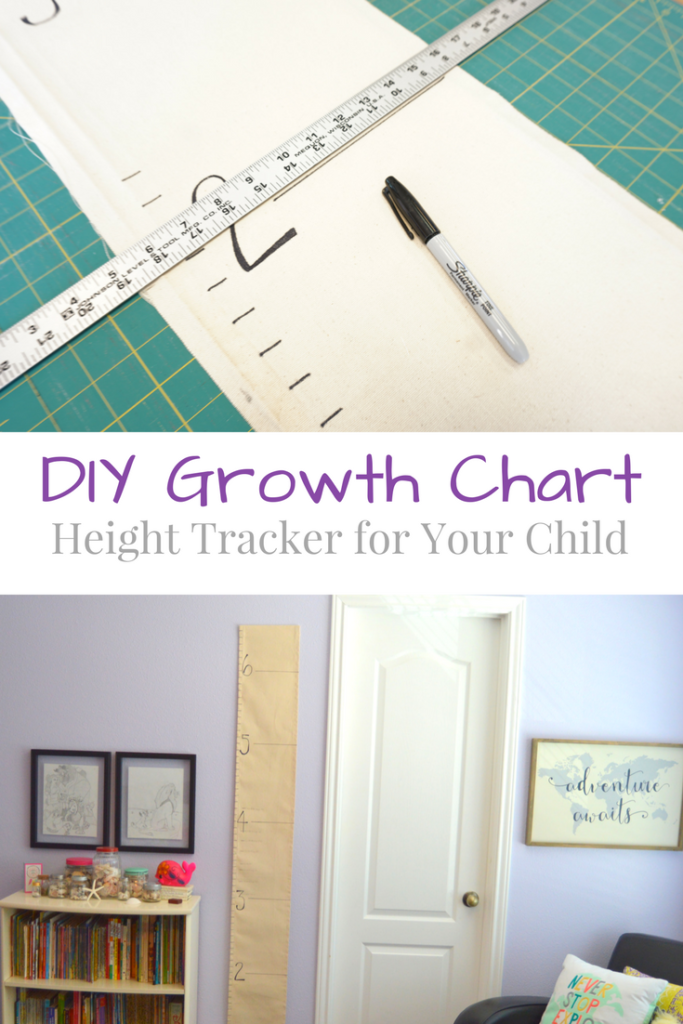
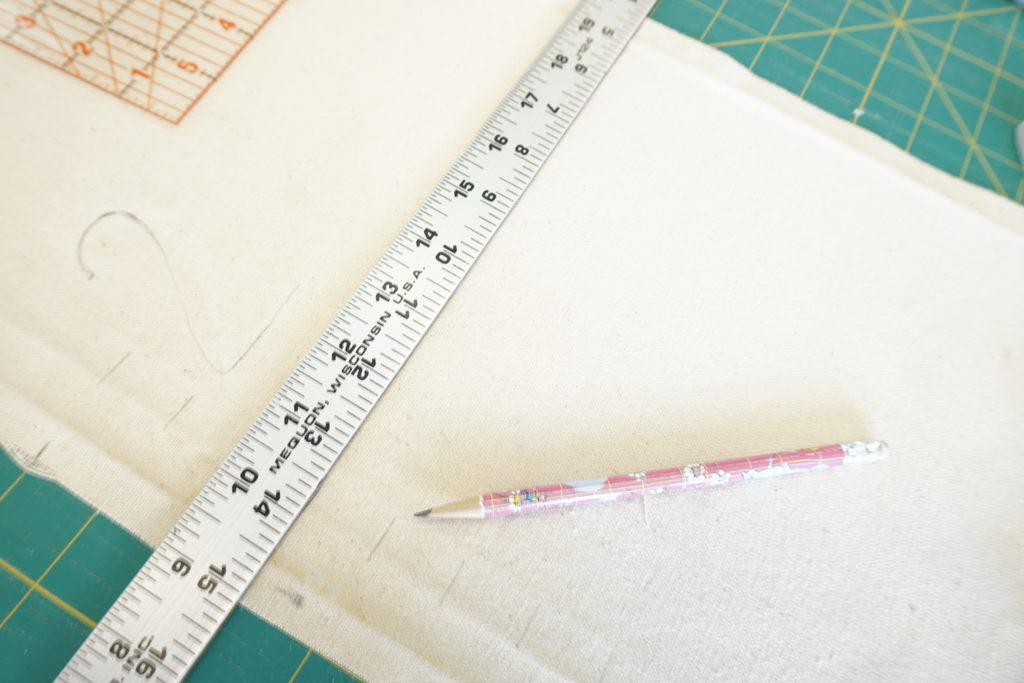
Mark in pencil where your ruler marks will go. I found using my cutting mat worked the best since it already has the 1-inch marks. Just line the ruler up with the marks on both sides to ensure a straight line.
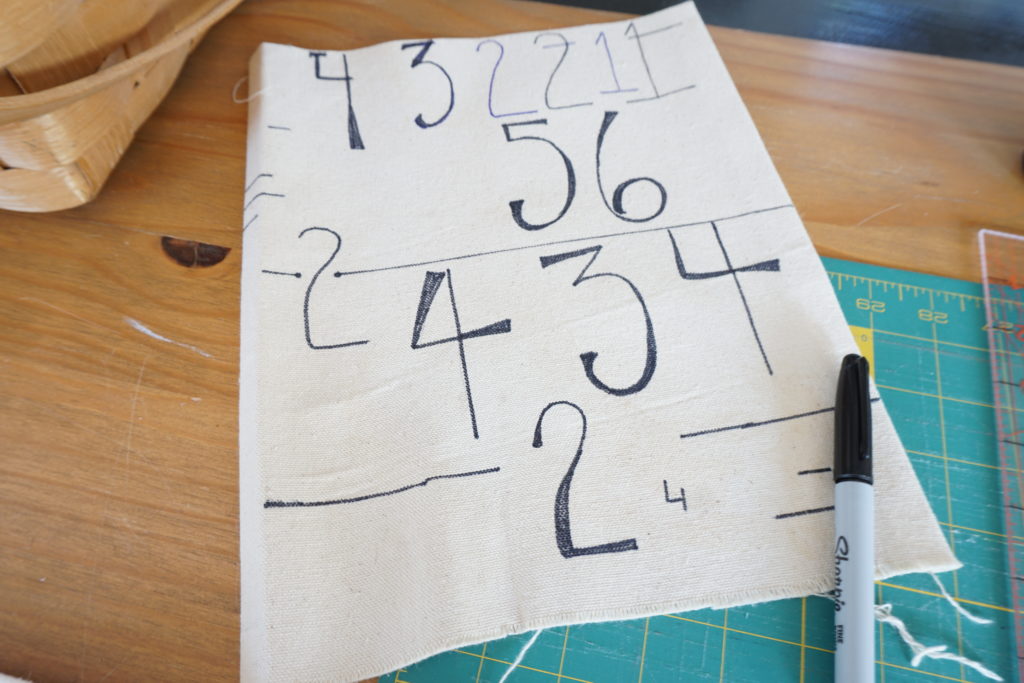
Using a scrap piece of fabric, practice writing your numbers and drawing your lines with different markers to see which one you like best. When you are happy with your numbers it is time to write them on the project.
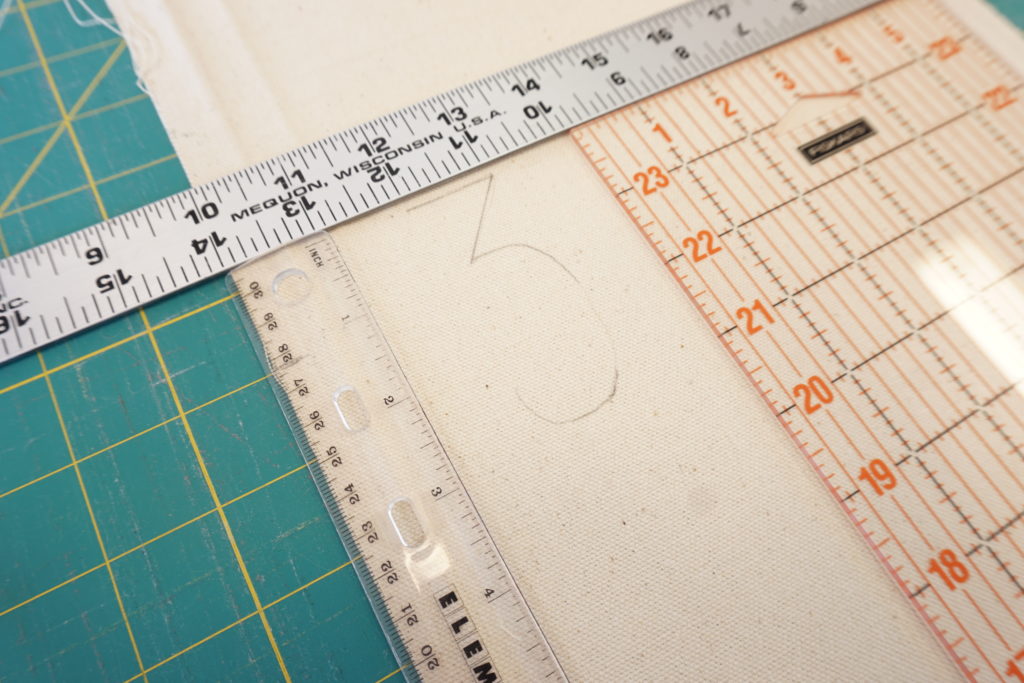
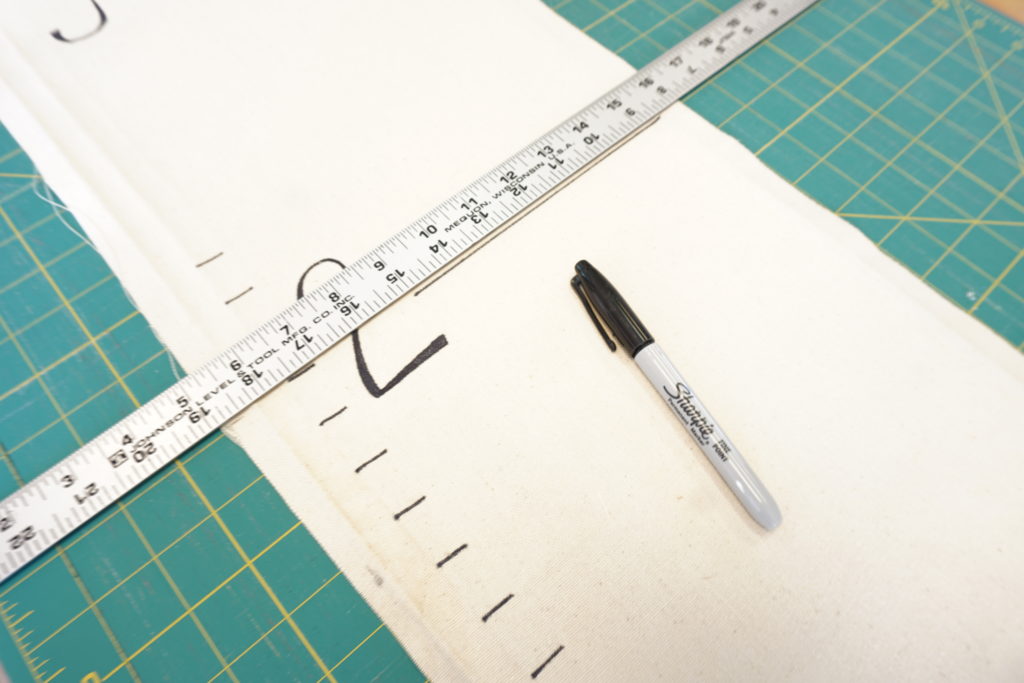
Unfold the hems so that your fabric is completely flat before you write on it. Using a ruler and a pencil write your numbers on the fabric. Using the straight edges to help guide the placement of the numbers, you can free hand them in pencil and then trace over them and the “ruler marks” with a permanent marker.
The edges can be finished off by either gluing them or sewing them. My preference is to stitch about a half inch from the edge with thread the same color as the fabric.
To hang it, use Velcro command strips.


[…] week I shared how to make a growth chart for your child and how to survive a summer trip to Disney […]