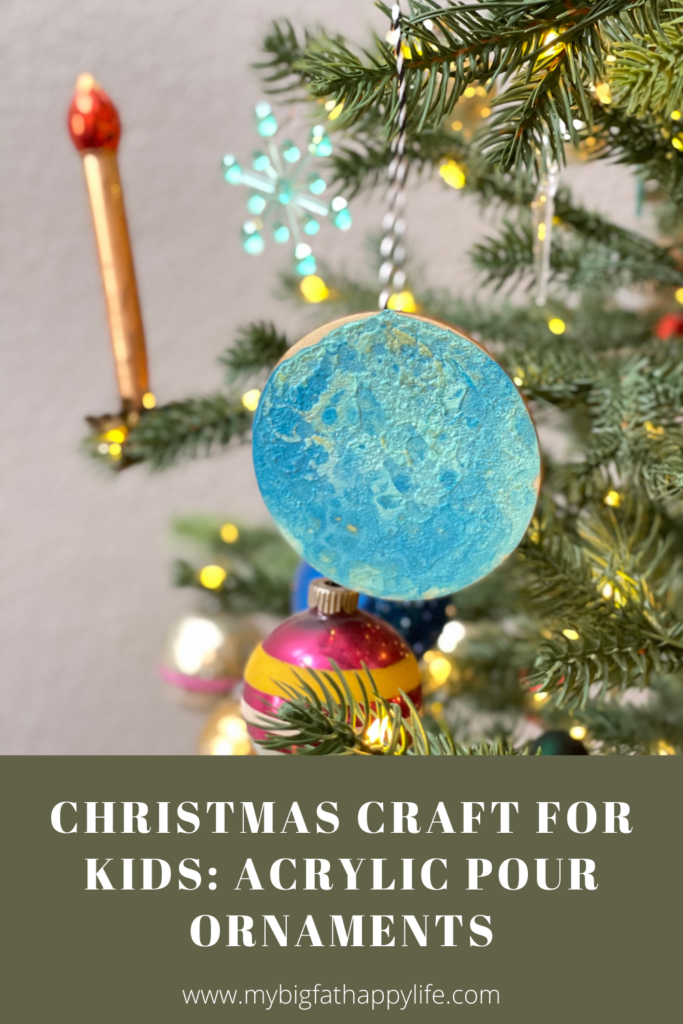
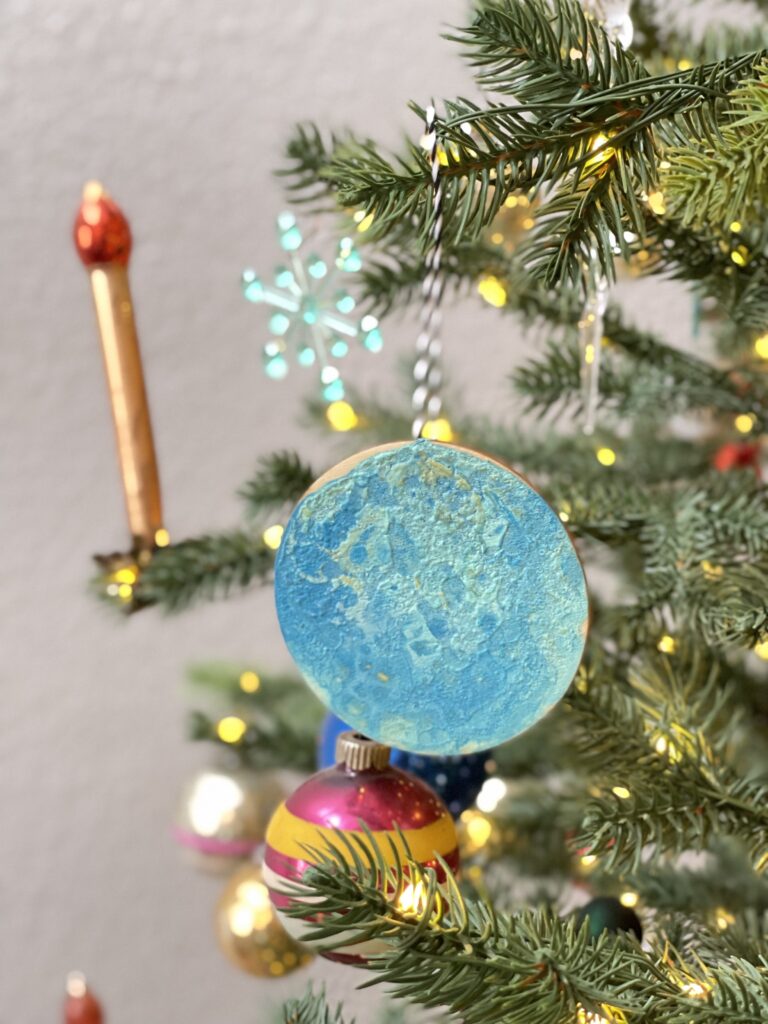
Full instructions on how to make Acrylic Pour Ornaments with kids! These make perfect gifts for grandparents and extended family members.
Disclosure: My Big Fat Happy Life is a participant in the Amazon Services LLC Associates Program, an affiliate advertising program designed to provide a means for sites to earn advertising fees by advertising and linking to amazon.com
Each year, my daughter makes ornaments. She usually sends one to each grandparent and we keep one ourselves. One year she made thumbprint ornaments. Another year my daughter made Cinnamon Applesauce Ornaments. A couple of years ago, she remembered we had clear plastic ornaments that she wanted to cover with paper snowflakes.
This year she made wanted to make acrylic pour ornaments. We have done several acrylic pour paintings over the last couple of years. They always turn out so beautiful! My daughter couldn’t wait to try making acrylic pour ornaments!
Acrylic Pour Ornaments
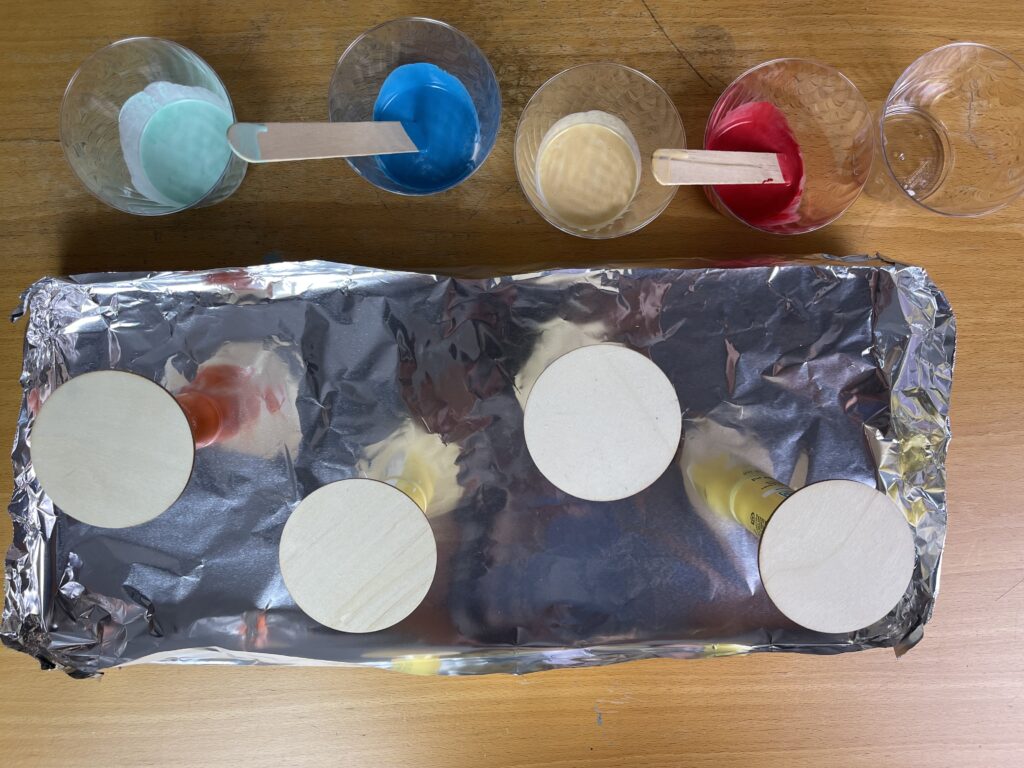
We purchased 3-inch thin wood circles and primed them using gesso. We had clear gesso on hand, but you could also use white gesso.
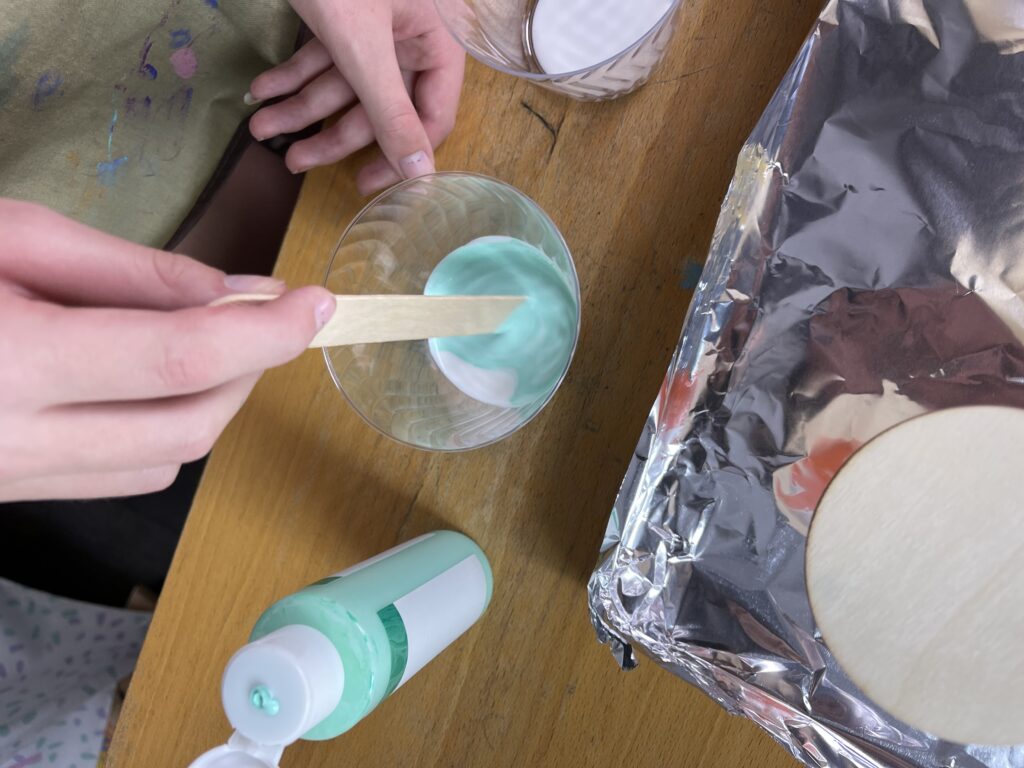
To make your paint mix equal parts acrylic paint to floetrol these will make your paint thin enough to pour and flow across your canvas/wood circles.
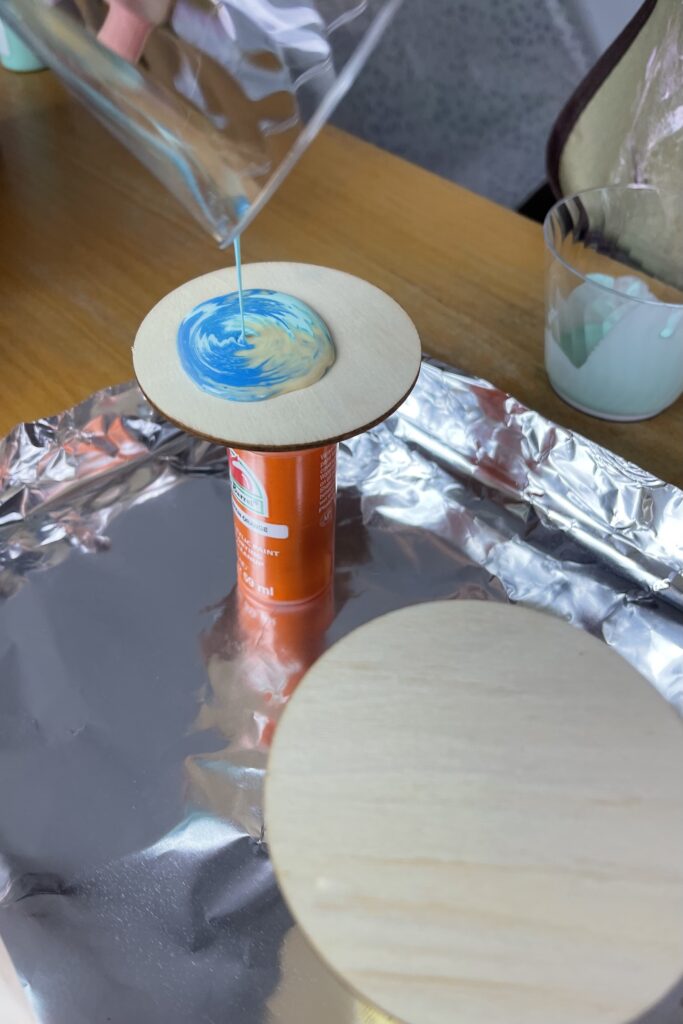
In a cup, layer your paint using the colors you want for your ornament. Remember the ornament is small so you do not need a lot of paint. Add a couple of drops of silicone treadmill lubricant and let your cup sit for a couple of minutes.
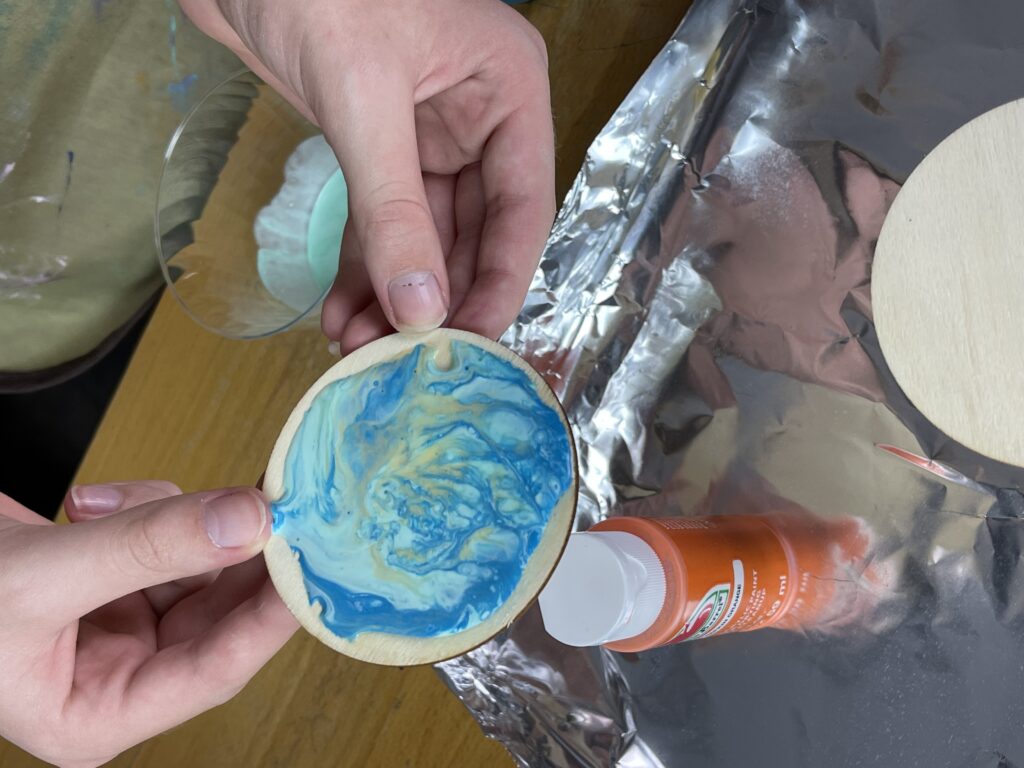
You could cover your ornament in a solid color like white before adding your cup of colors to your canvas/wood circles or not. For these ornaments, we just used poured the cups of color onto the ornaments and then moved the ornament in small circular motions moving the paint around until the entire ornament is covered.
Once the ornament is dry, attach a ribbon to the back of the wooden circle so that it can be hung, and be sure to have your child sign and date the ornament on the back.
