All the instructions on how to make an altered book or how to turn a book into a junk journal, mini album, or art journal.
Disclosure: My Big Fat Happy Life is a participant in the Amazon Services LLC Associates Program, an affiliate advertising program designed to provide a means for sites to earn advertising fees by advertising and linking to amazon.com
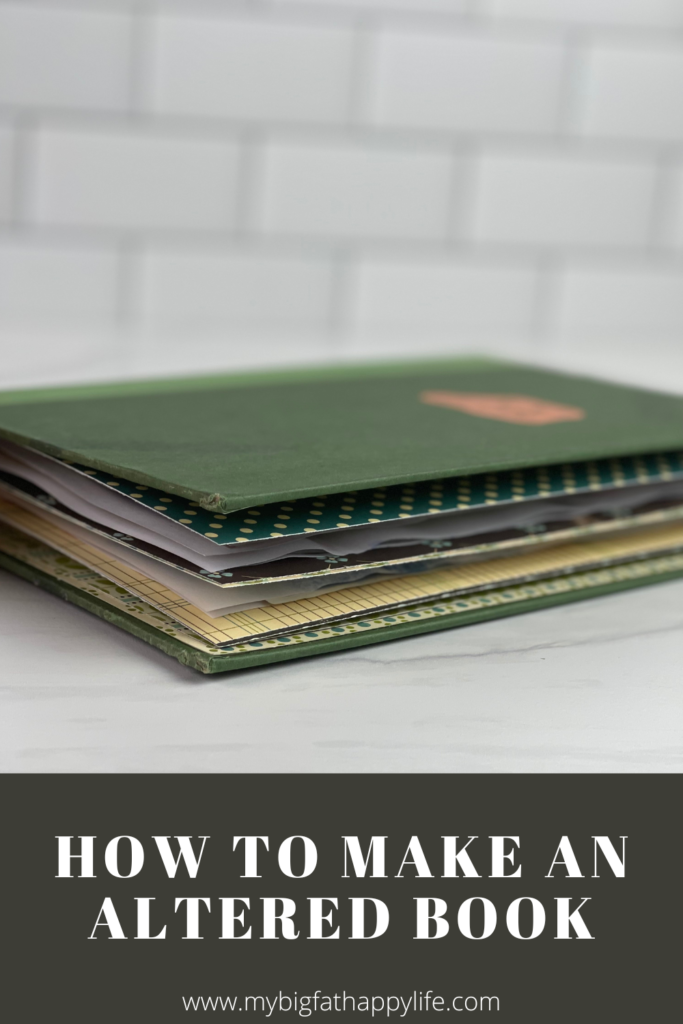
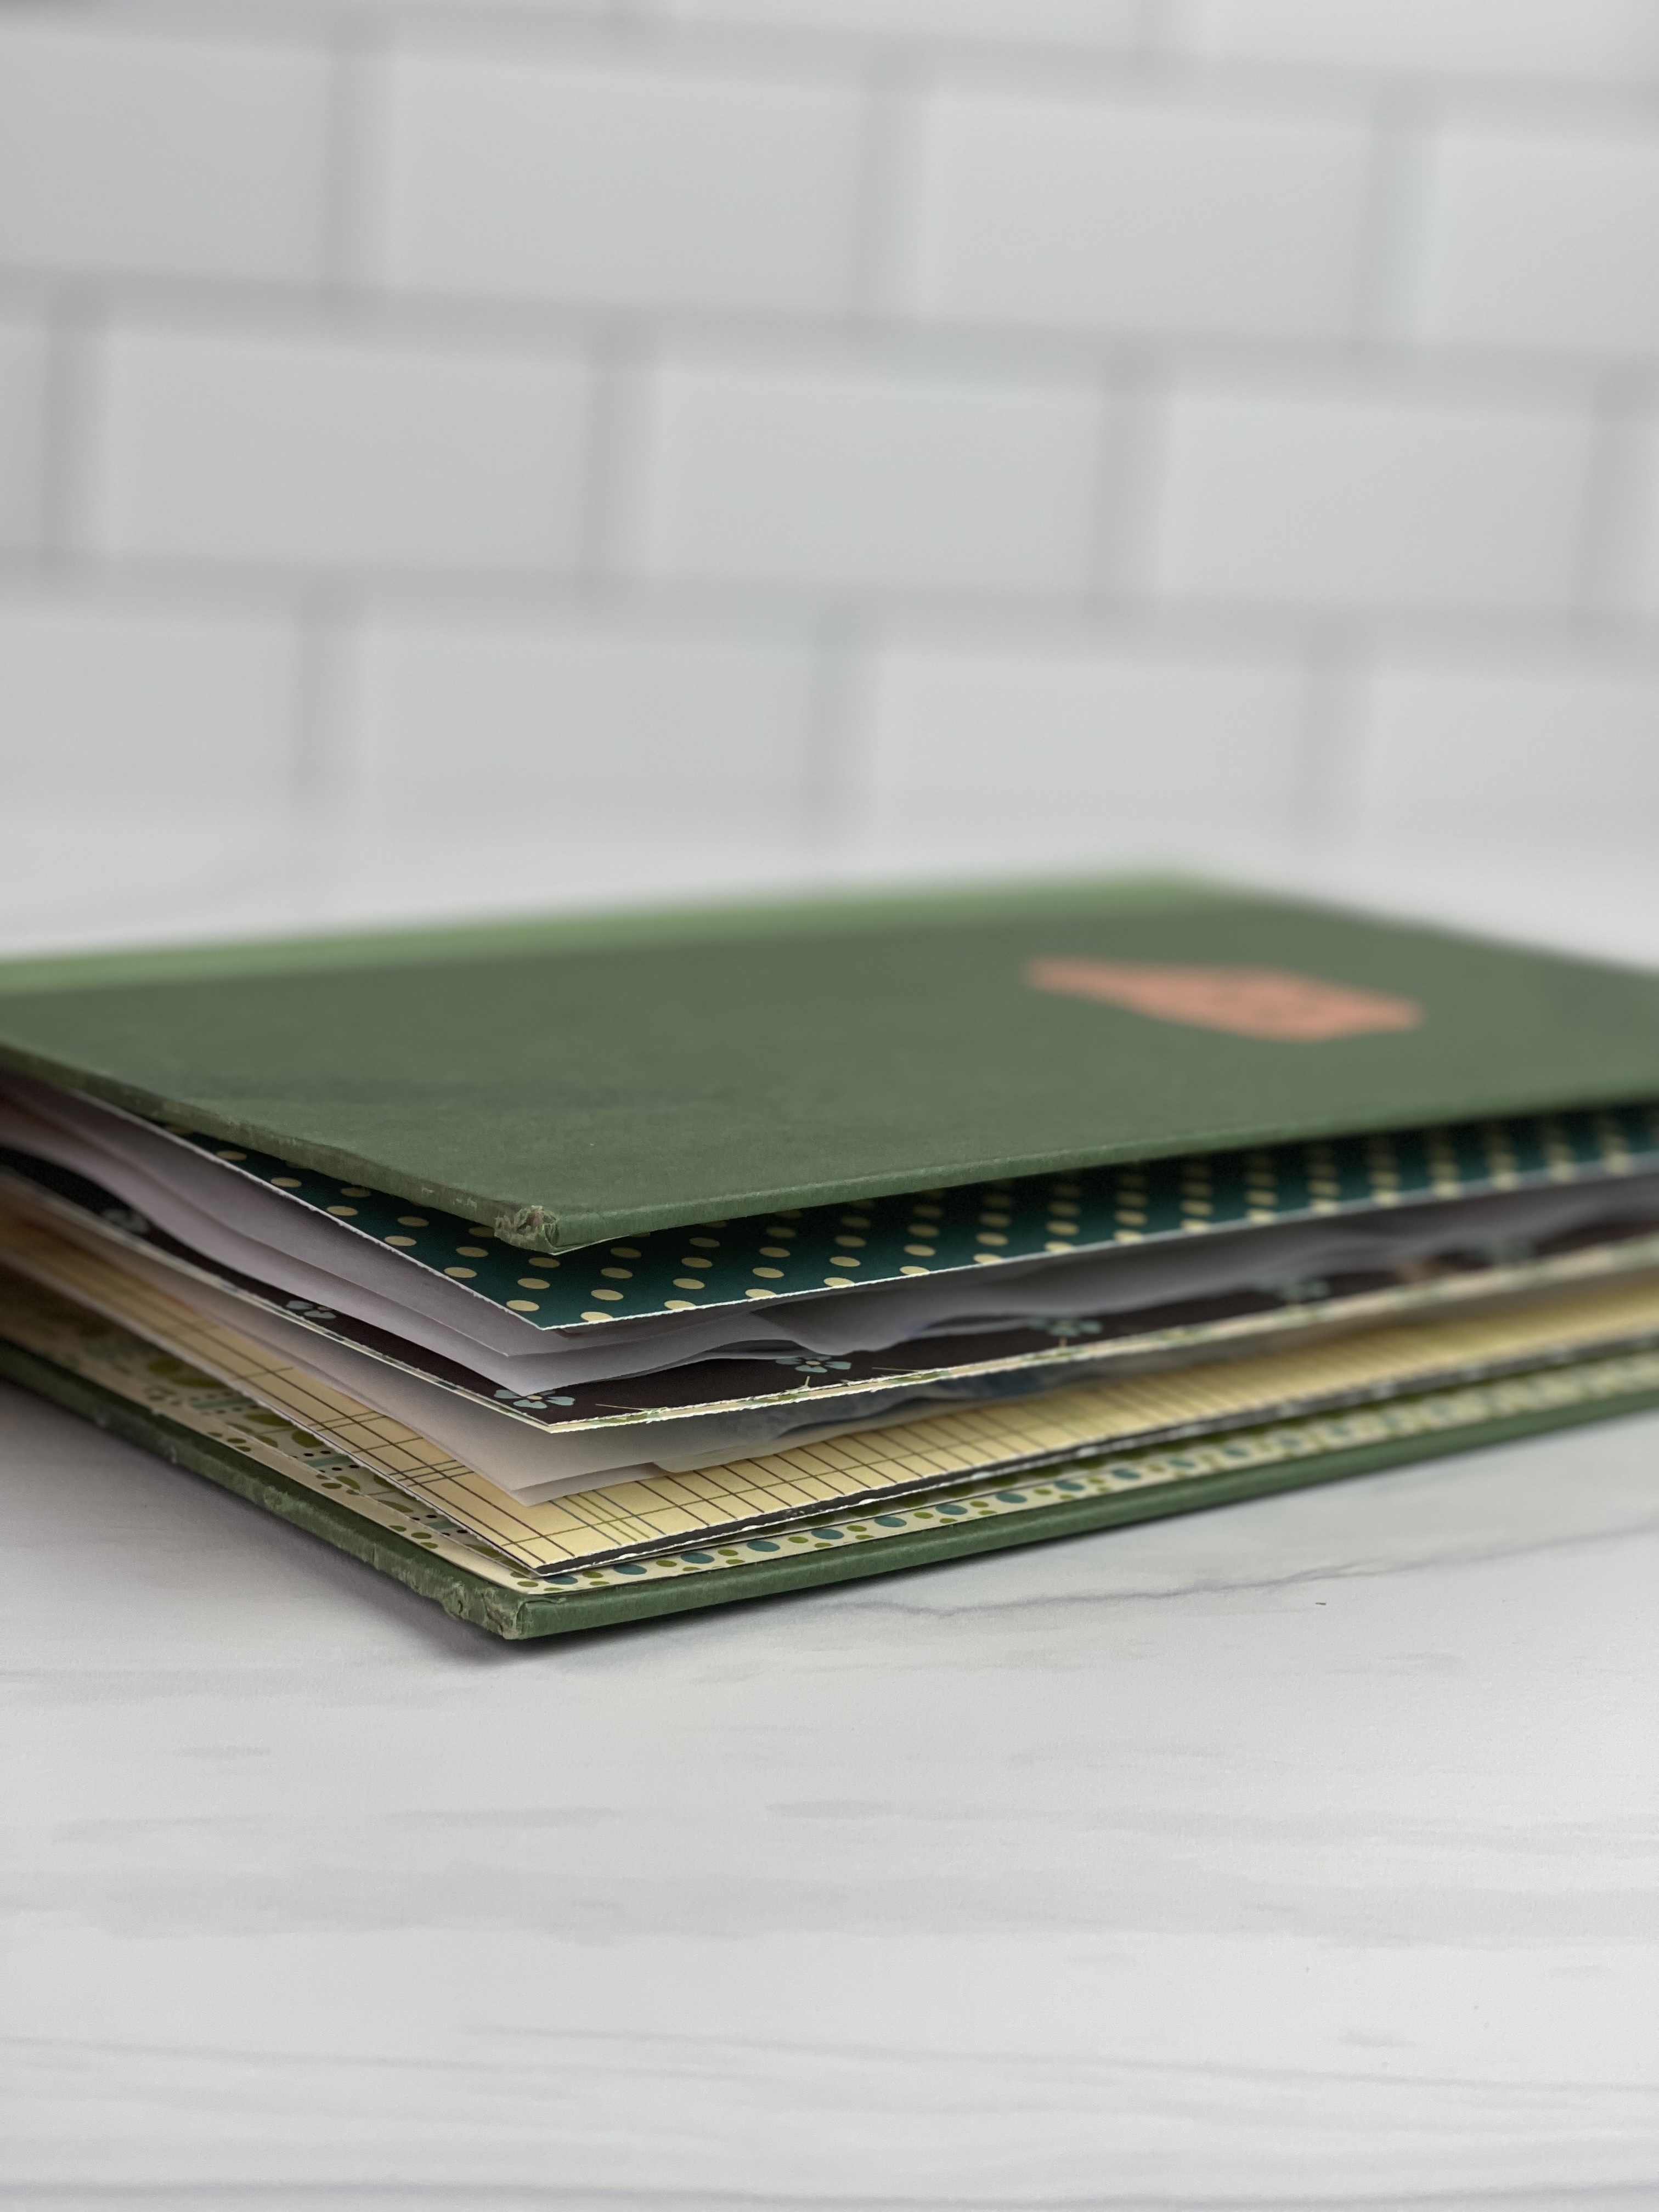
This makes my creative heart so happy! I created an altered book or junk journal by gutting a hardcover book and adding signatures inside. I have been wanting to do this for a long time and I absolutely love it!
You can use this altered book as a journal, an art journal, a scrapbook mini album, etc. or whatever you think is best.
Note: I don’t feel bad about gutting this book because I have no interest in ever reading it, this book isn’t as old as it looks (published in the 1990s), and I got it at a library book sale where an entire brown bag full was only $5. I also save all the book pages that get cut out to use in my junk journal, art journal, and scrapbook album. I love to use book pages when gel plating too.
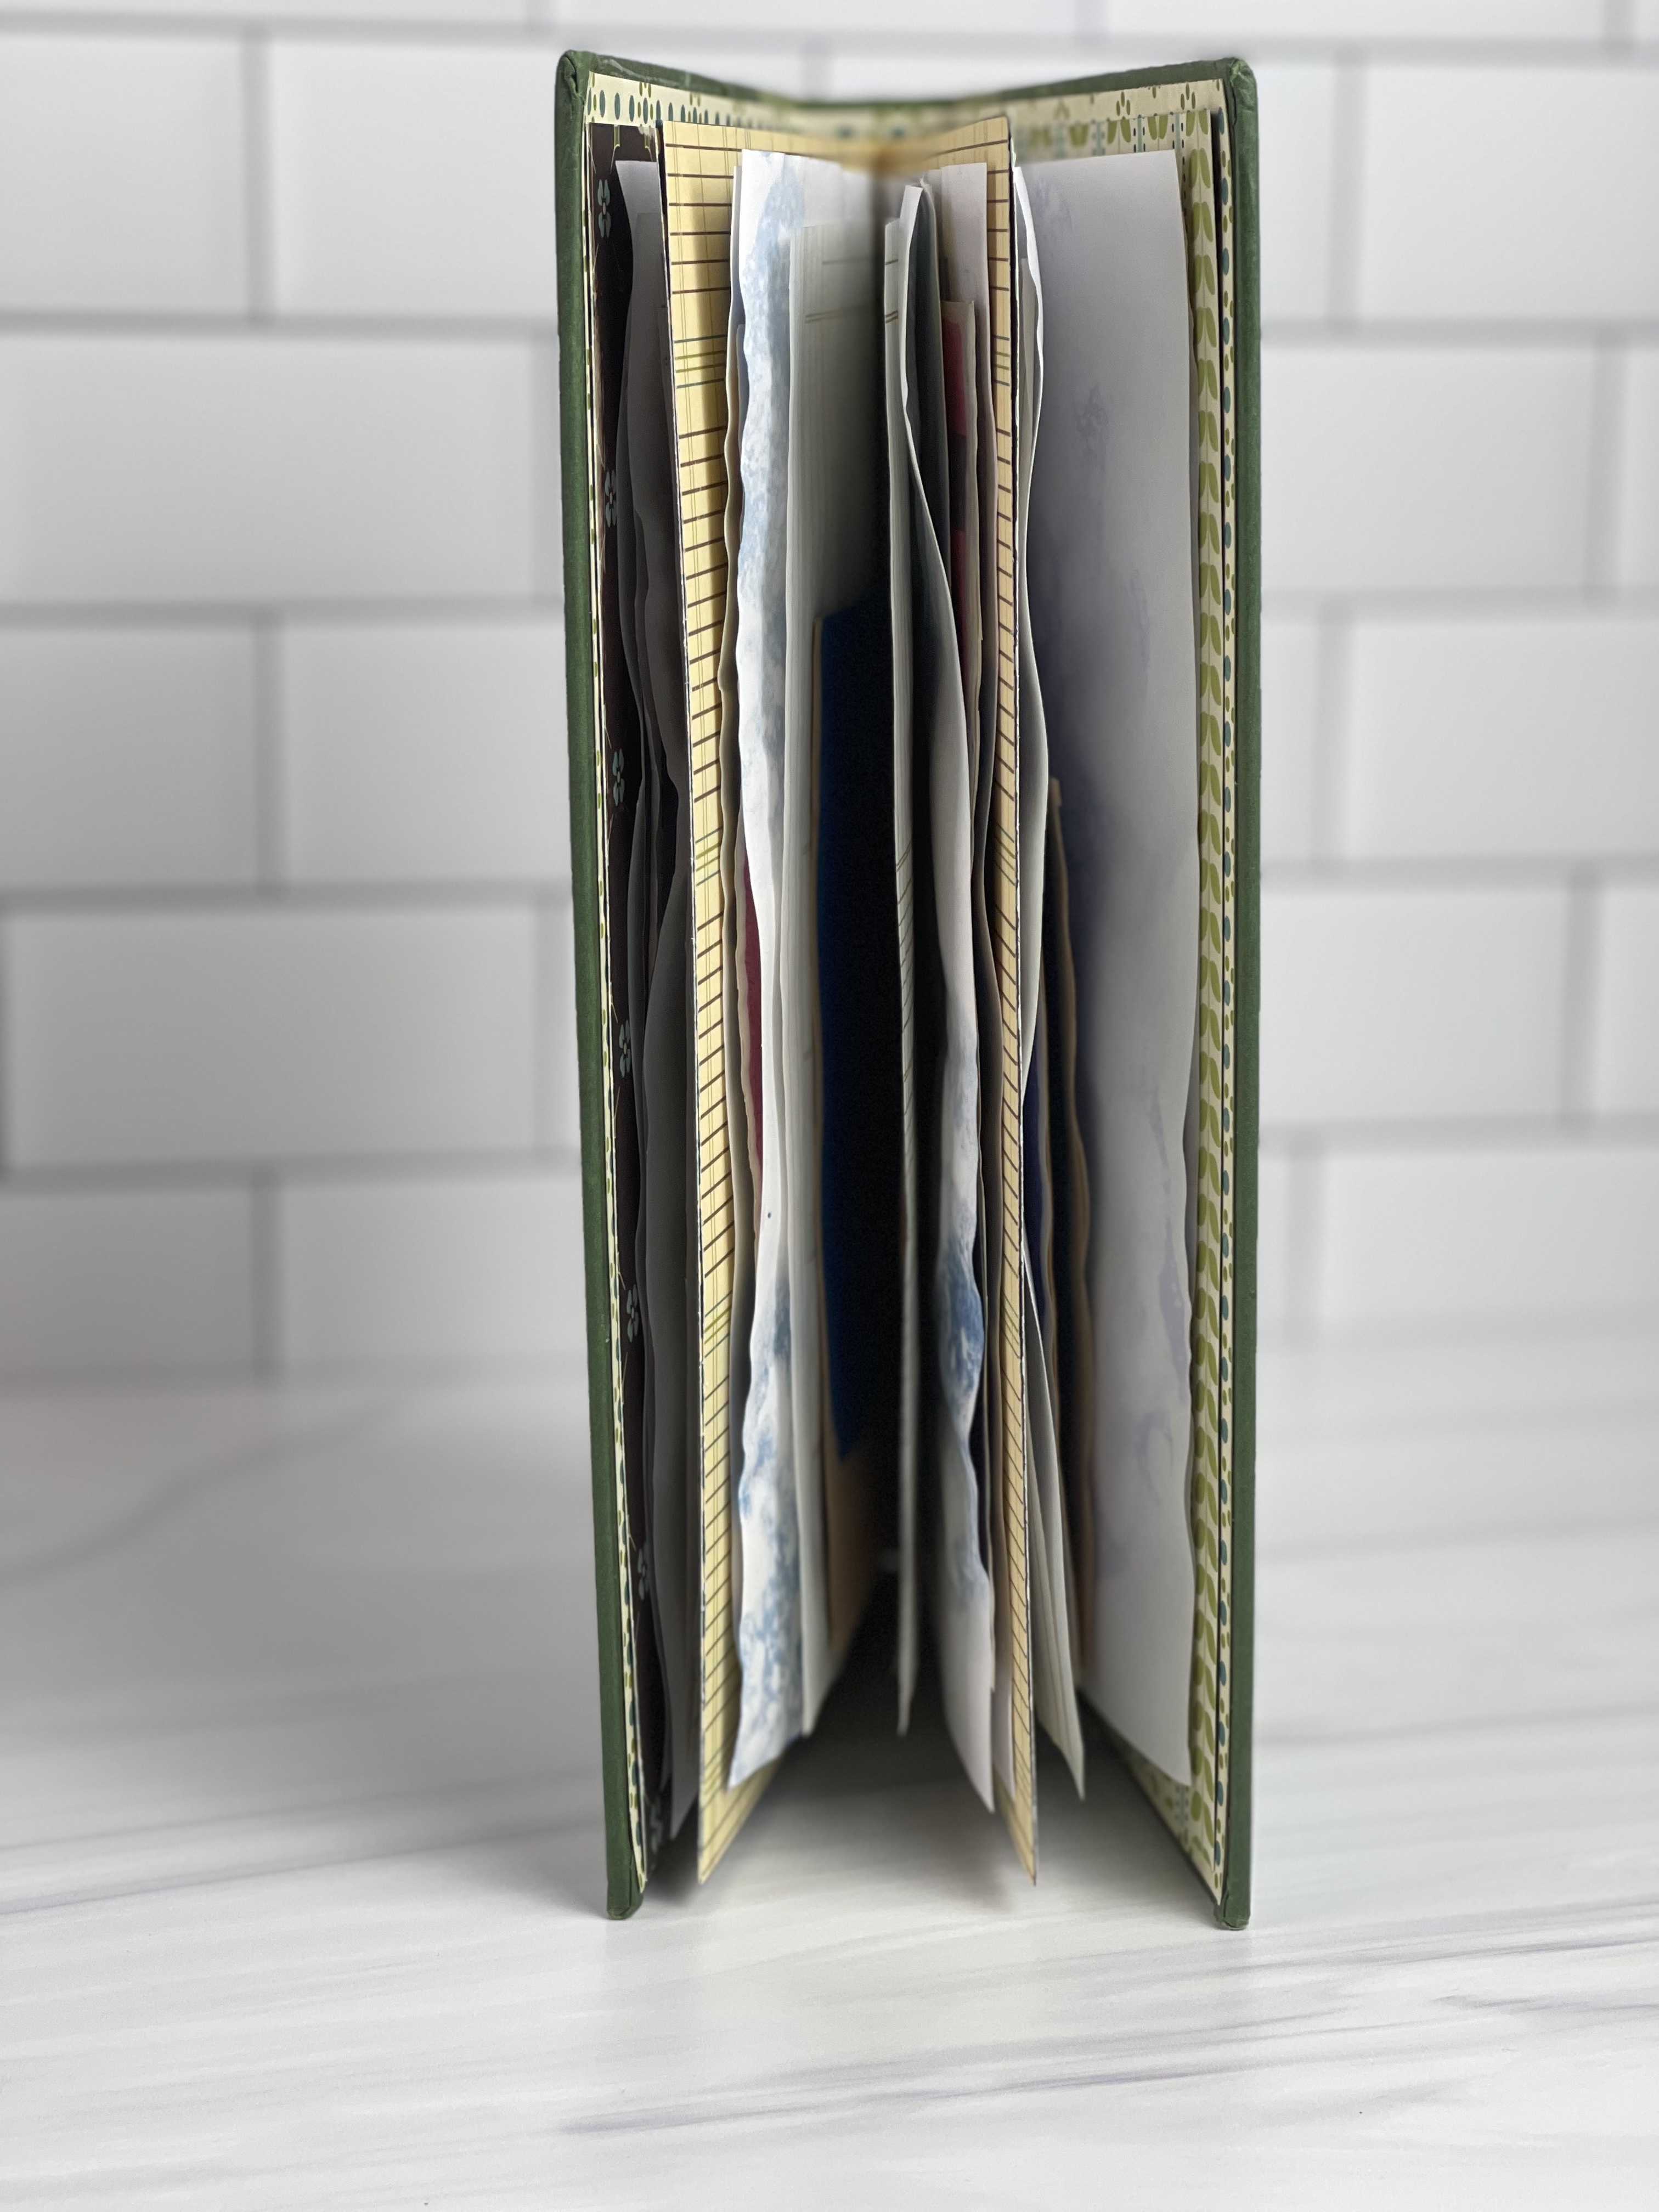
Directions for Making an Altered Book
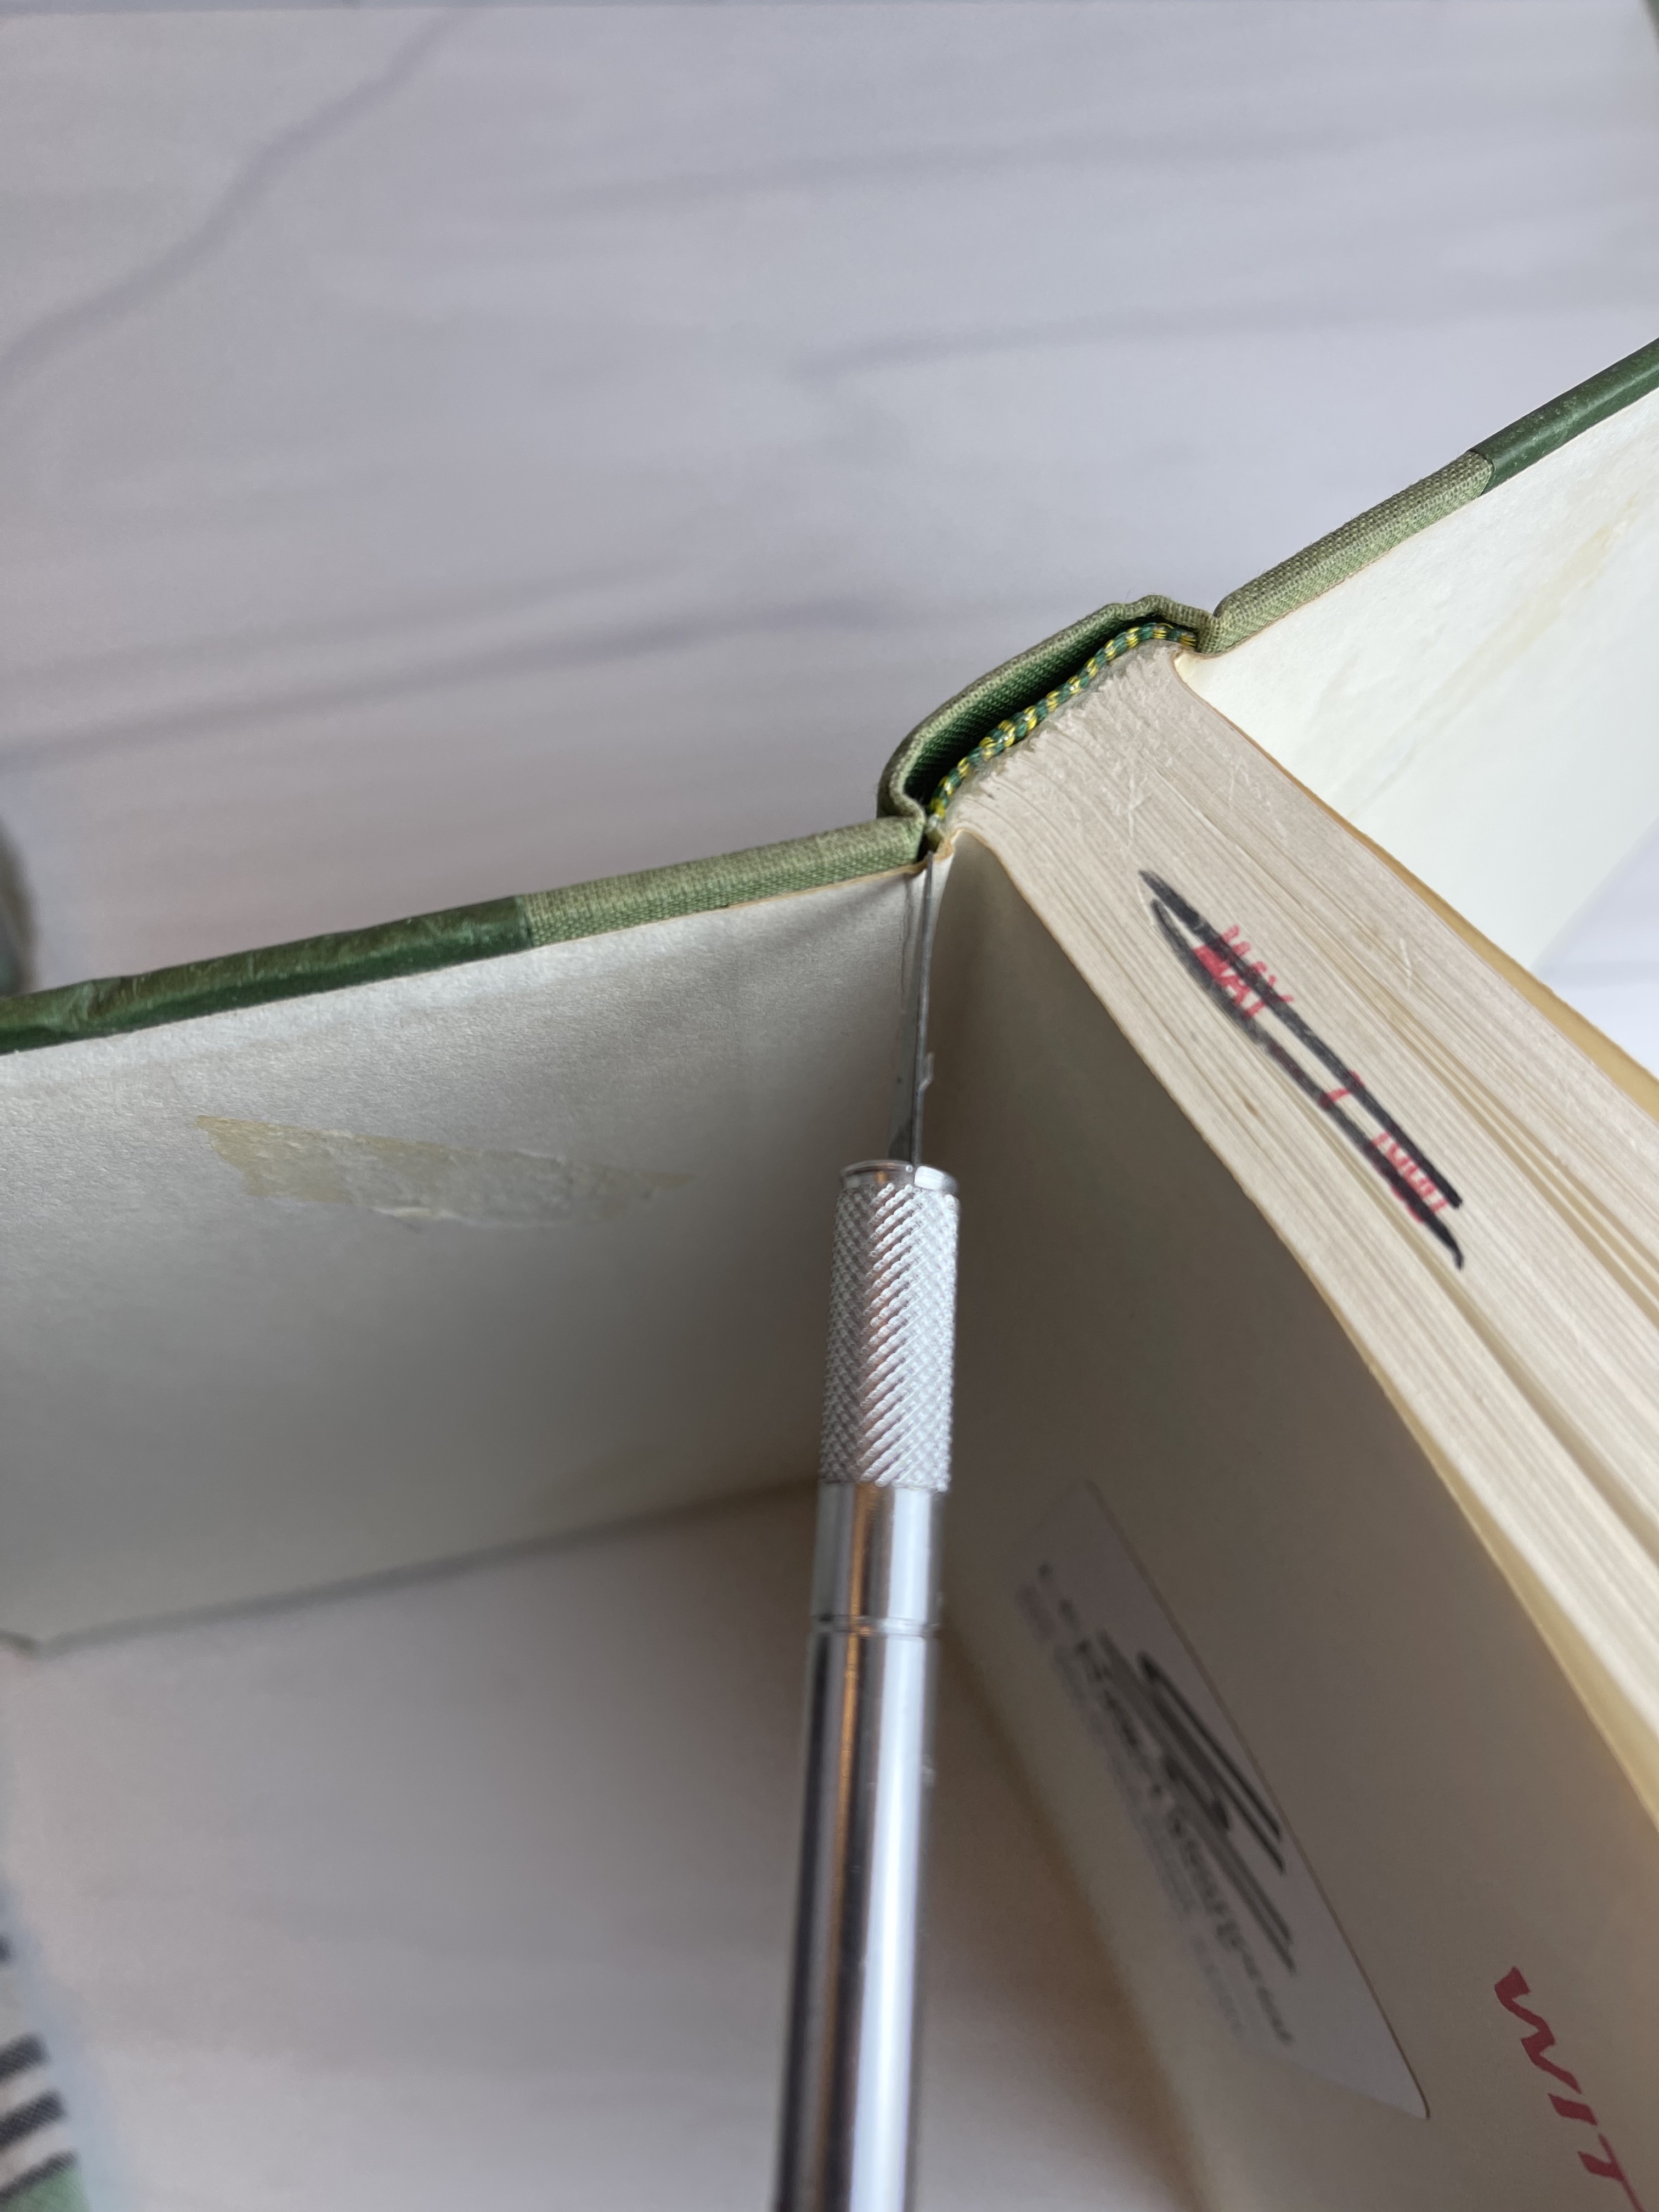
Start by picking a book you like the cover of. Then taking a craft knife cut the pages out of the book. In this book, I was able to cut along either side of the spine and remove all the pages at once.
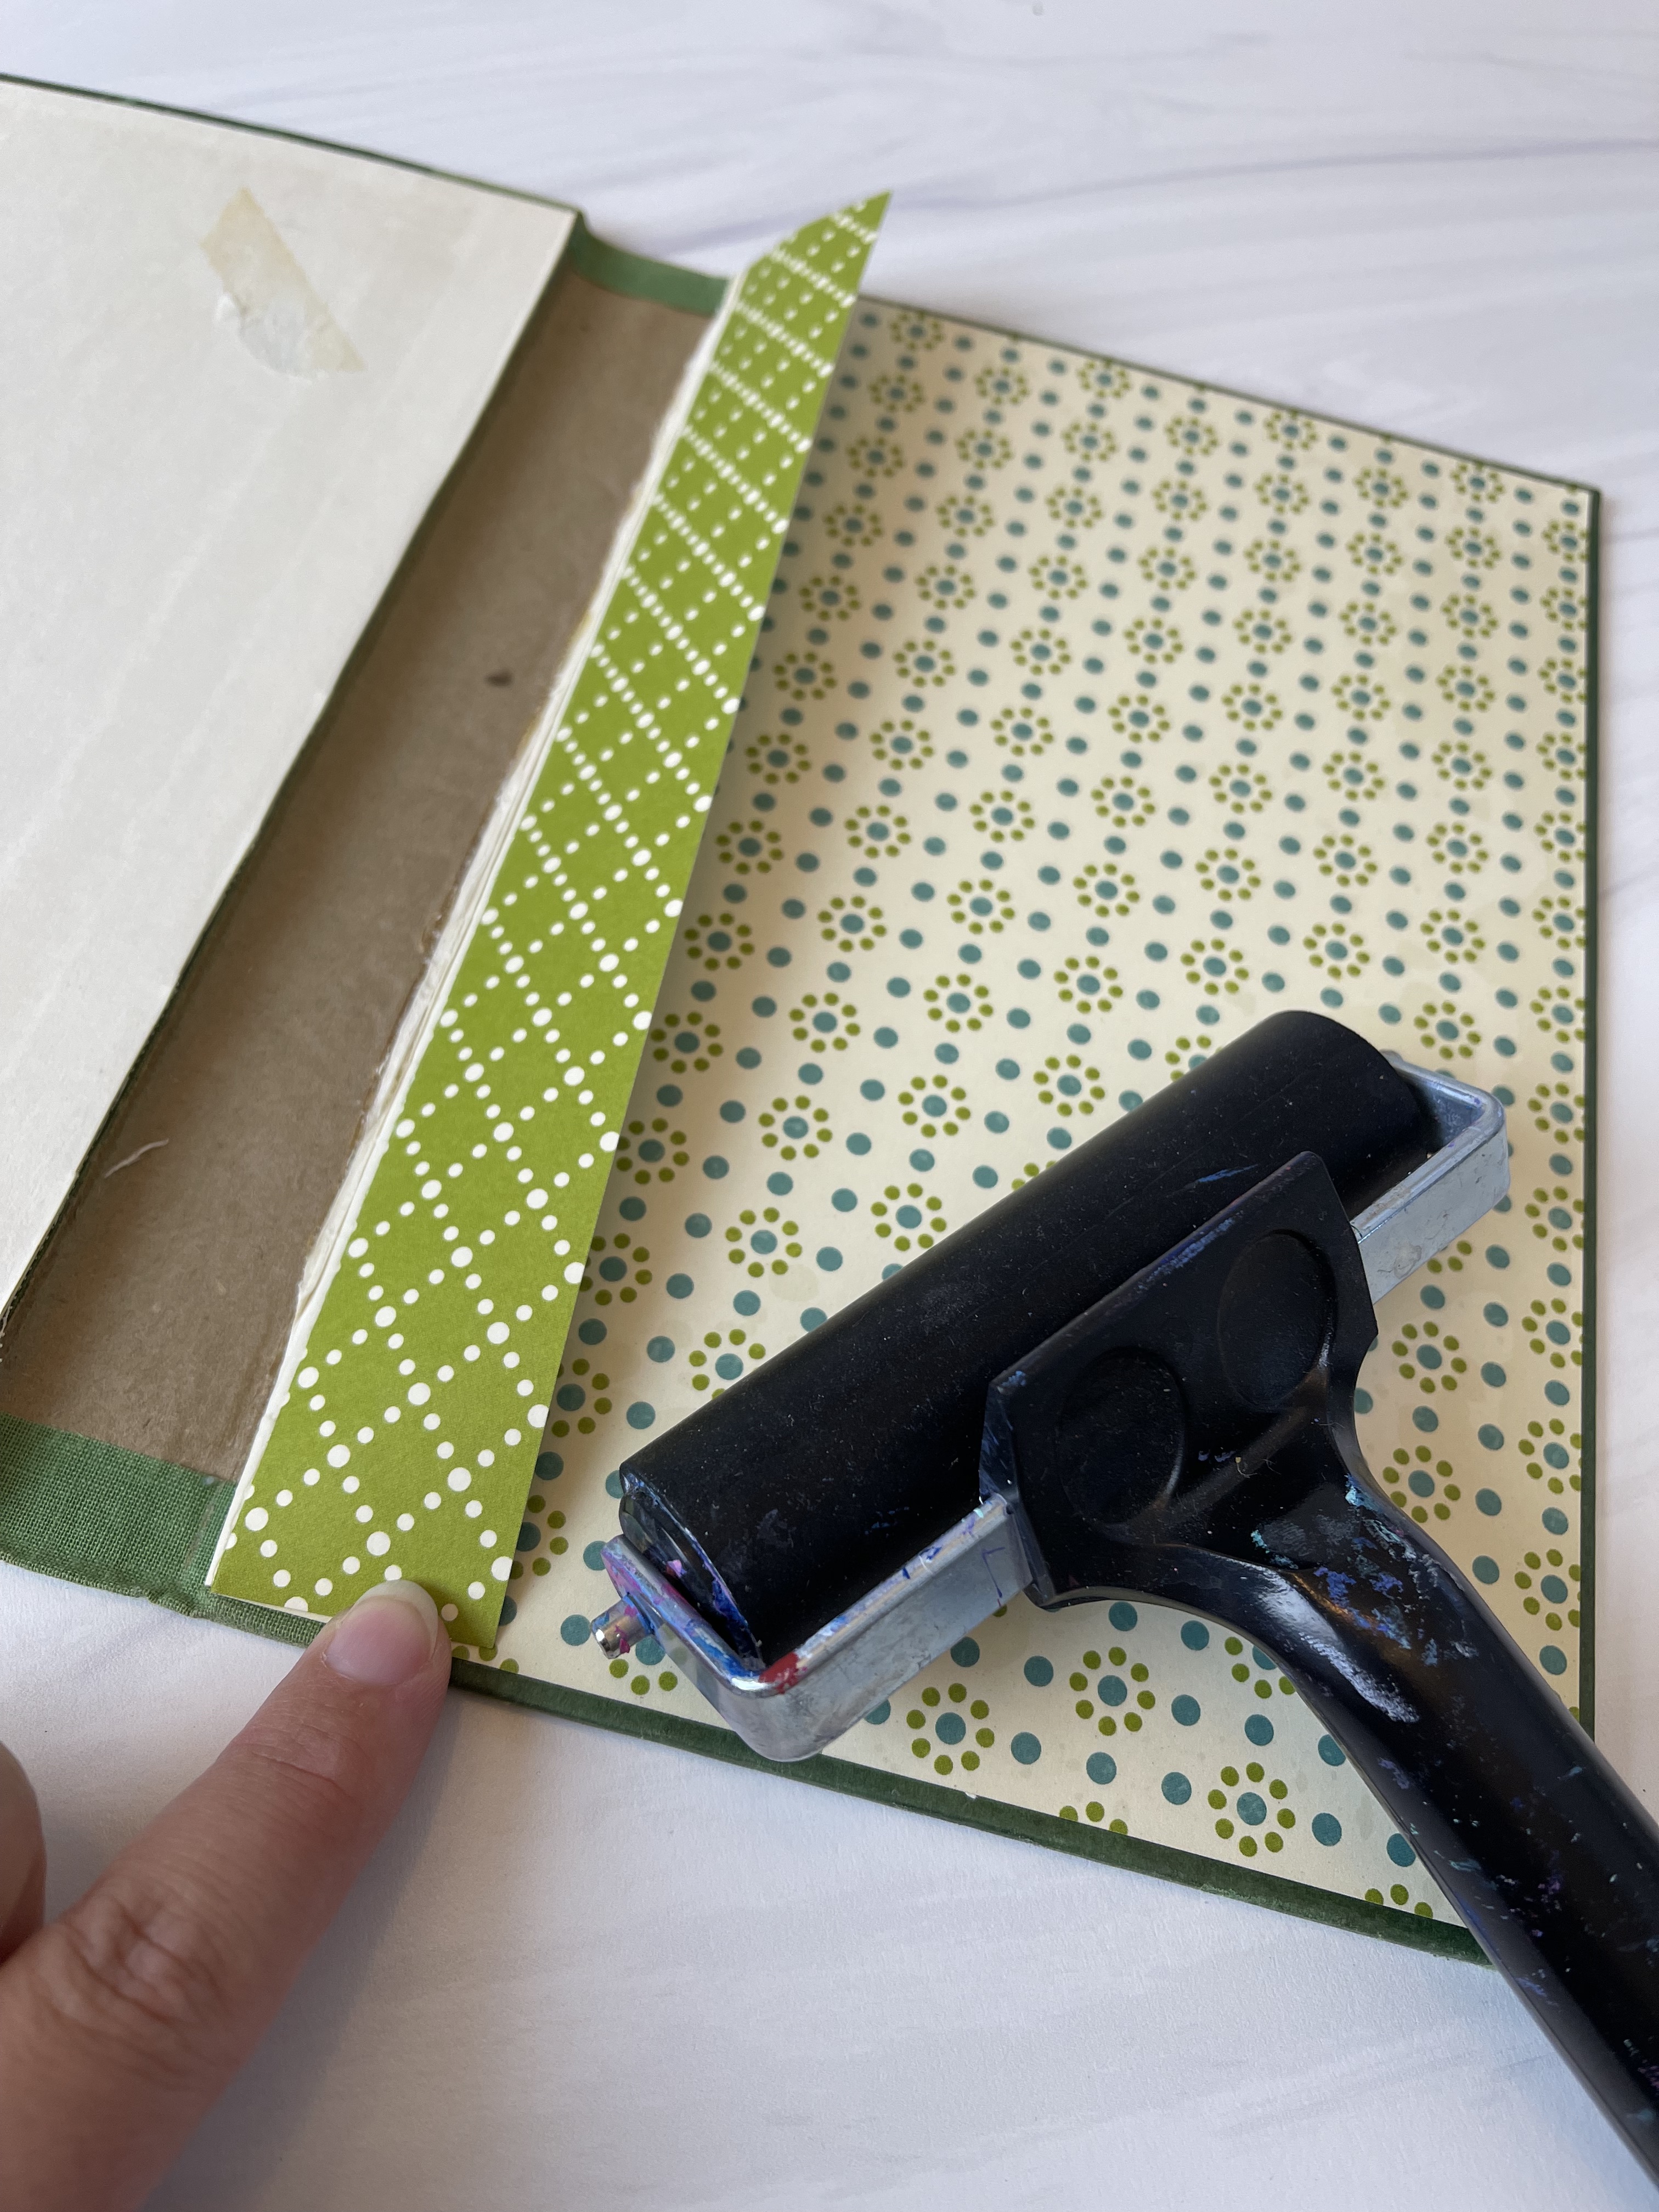
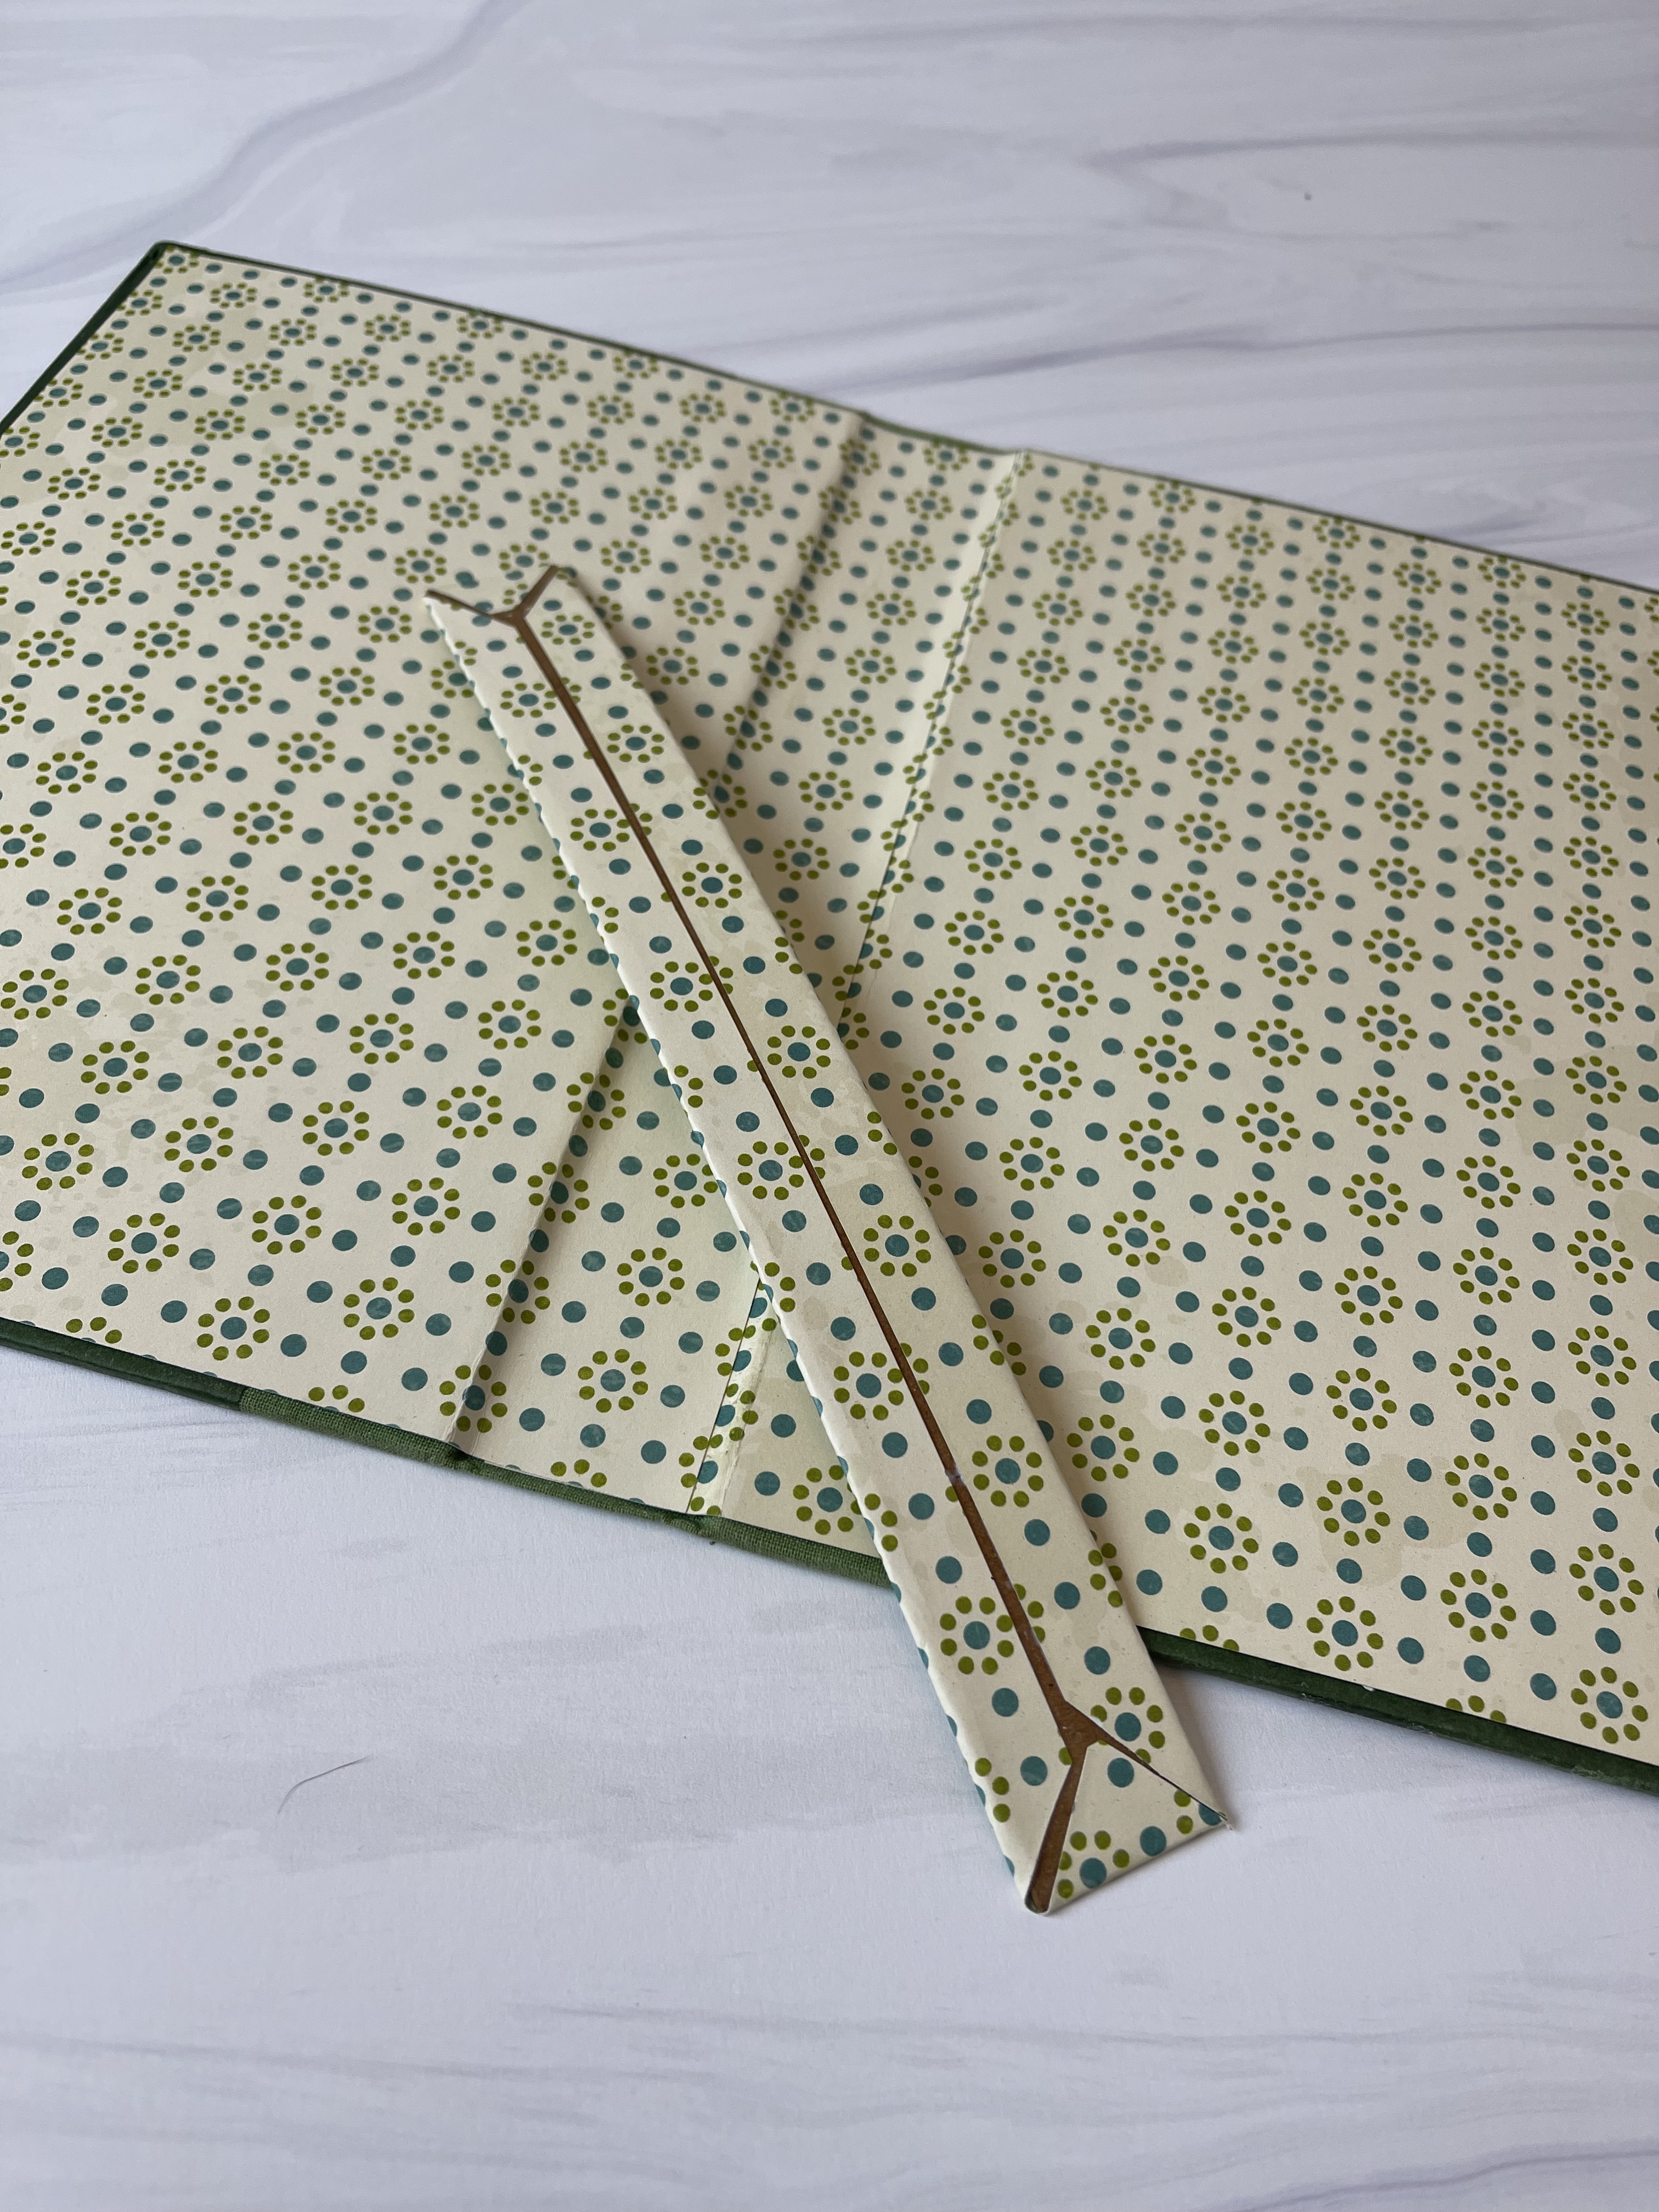
Next measure the inside of your book and cut coordinating scrapbook paper to fit. I used two pieces and overlapped them in the spine. Pre-fold your paper where the spine meets the front and back cover for ease. Adhere the paper to your book using liquid glue.
Cut a piece of chipboard to fit inside the spine of your book and cover it with the same decorative paper. Tip: make your piece of paper slightly bigger than the front of your chipboard, glue down to the front then cut the corners off at an angle, score along the edge of the chipboard, fold around to the back, and glue the paper down to the back of the chipboard.
I used three signatures for the inside of the book. To make your signatures you will gather the papers that you would like to use for your insert. I used some scrapbook paper, some paper I had gel plated on, graph paper, book pages, pages from magazines, etc. You can use any random piece of paper that you like. Figure out which order you would like your papers in and which one will serve as the cover of your signature. You can choose to trim your papers down or leave them all different sizes. Fold each piece of paper in half and use a bone folder to get a sharp crease.
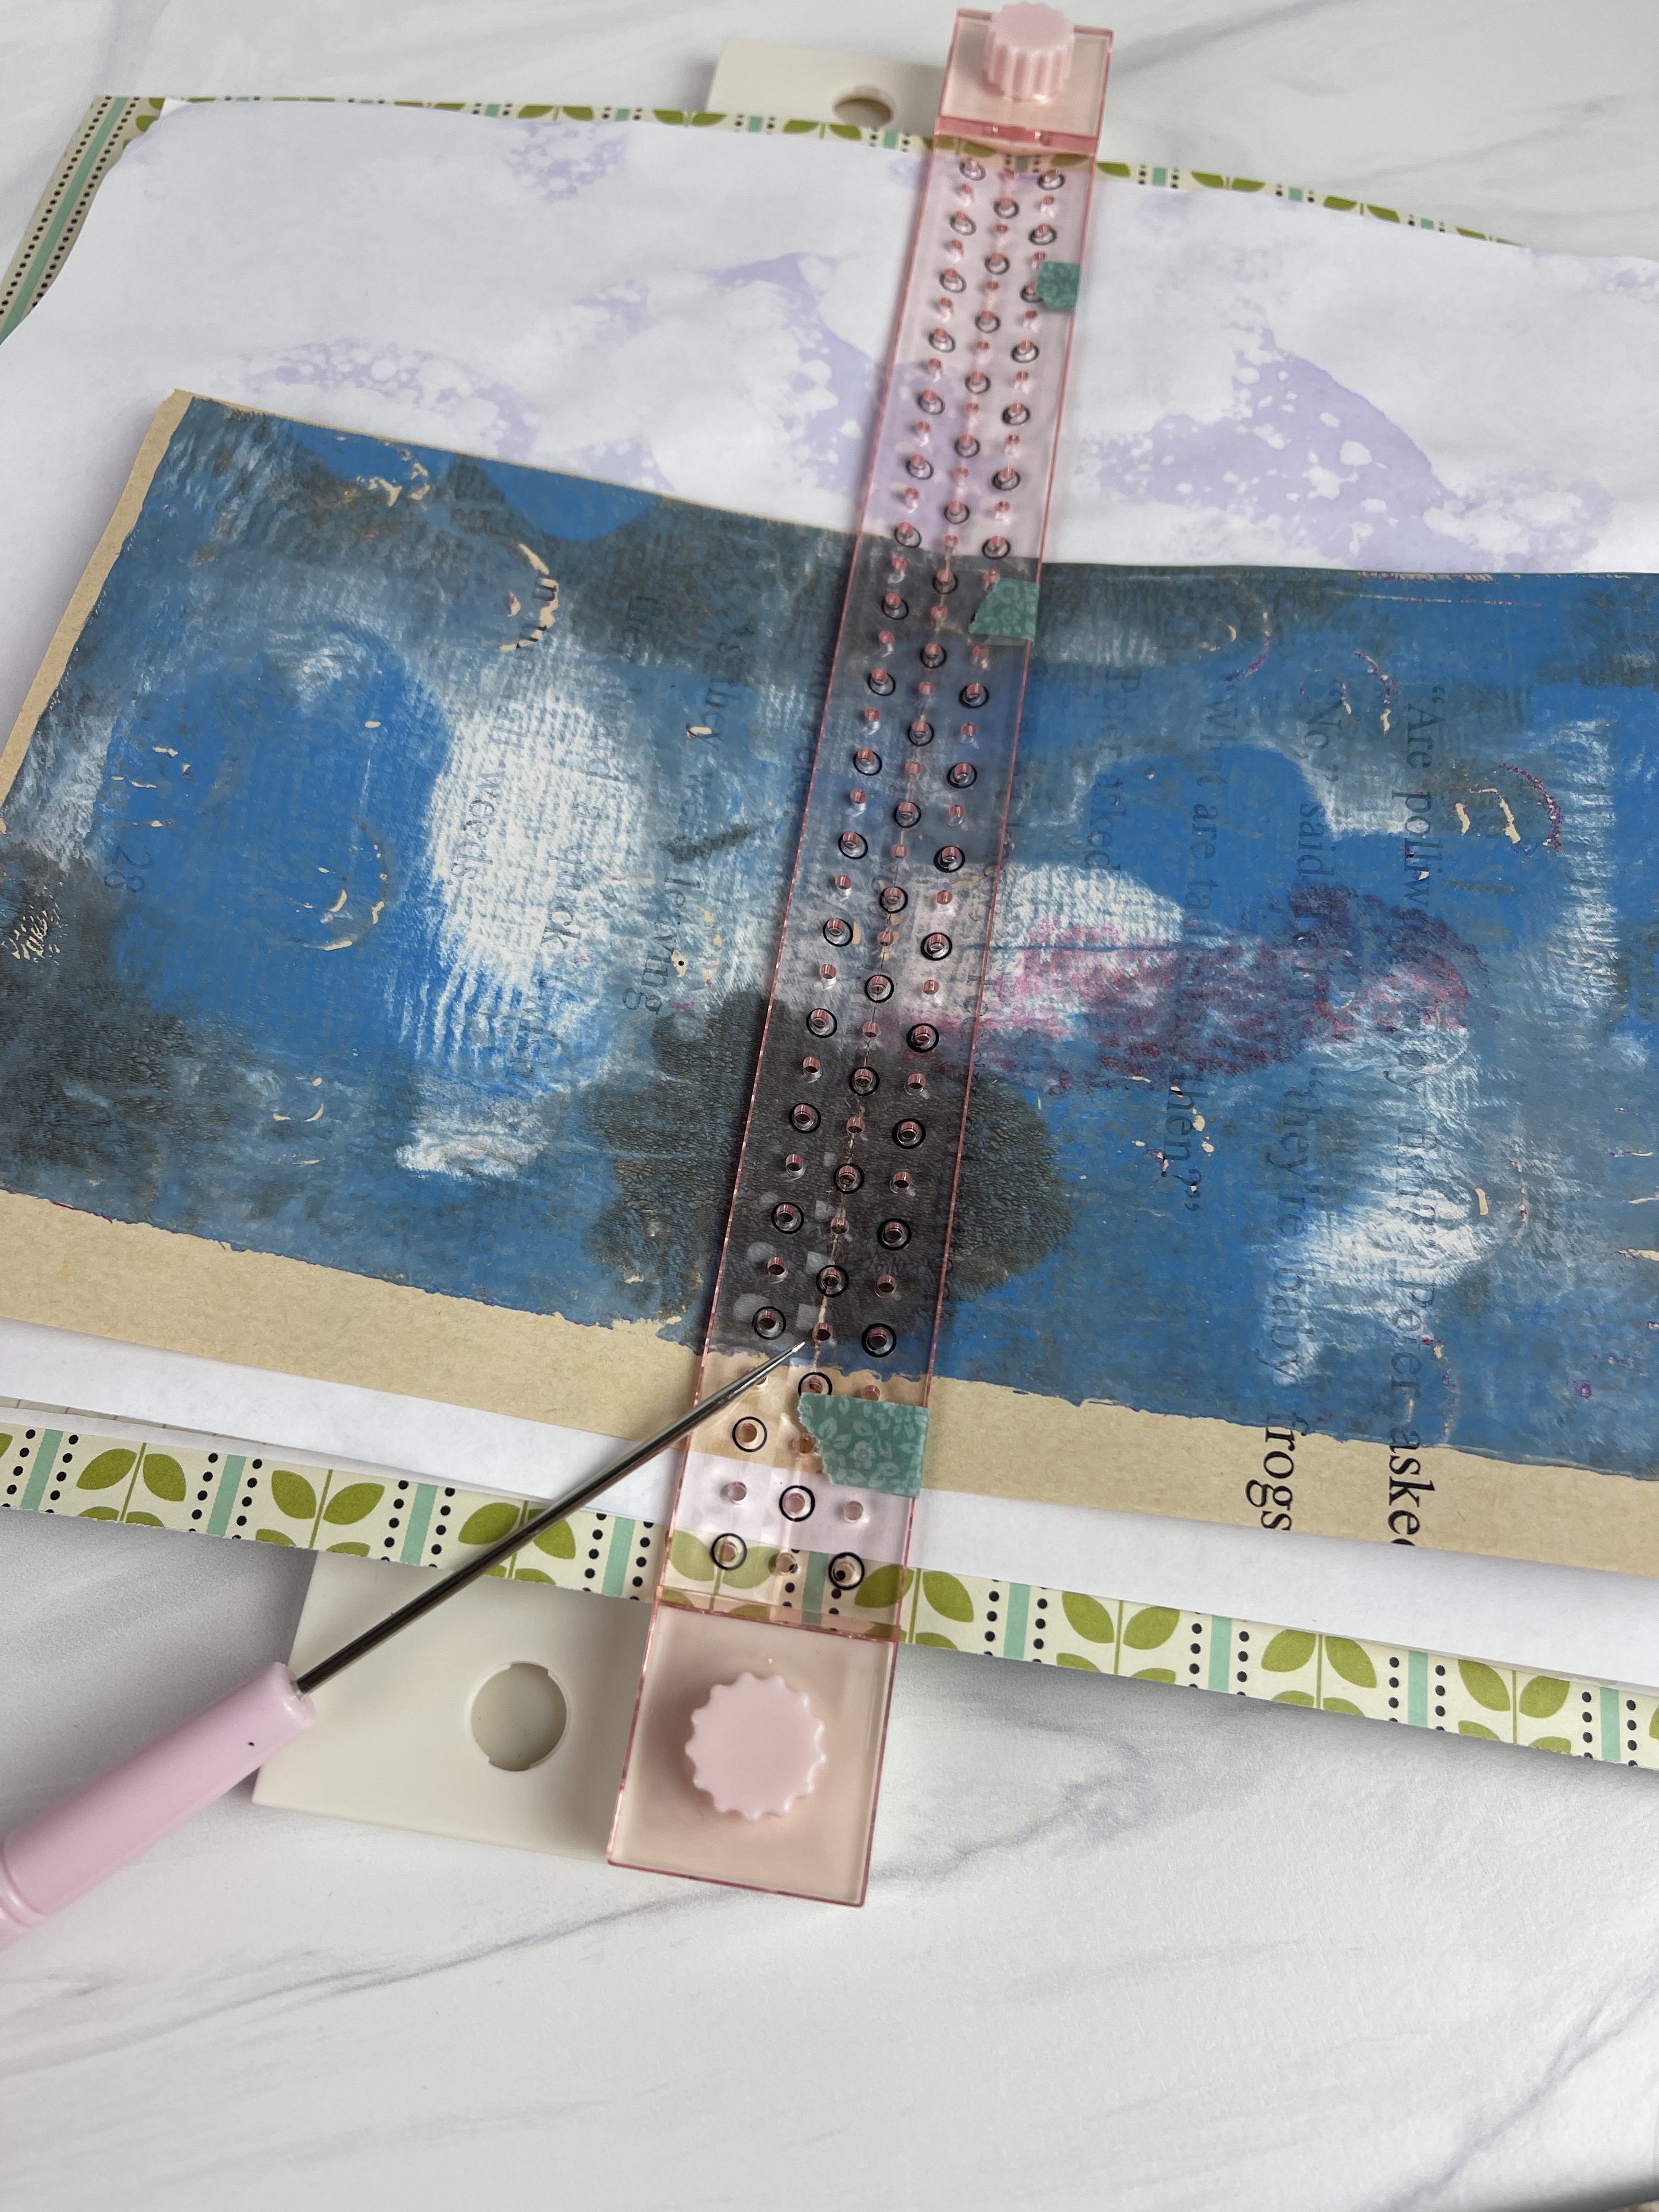
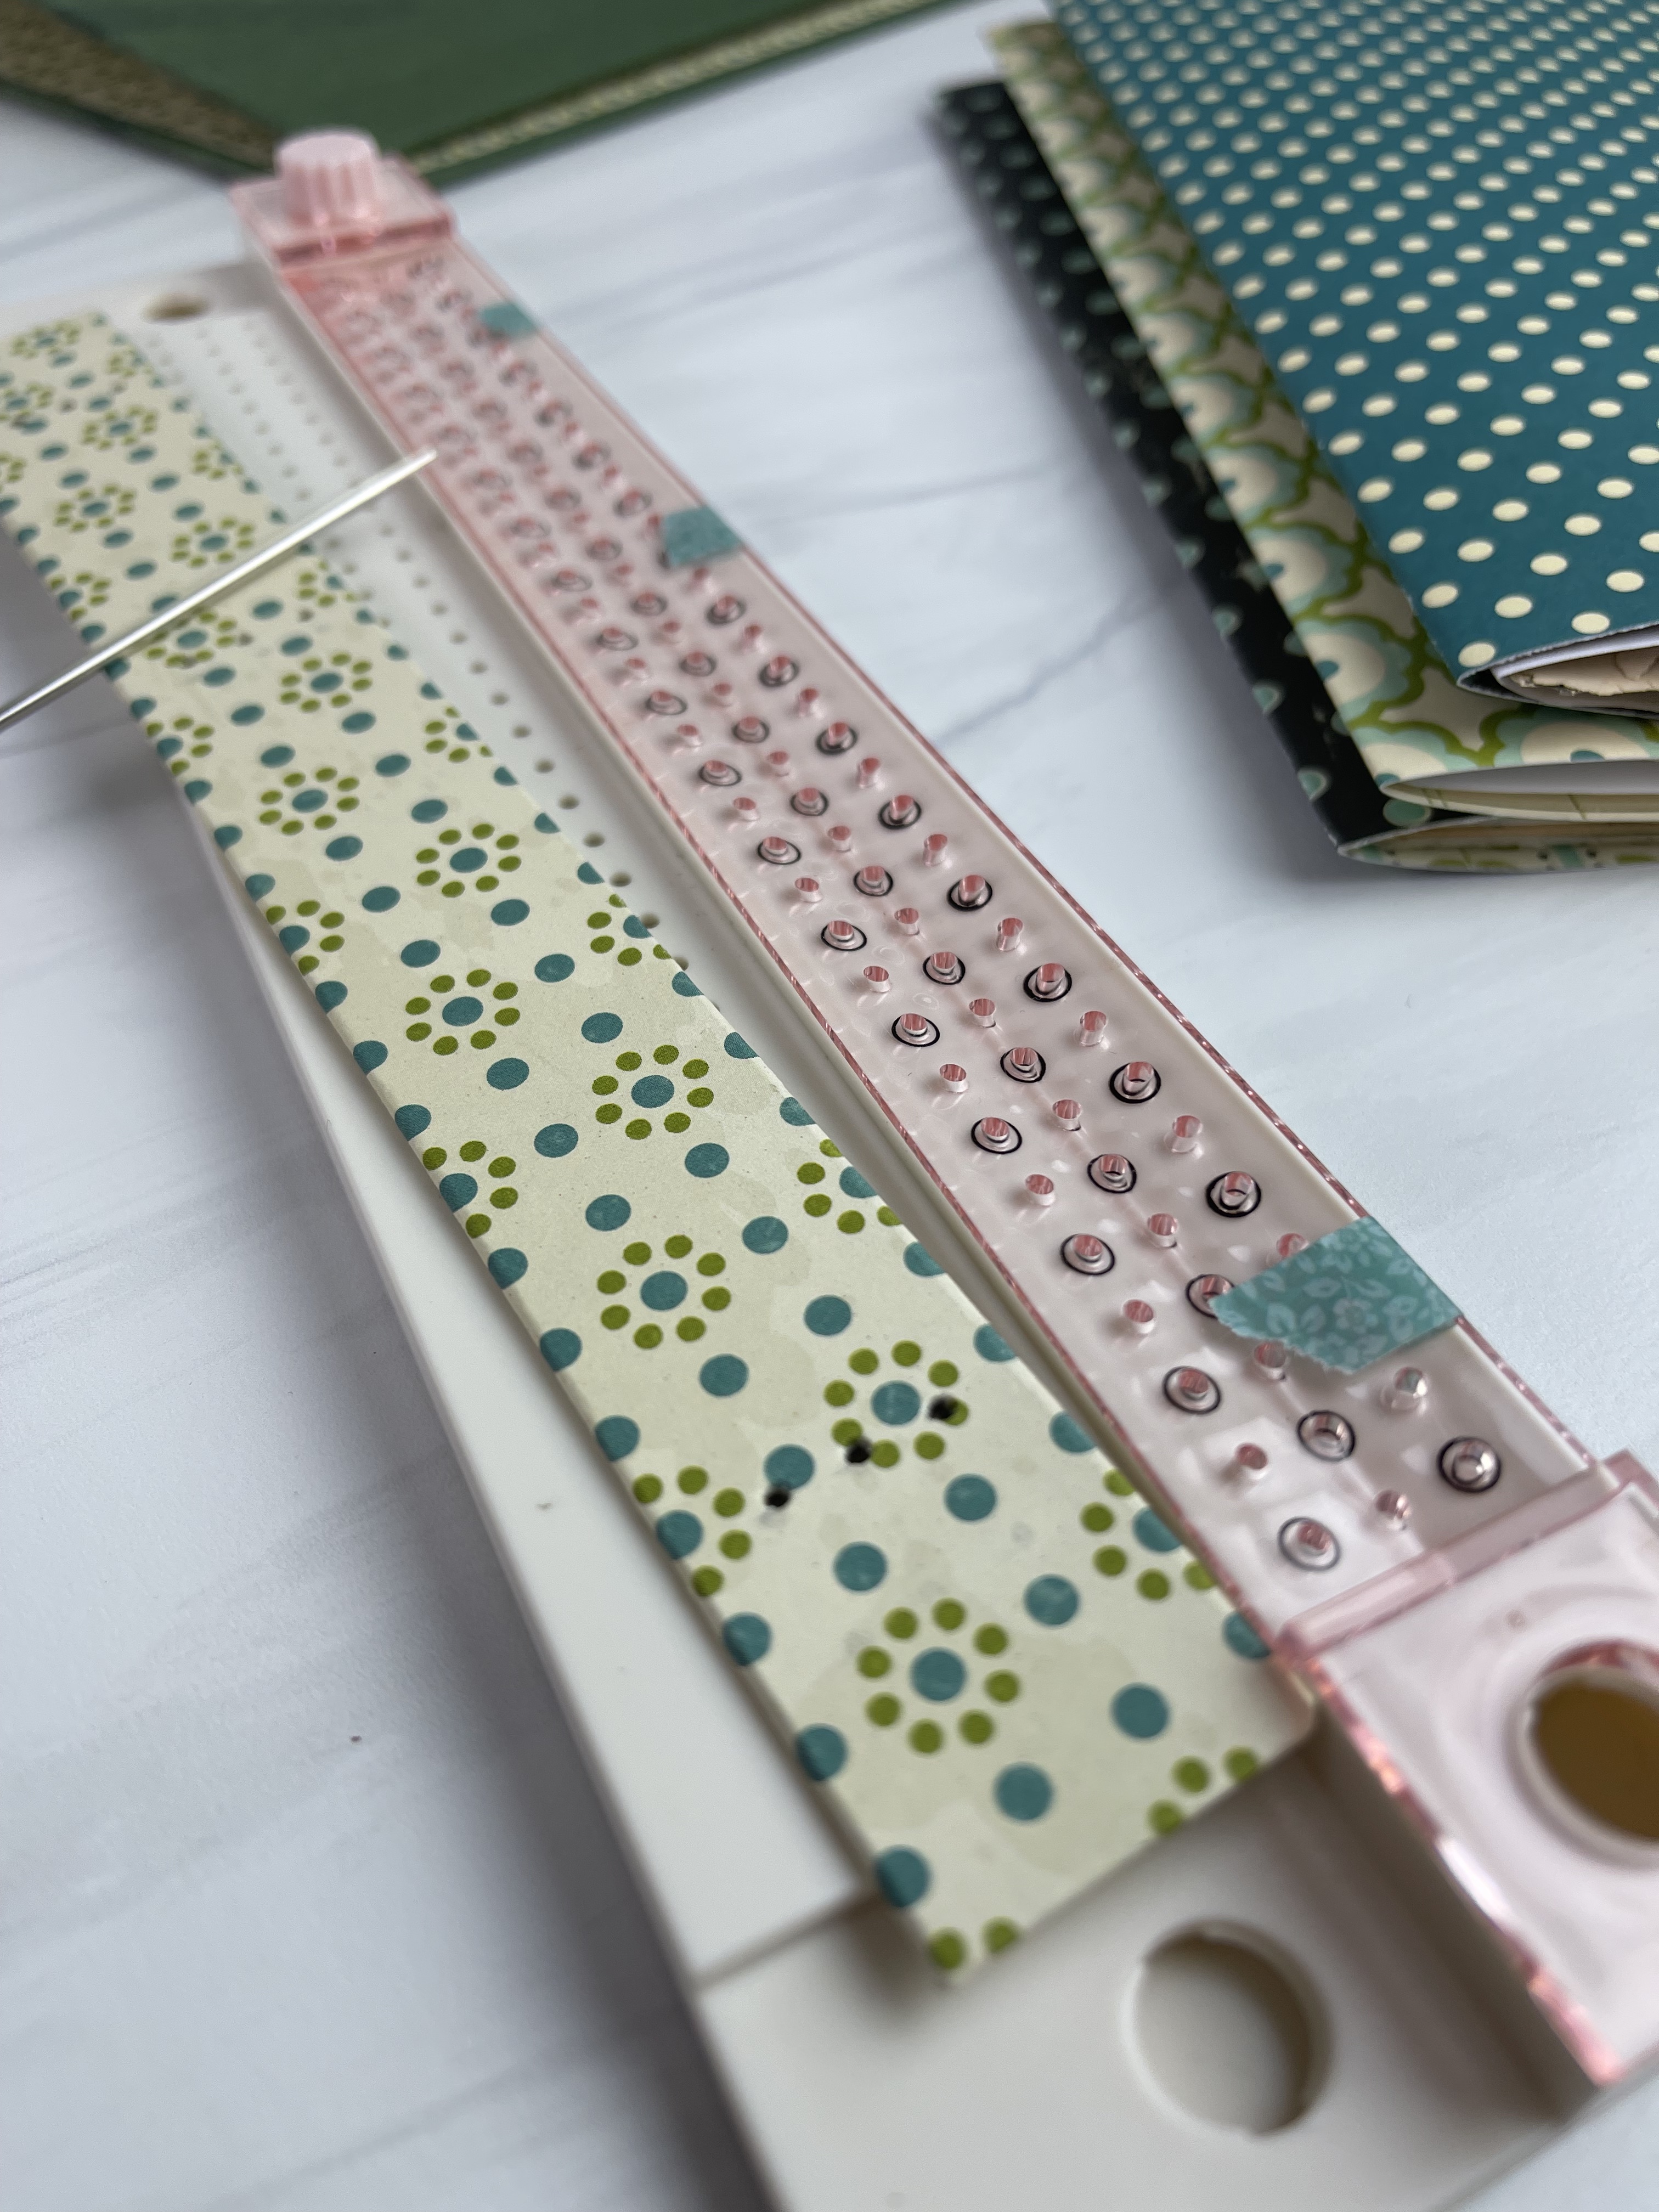
Using a book binding guide, line up the center of your pages with the center of the guide and punch the holes with an awl that you would like to use. I punched three holes spread out evenly down the center of my pages. Stack all your pages up in the order you would like them.
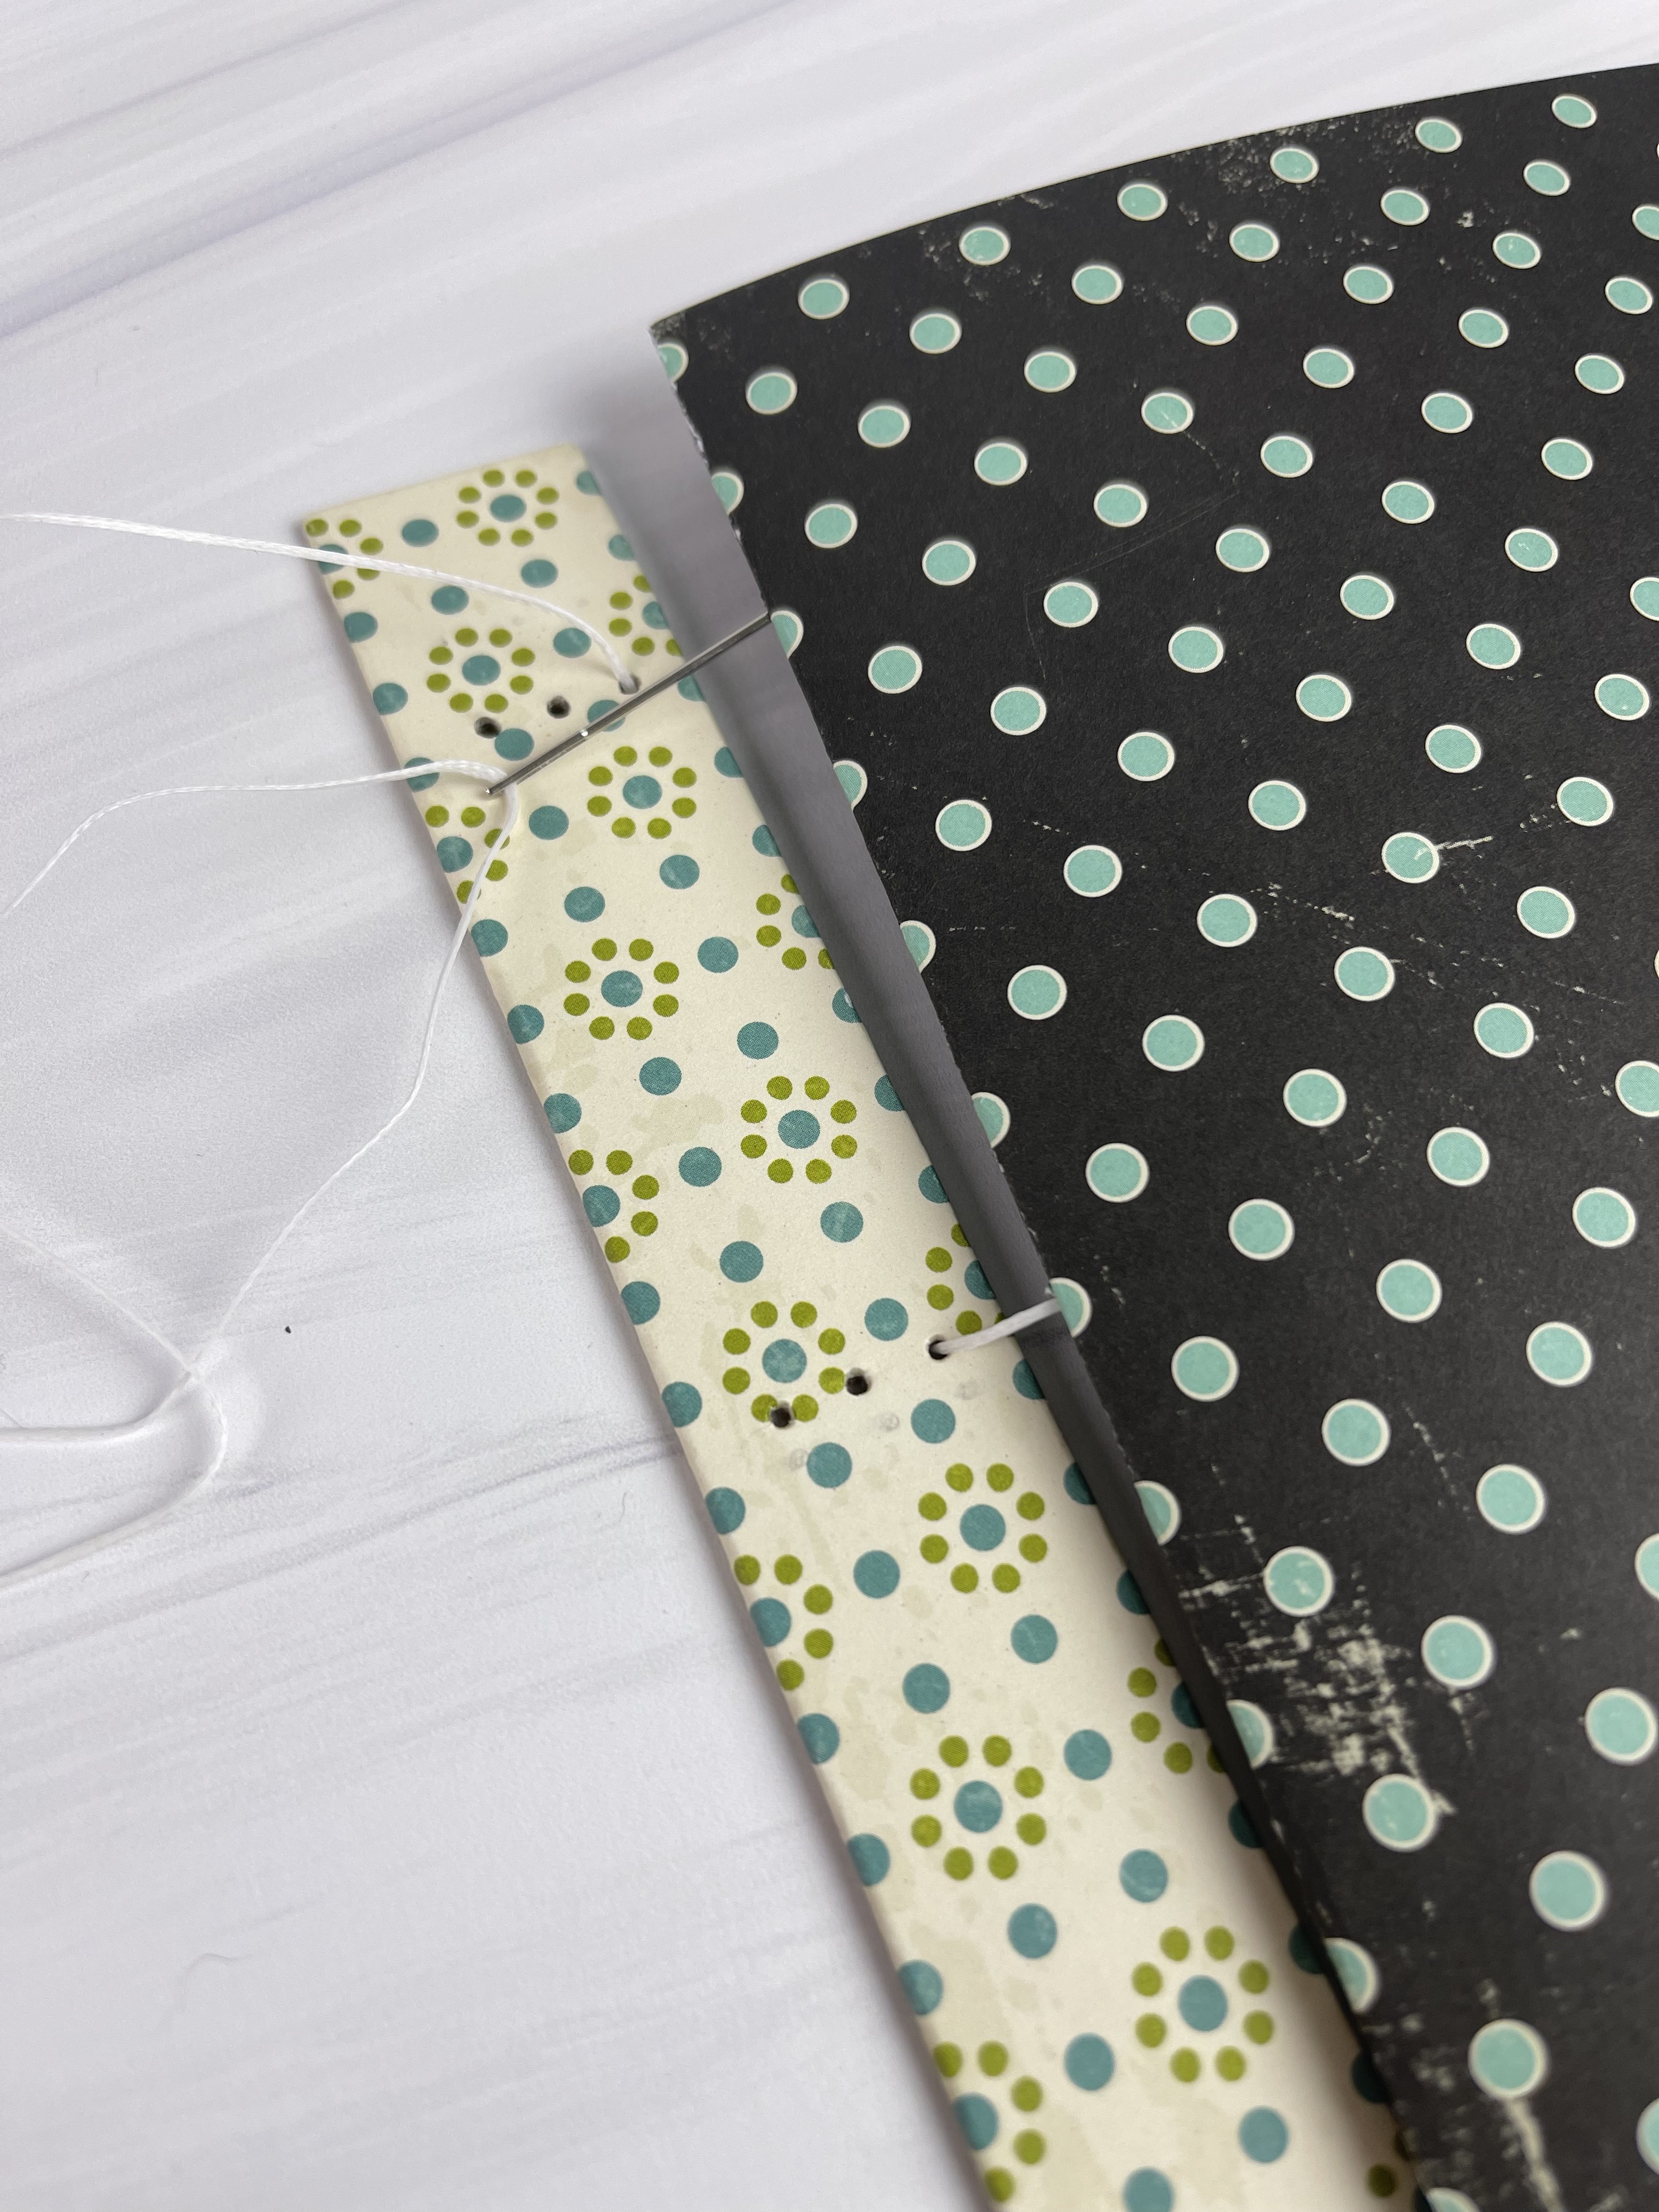
Punch corresponding holes on your chipboard spine. Now it’s time to attach the signatures to the chipboard spine. Using a needle and waxed thread sew the insert or signature together by going through the chipboard spine and through all the pages and then back down another hole through all the pages and chipboard spine. Be sure to knot the ends of the thread together. Repeat for all your signatures. Then glue the chipboard spine into the book.
Now comes the fun part… it is time to fill the inside pages with anything you want. You can use this altered book as a journal, an art journal, a scrapbook mini album, etc. The sky’s the limit!
I think I’m going to make another one to house my December stories this year.
