All the steps on how to make your own traveler’s notebook insert or signature to record your memories in.
Disclosure: My Big Fat Happy Life is a participant in the Amazon Services LLC Associates Program, an affiliate advertising program designed to provide a means for sites to earn advertising fees by advertising and linking to amazon.com
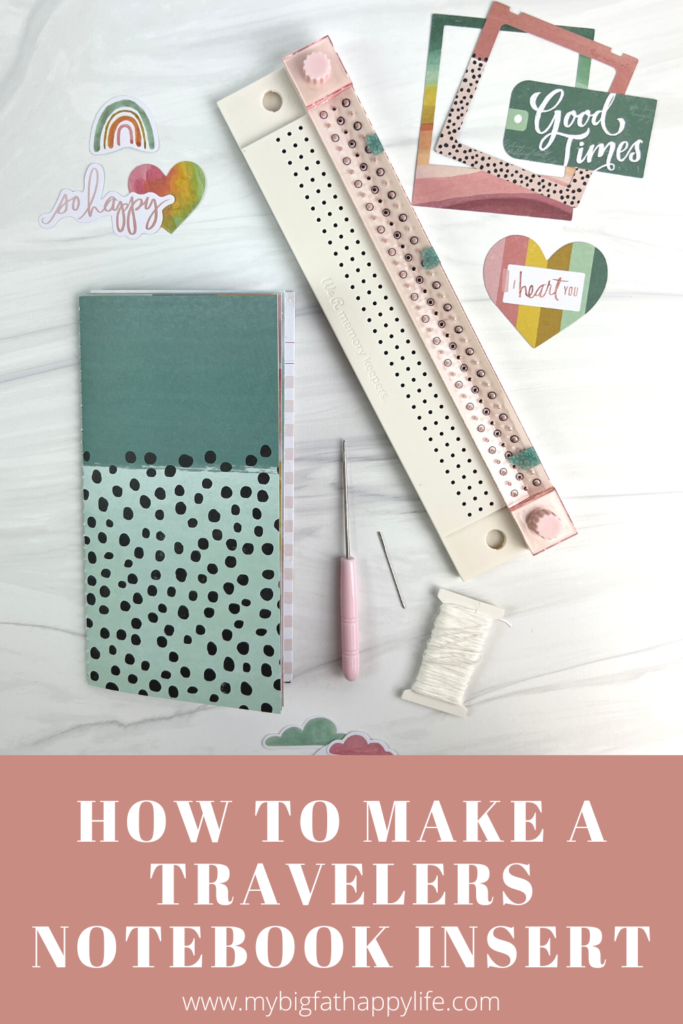
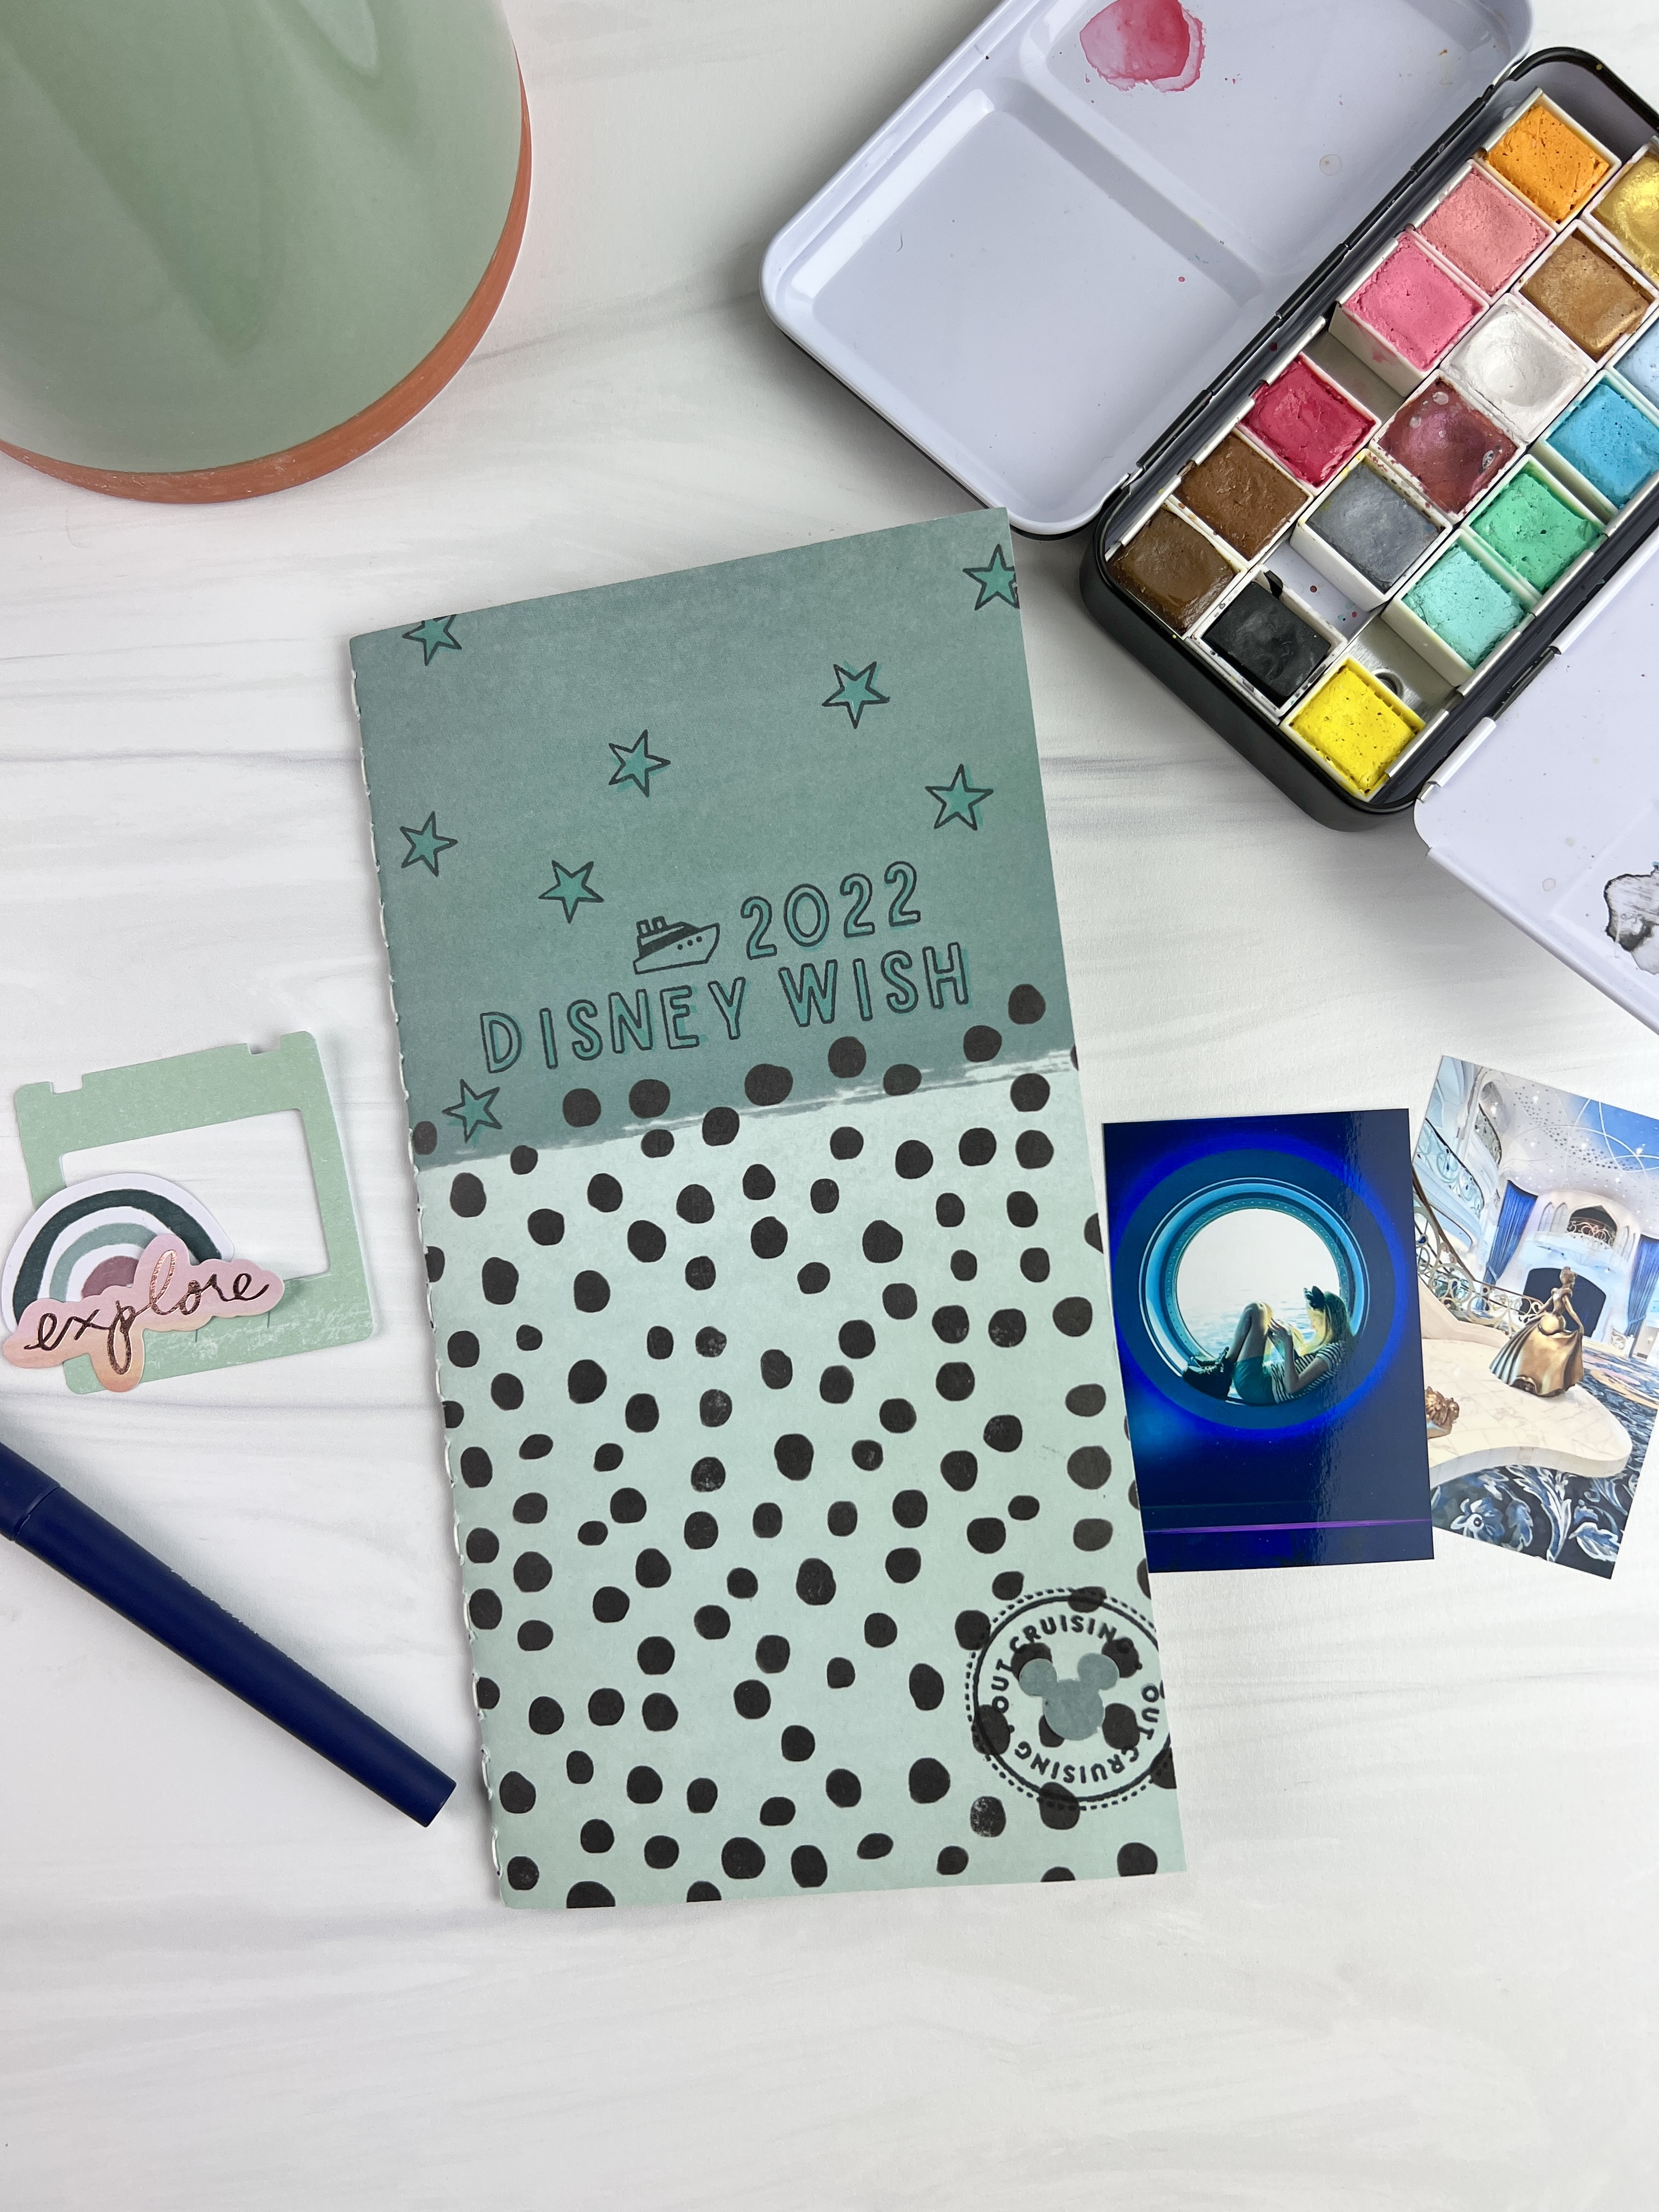
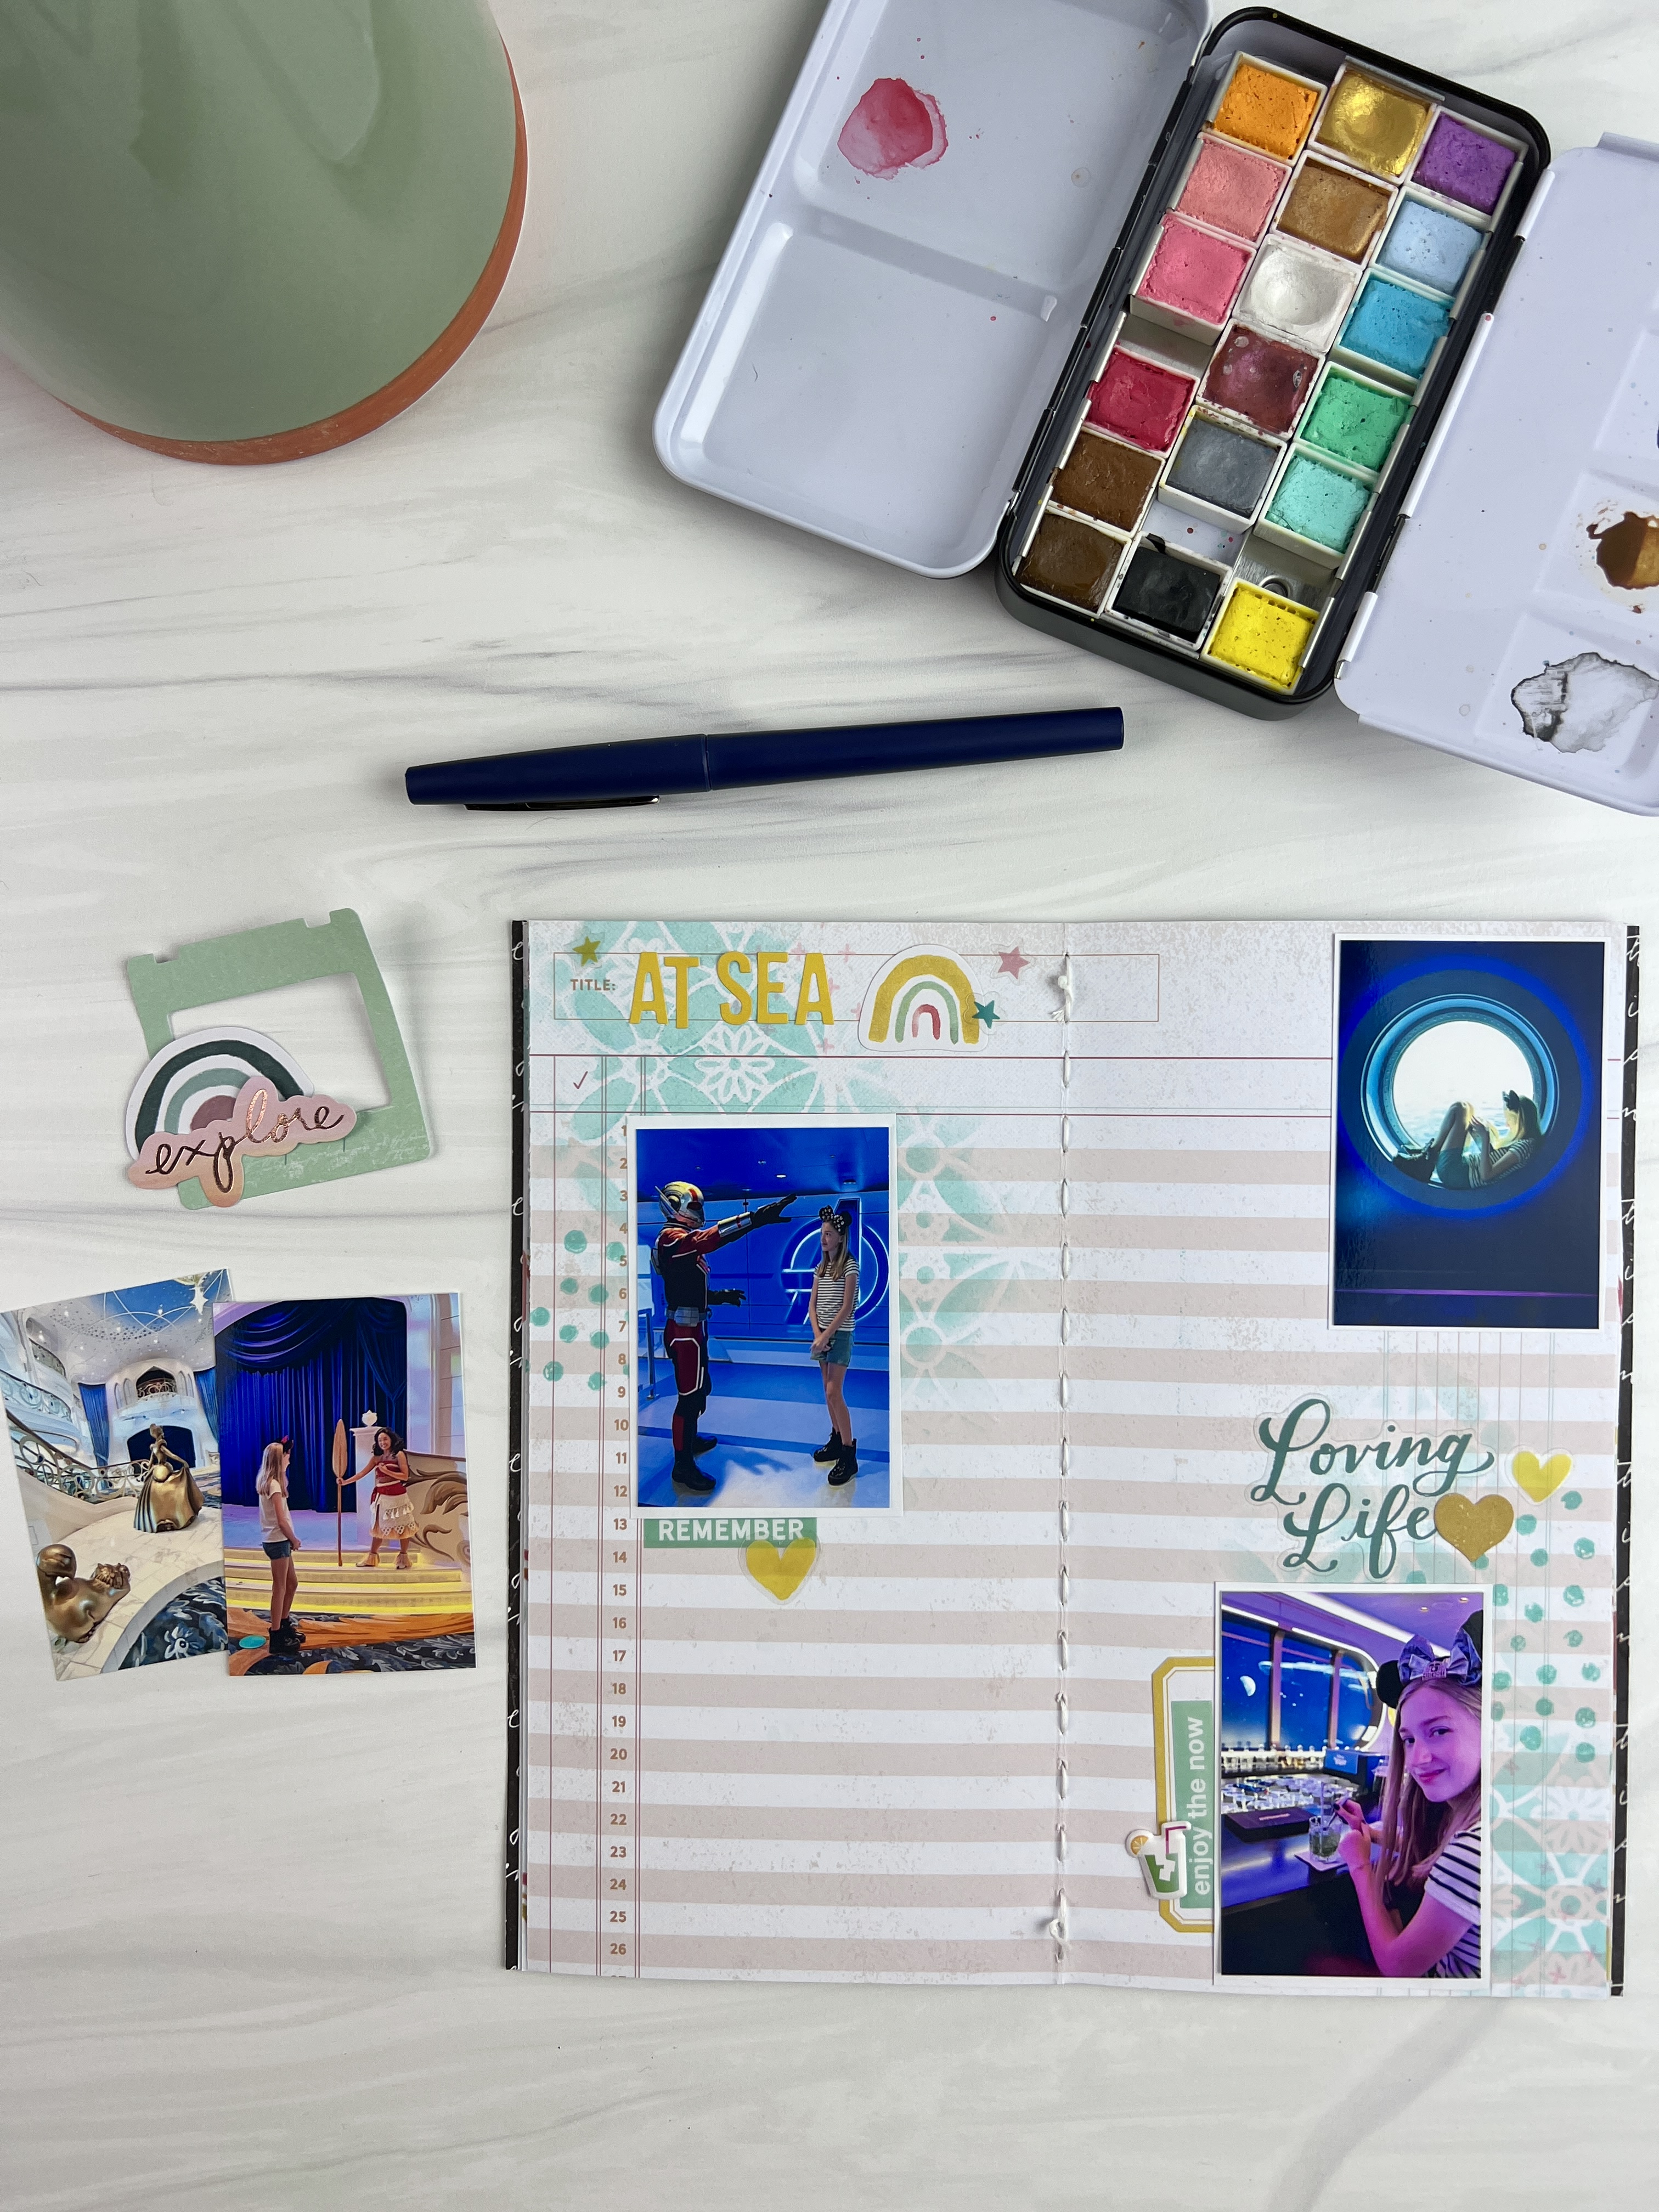
I love to take a traveler’s notebook insert with me when we go on vacation. Usually, I use an insert that’s made by Travelers Notebook Company or something similar, but for our upcoming trip, I decided to make my own. One of the reasons I wanted to make my own was so that I can make it the number of pages that I needed for the trip. Another reason is I wanted to customize my insert using colors and papers that went well with the feel of my trip.
I’ve shared previously my tips for recording in a traveler’s notebook during your travels here and how to document your child’s school year here.
How to Make A Travelers Notebook Insert
To start you will gather the papers that you would like to use for your insert. I used some scrapbook paper that is double-sided from American Crafts. Figure out which order you would like your papers in and which one will serve as the cover. Starting with the cover paper, cut it to 8.5 x 8.25 inches. Then I cut each piece of paper after the cover just slightly (1/8 inch) smaller than the previous piece of paper. I do this so that when you bind all your pieces of paper together the center ones are not sticking out further than the edge pieces.
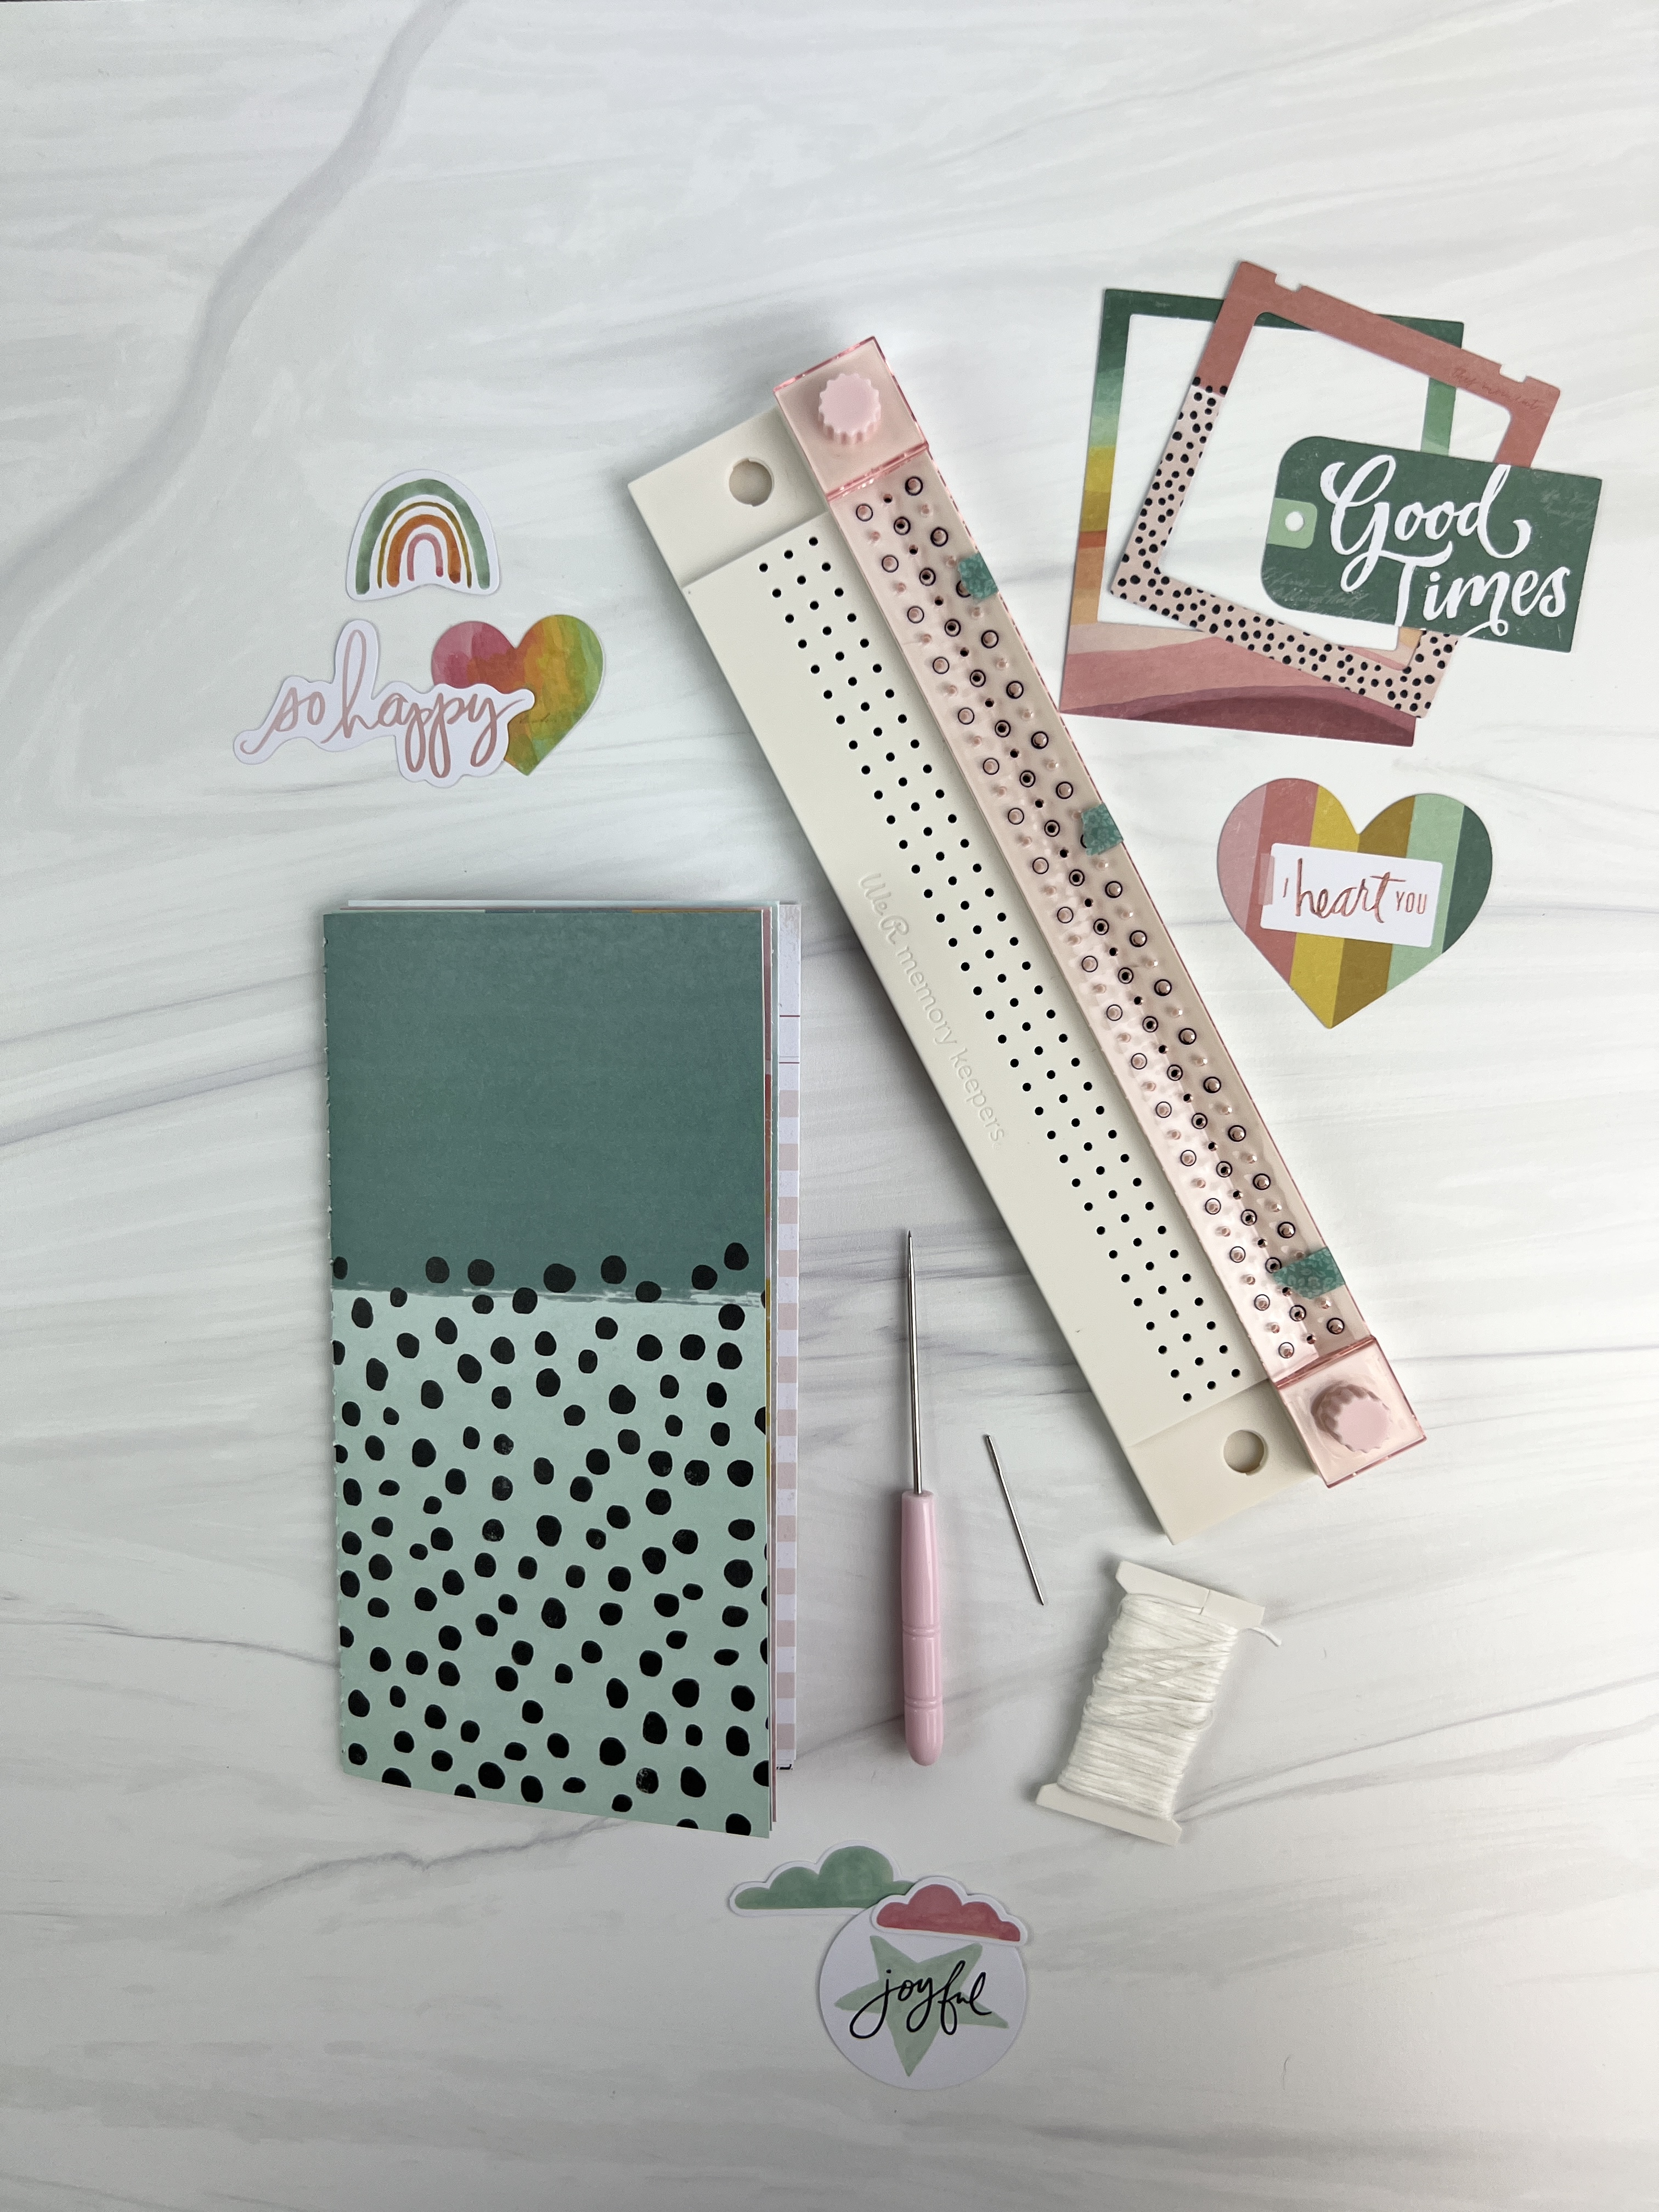
Fold each piece of paper in half and use a bone folder to get a sharp crease.
Using a book binding guide, line up the center of your pages with the center of the guide and punch the holes with an awl that you would like to use. I punched all the holes directly up the center of my page. Stack all your pages up in the order you would like them.
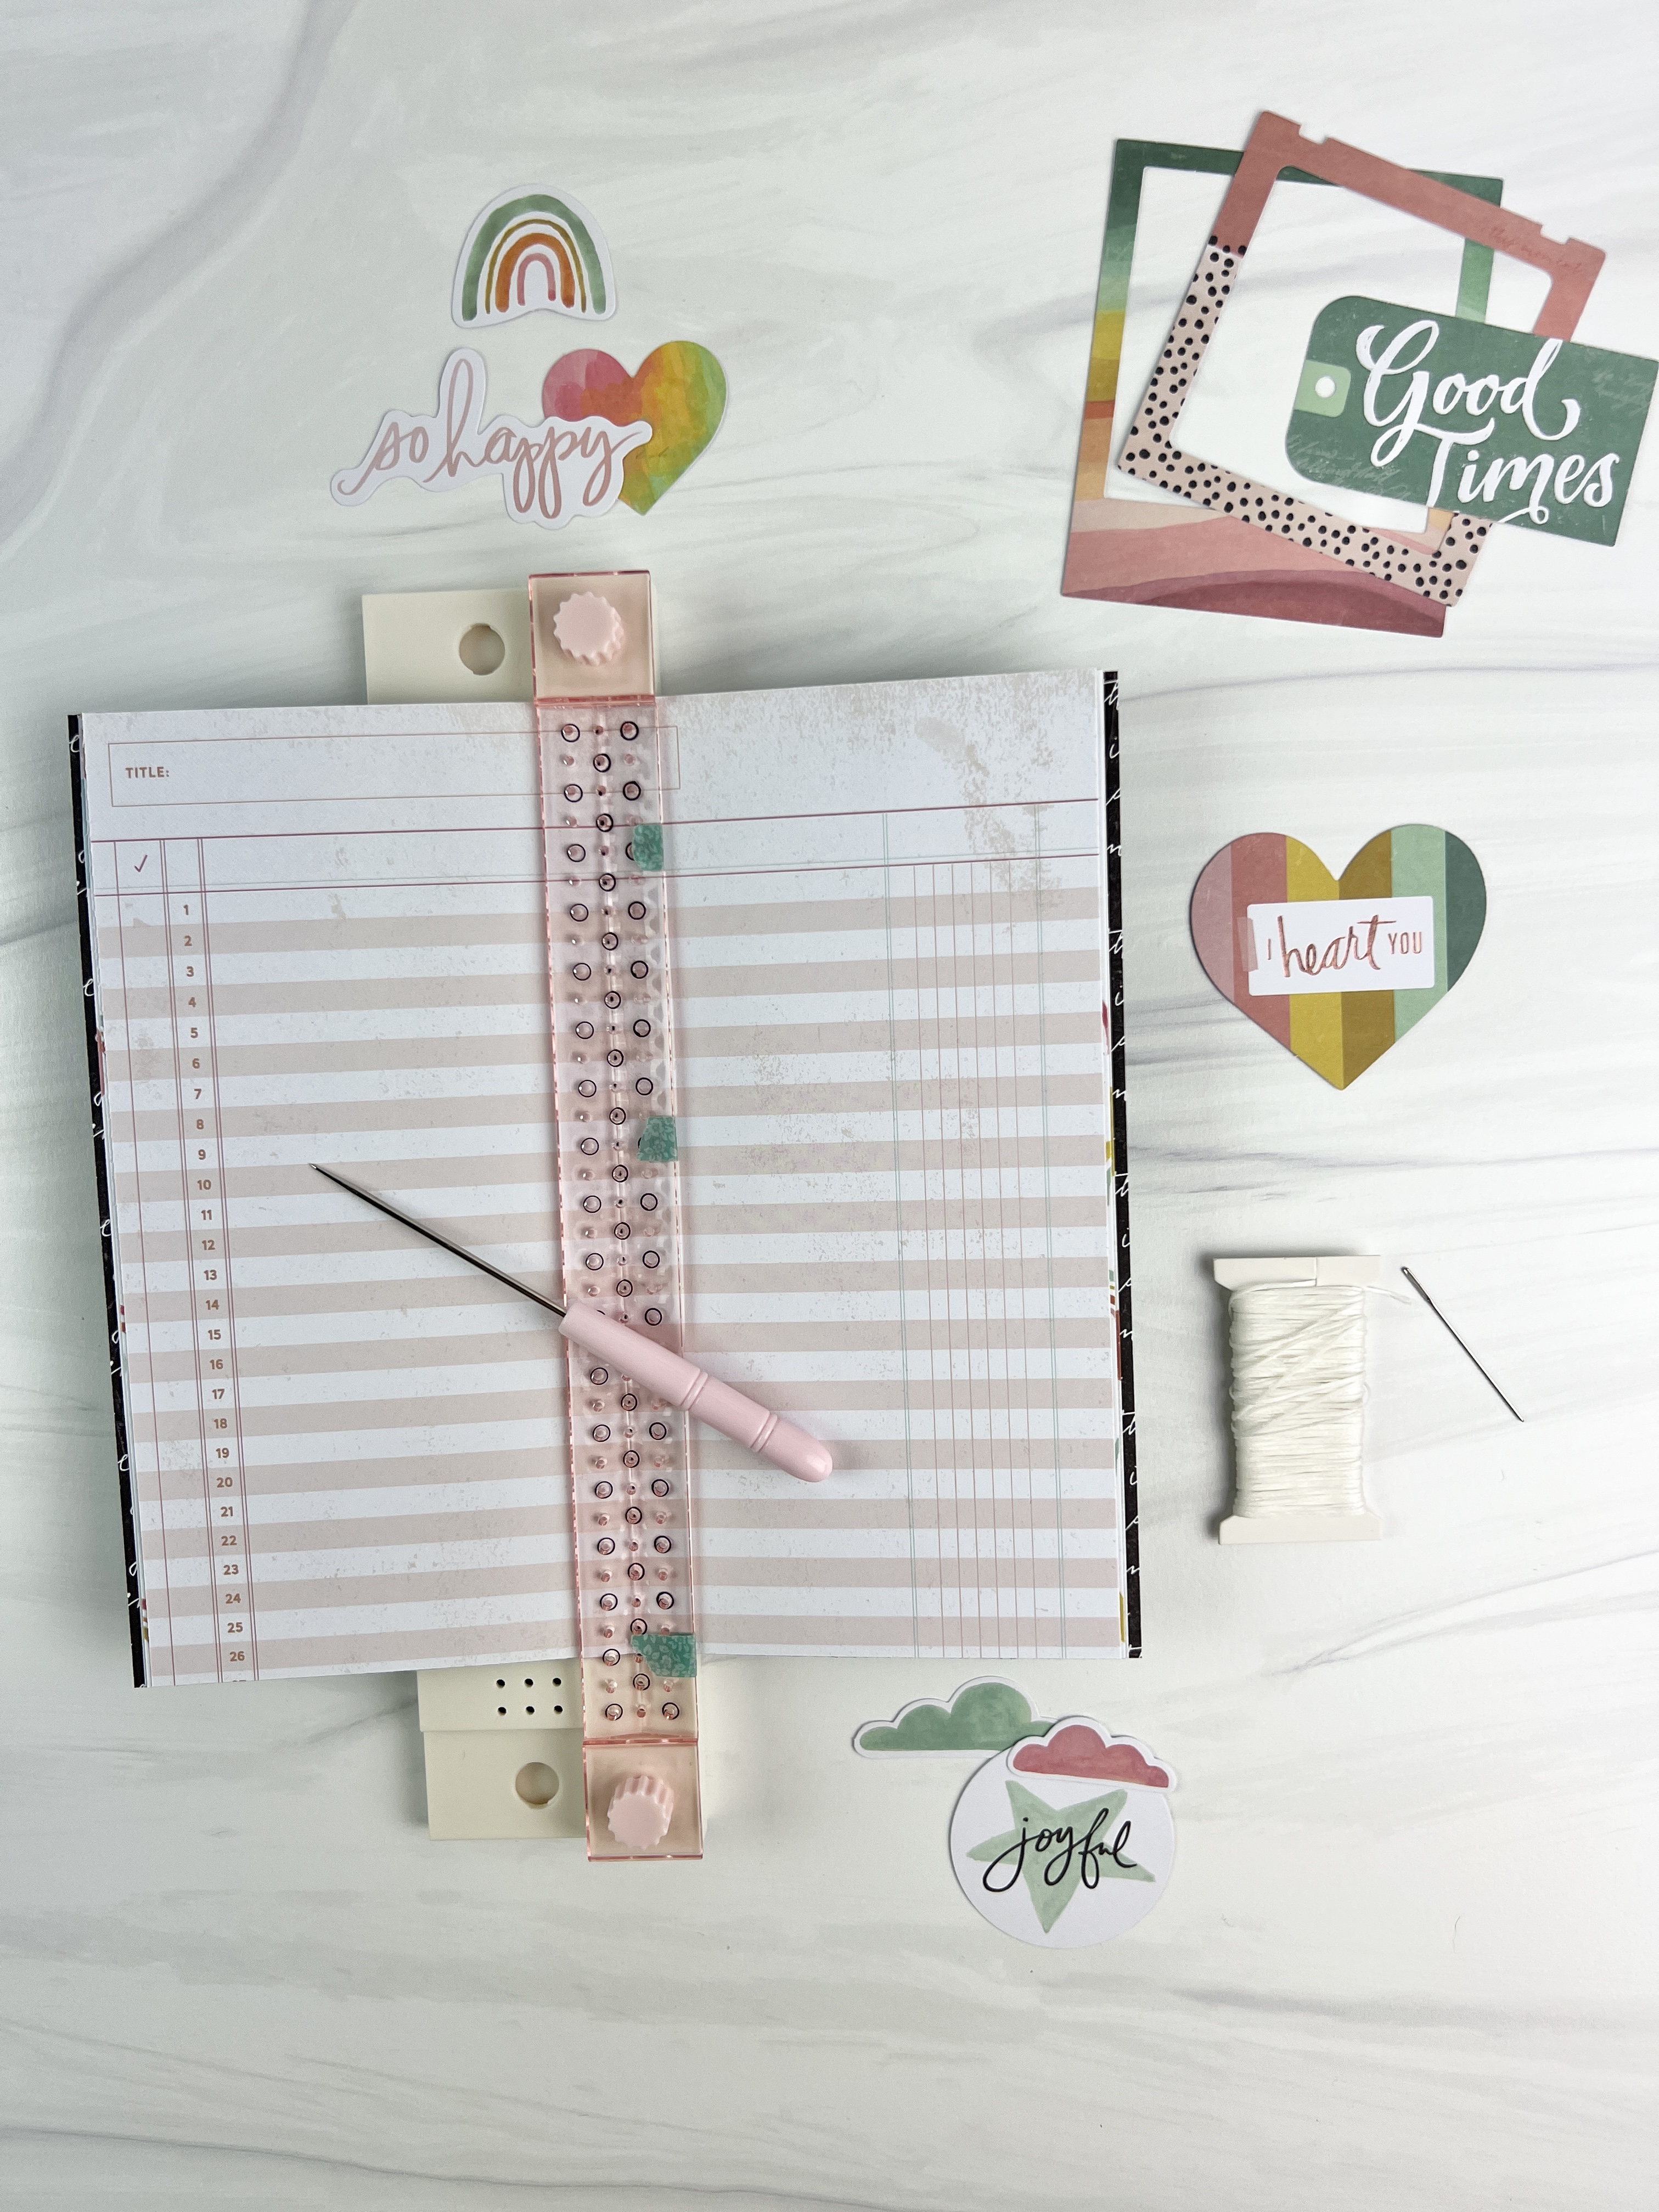
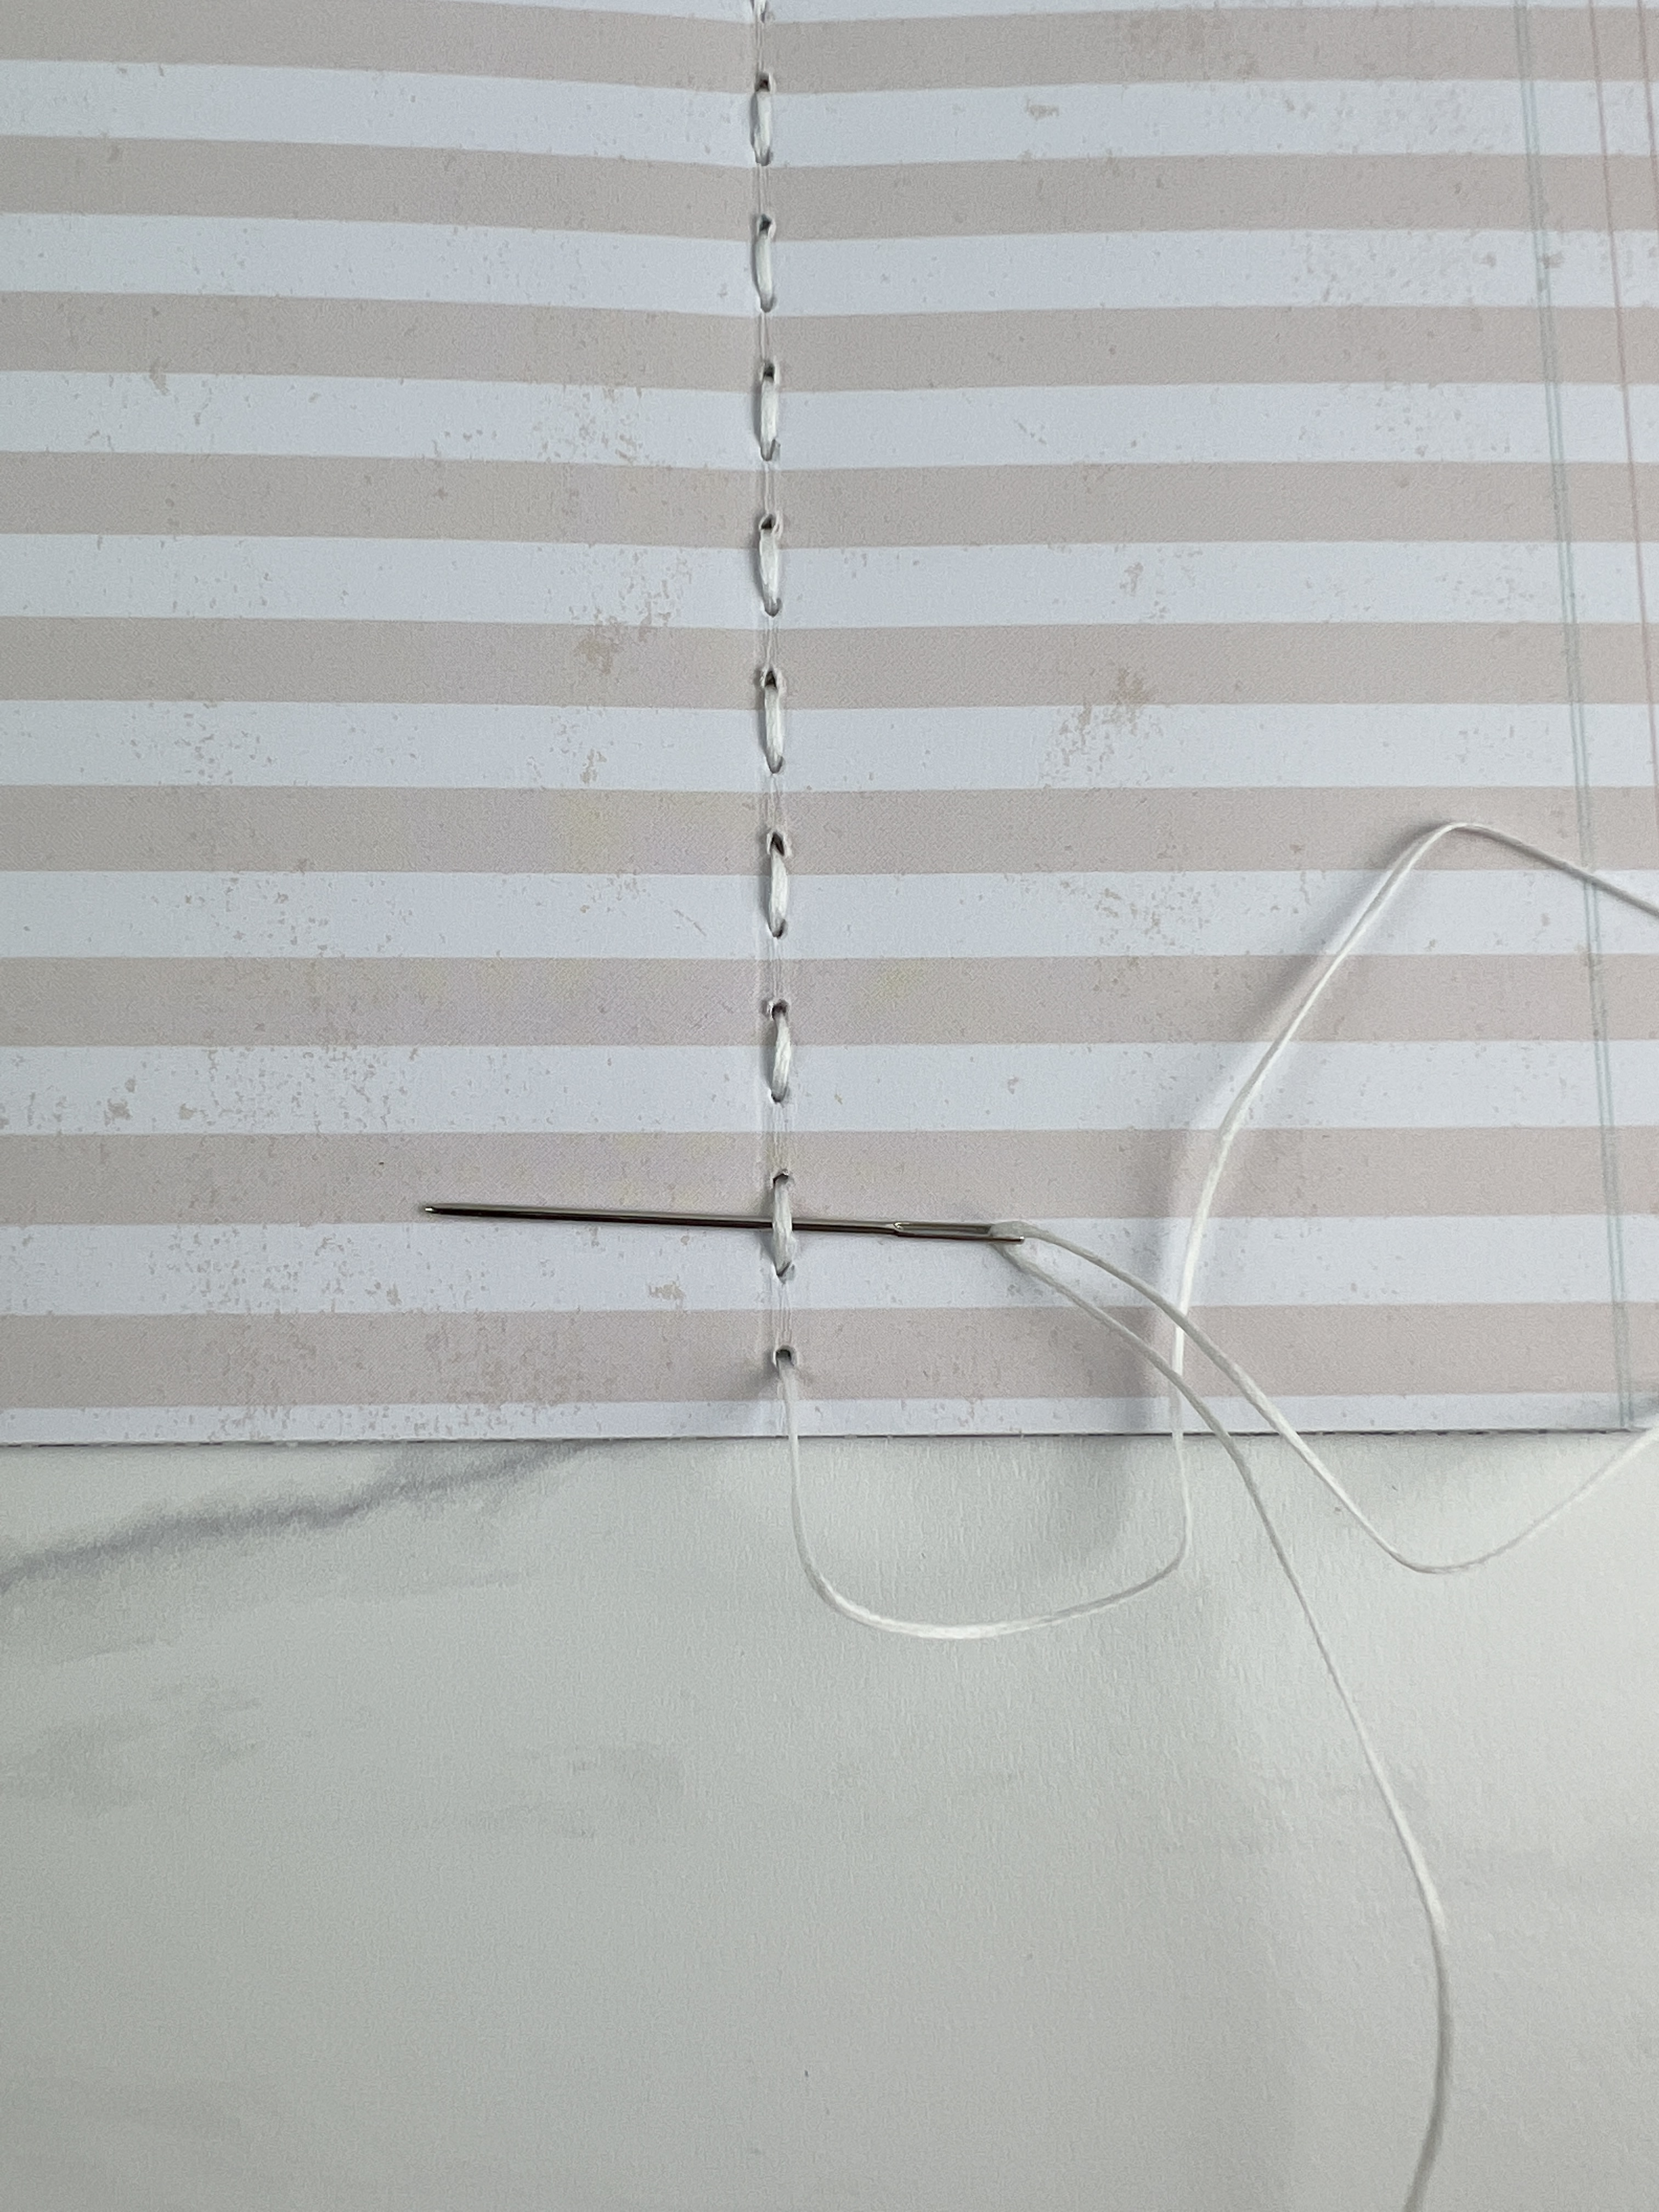
Then using a needle and waxed thread sew the insert or signature together by going through all the pages and then back down another hole through all the pages. Be sure to knot each end of the thread.
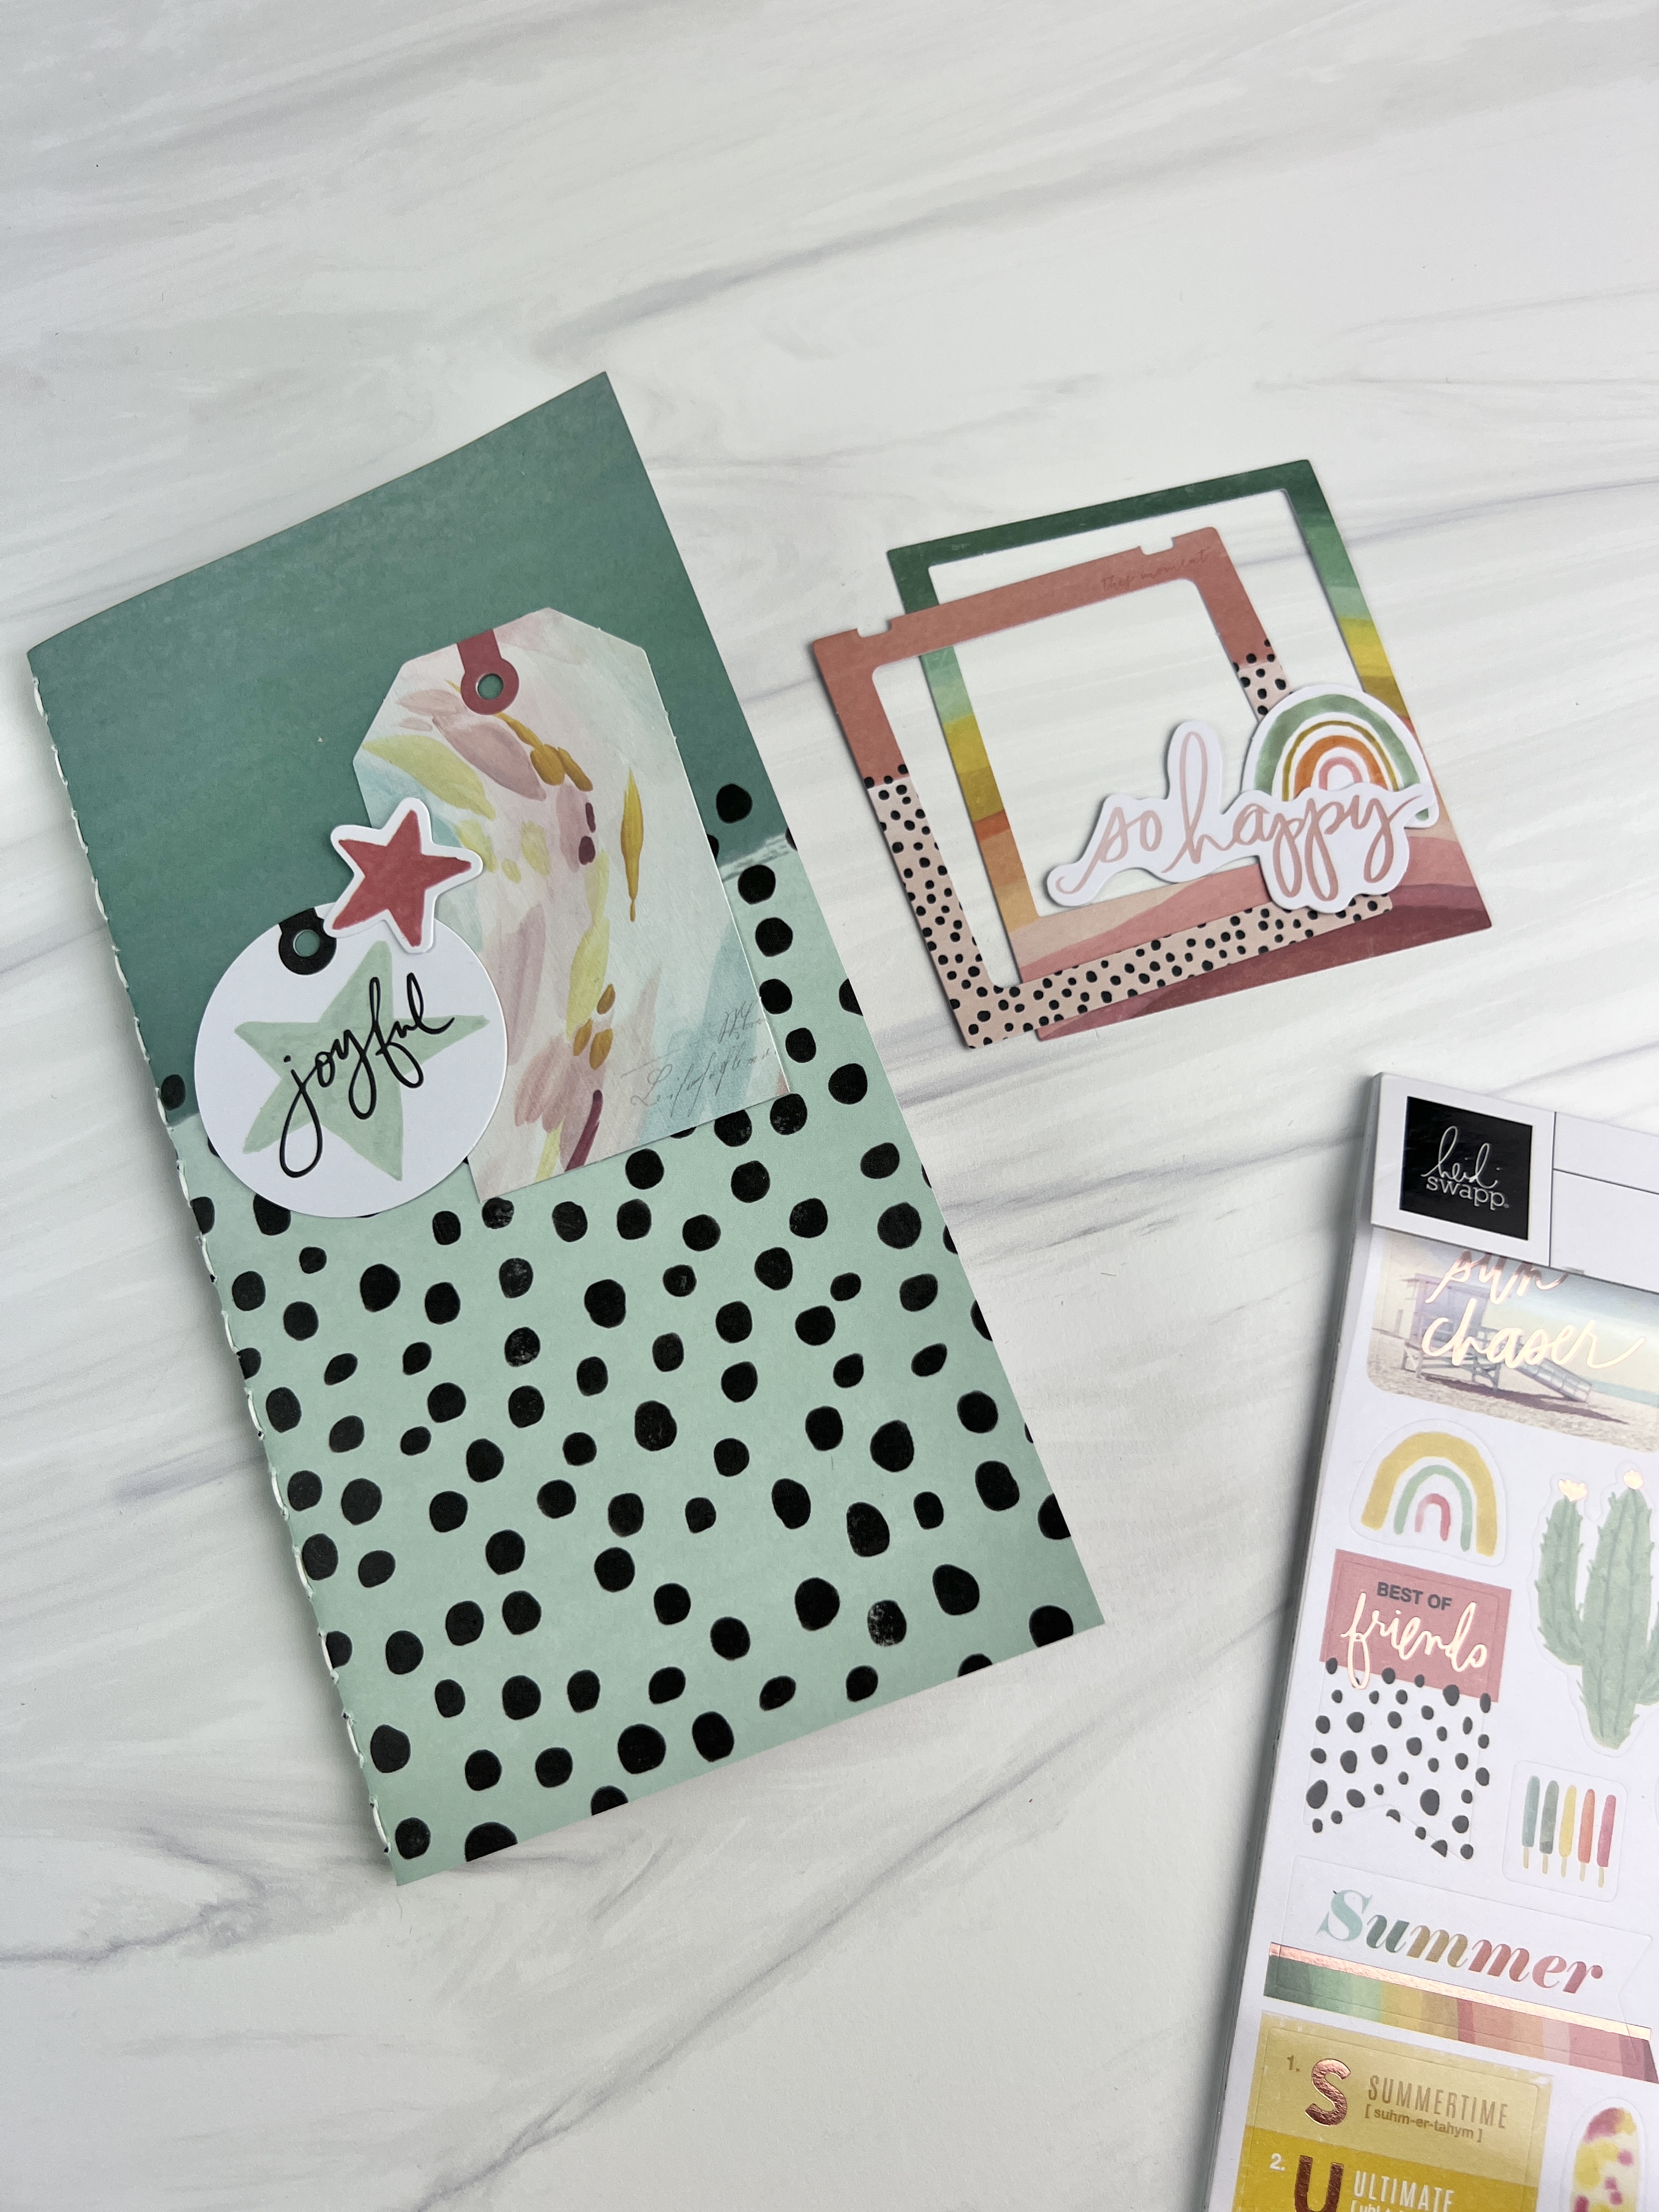
Now comes the fun part and it is time to decorate the cover and inside pages. I do minimal decorating ahead of my trip because I enjoy decorating the pages while traveling. However, you do what works for you. This time I added a title using stamps on the cover and added some stenciling and stamping on some of the inside pages.
Do you enjoy using a traveler’s notebook insert?
