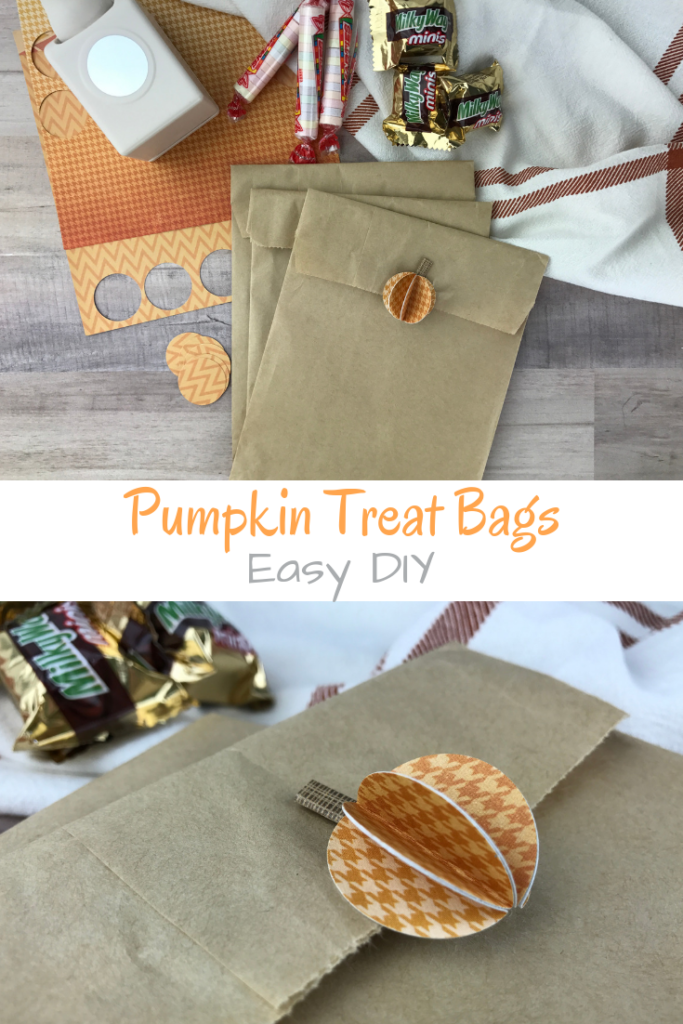
Easy DIY pumpkin treat bags are perfect for Halloween!
Disclosure: My Big Fat Happy Life is a participant in the Amazon Services LLC Associates Program, an affiliate advertising program designed to provide a means for sites to earn advertising fees by advertising and linking to amazon.com
While kids love to get candy, wouldn’t it be more fun if it came in a cute package?
These easy and inexpensive pumpkin treat bags make the perfect little goodie bags for a Halloween party! Or you could wow the trick-or-treaters with something memorable!
You could fill these pumpkin treat bags with candy or other small treats. The possibilities are only limited by the size of your bag.
Supplies:
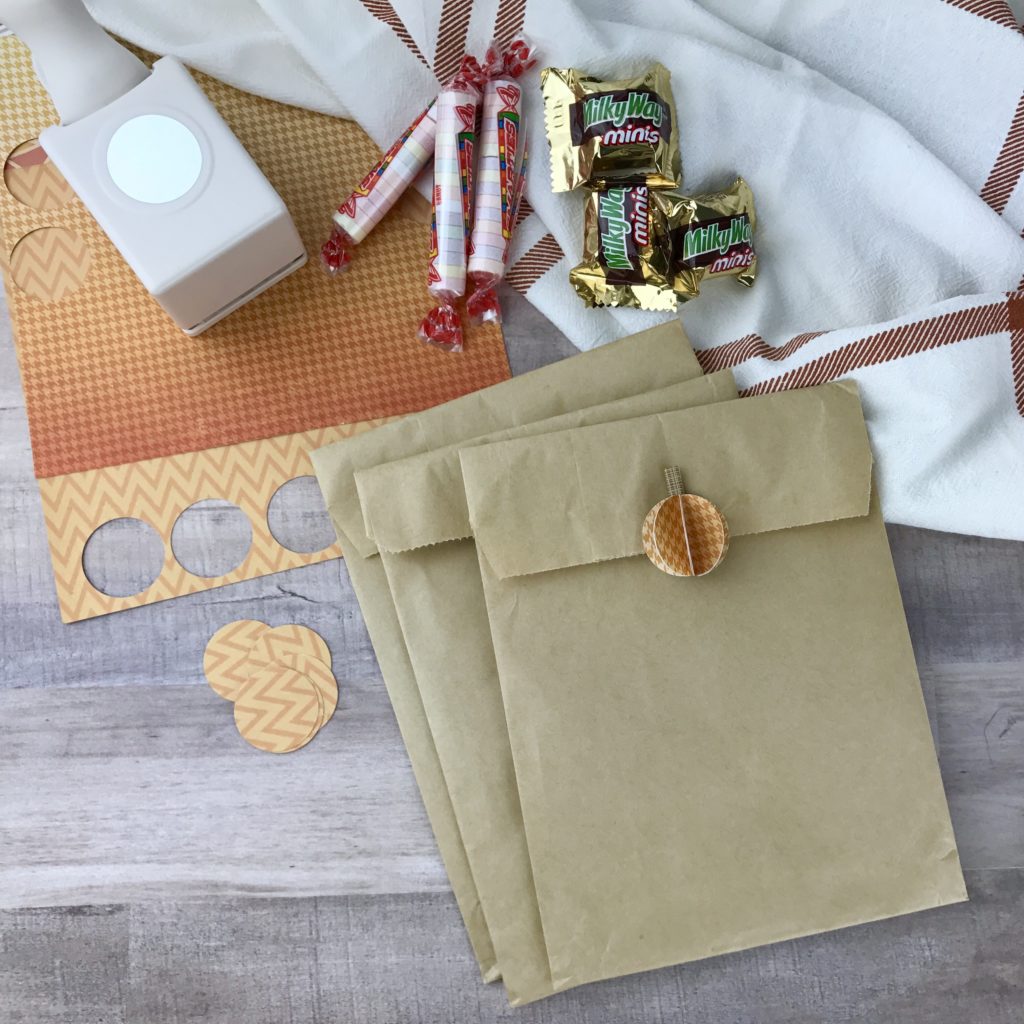
- brown/kraft treat bags (like these)
- orange pattern paper or cardstock
- brown pattern paper or cardstock
- 1 inch circle punch (or if you a larger one on hand you can use it instead)
- scissors
- glue
- candy or other small treats
Directions:
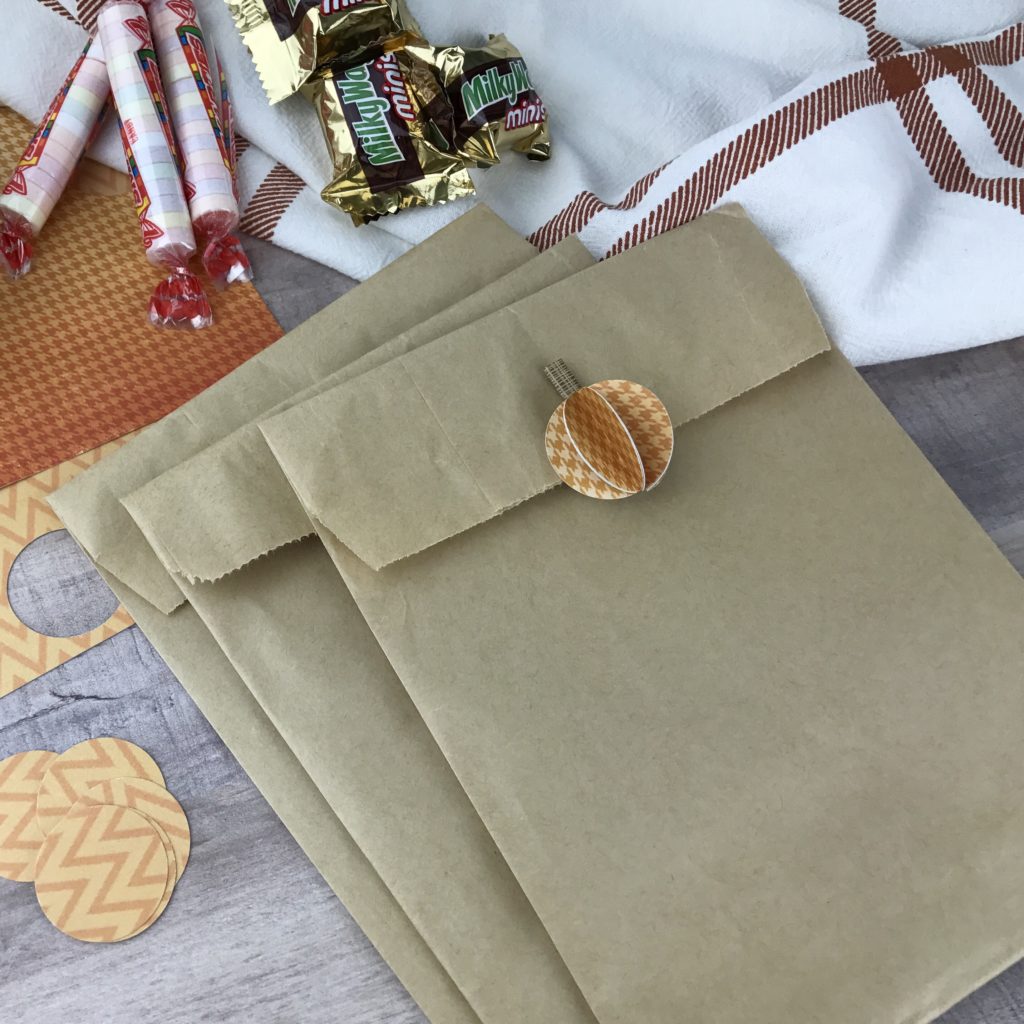
- Punch 4 circles out of orange pattern paper for each treat bag you are going to make.
- Fold each circle in half with the pattern to the inside.
- Place glue on a half circle and attach it to another half circle, repeat until you have 4 half circles glued together. Repeat for each treat bag.
- When you open your half circle it should look like half of a pumpkin.
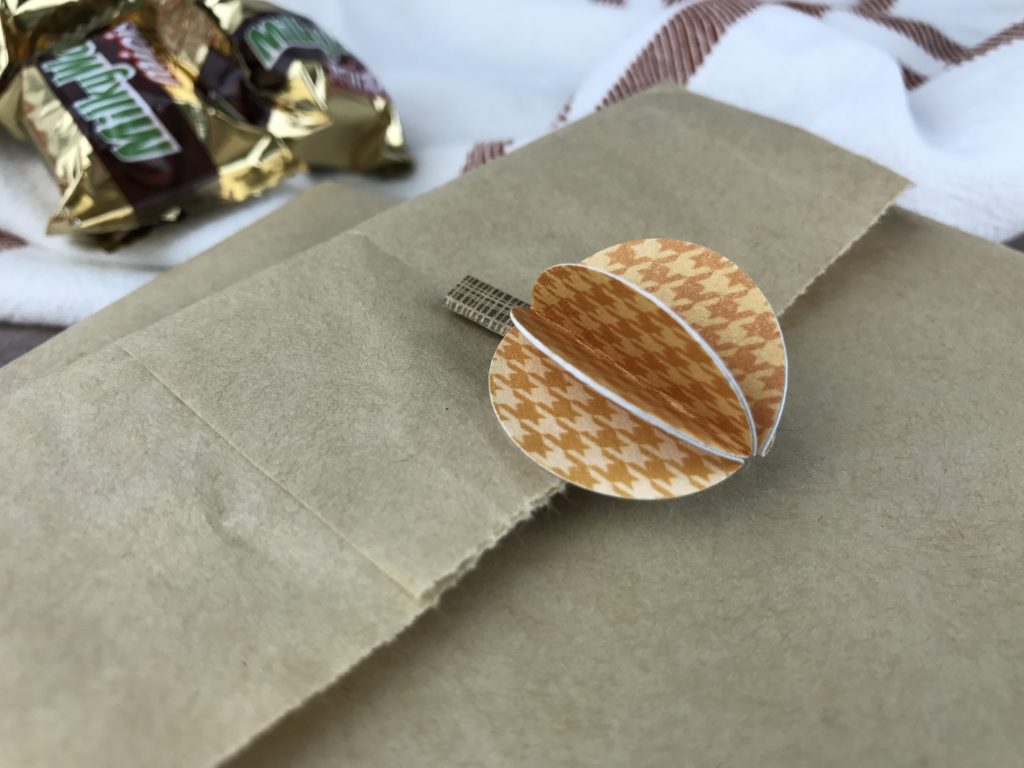
- Fill treat bags with candy (or other small treats) and glue pumpkin to the front of the treat bag. I added mine where the flap folded over.
- Cut a small piece of brown paper, roll to make the stem of the pumpkin and glue together. Attach to the top of your pumpkin.
Do you have anything fun planned for Halloween this year?
